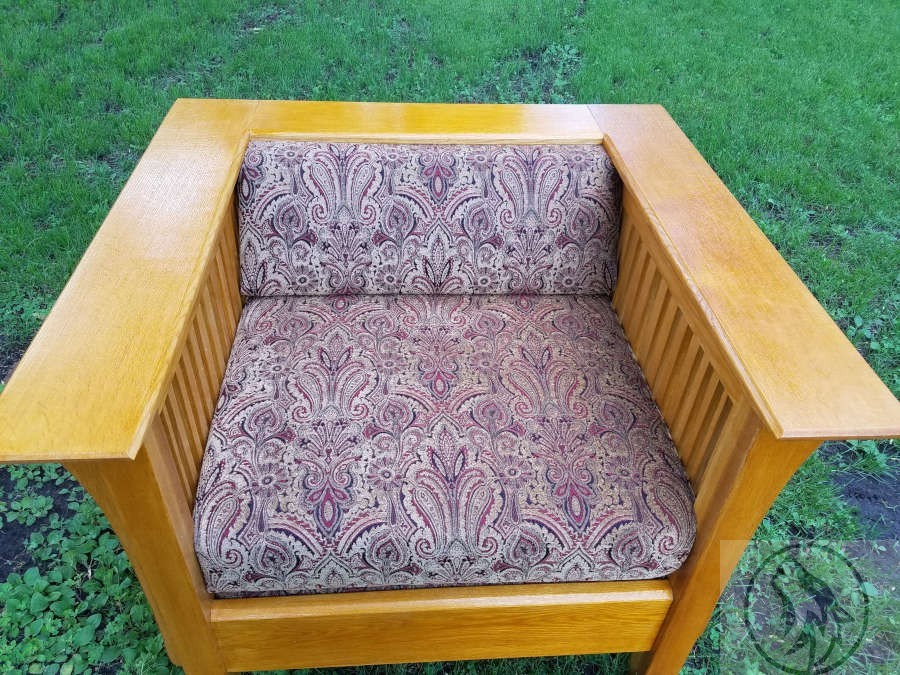
Mission Style Prairie Settle (not settee).

My first piece of furniture was a Mission (Arts and Crafts) style Prairie Settle that I started in 2014 and finished in 2016. I had been reading about the Stickleys and was drawn to the American Arts and Crafts so I wanted my first piece to be of that style.

I had been through the old Stickley catalogues online and did some searches for mission style plans. I waffled between chairs, bookcases, tables, and couches (settles). I thunk and thunk and thunk some more, then I talked to Holly incessantly until she said, “just do something and stop talking about it!” I took that as a mild suggestion that it might possibly be time to stop thinking about it and just make a command decision.

I ended up purchasing several sets of plans from Popular Woodworking, Wood Magazine, and one from a website dedicated to furniture plans. I then took bits from each plan and some bits and bobs from other plans I’d seen and came up with my plan. I didn’t want it to look like every other settle I’d seen, so I modified the spindles, length, and seat frame.

I didn’t want to spend the extra on White Oak, so I chose Red Oak. Even though it was good lumber, I didn’t like working with it nearly as much as the Ash I’d worked with earlier. A lot splinteryer than the Ash.
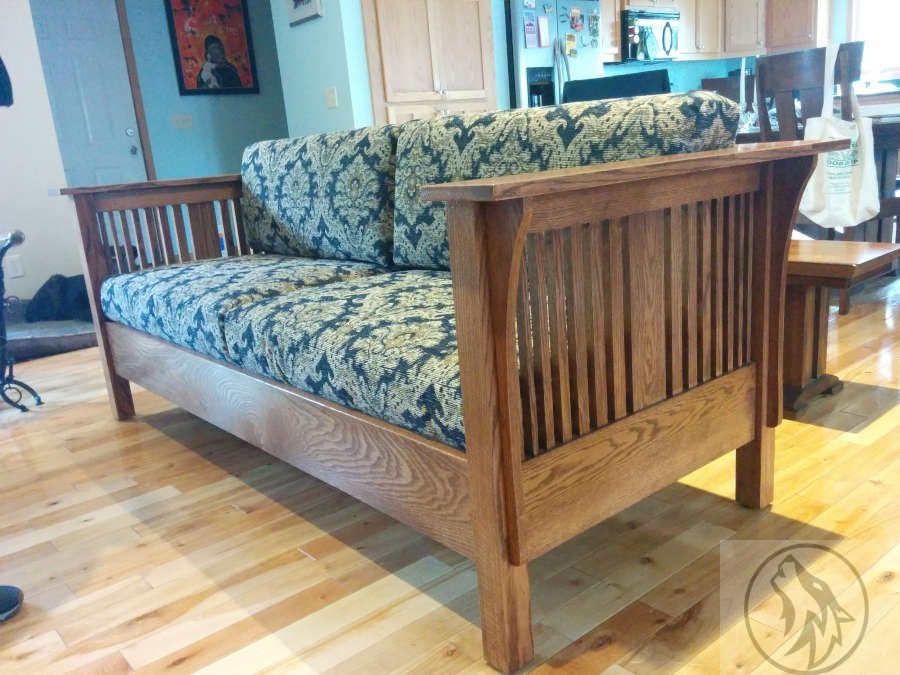

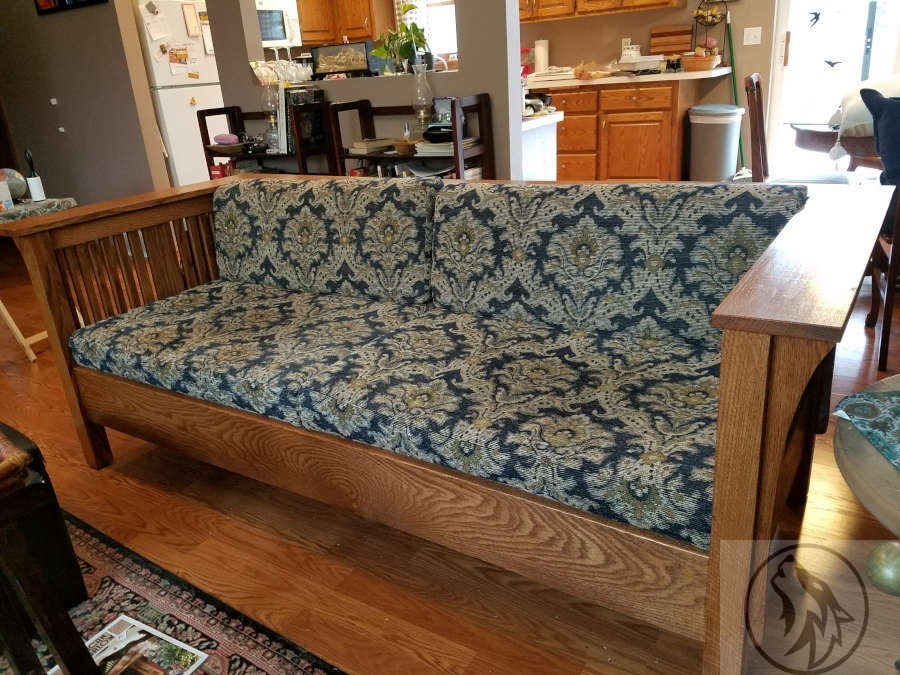
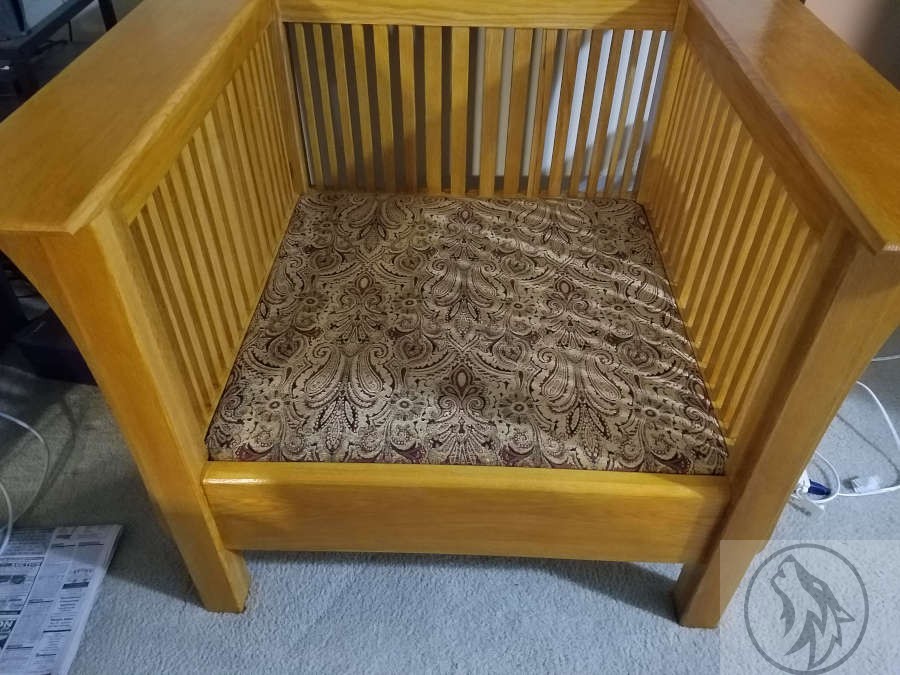
Finished product.

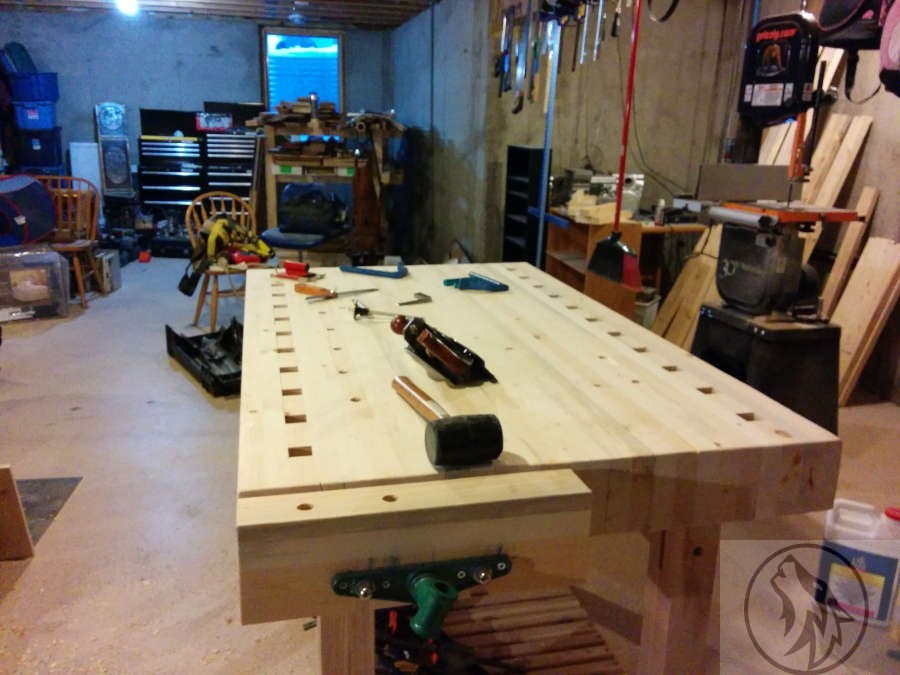
I started this before I had finished the rocking horse, so it began its life in the basement. One thing about choosing something this size was that I could not do any final glue up in the basement because then I would not be able to get it out, so it ended up being a good thing that it took 9 months to finish.

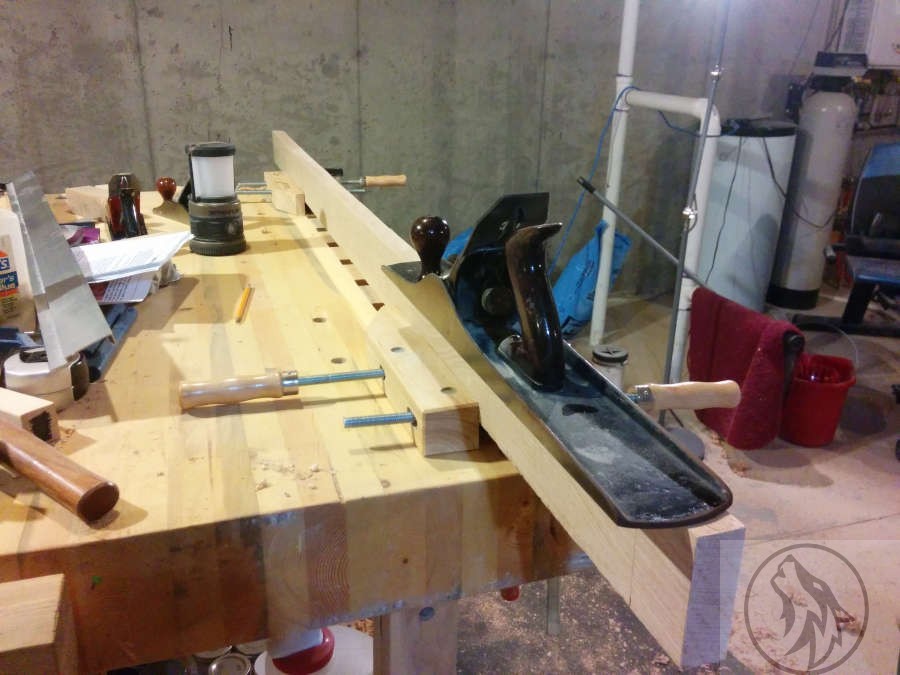
I started with my very favorite part of any project, prepping the lumber.

My Millers Falls plane in the background.

My Sargent joiner.

Since this was a piece of Stickley Mission Style furniture there were many, many mortise and tenon joints.


All were cut by hand since I had not purchased the mortiser yet.

Eventually, I did get a mortiser (a Steel City benchtop), and it did work great. Really nice quality for the price. I used it on a couple of small projects, but later on
when I started the chair project I still preferred to do my mortising by hand.

And the tenons. Lots of tenons. Little tenons, big tenons.
Mitred tenons.

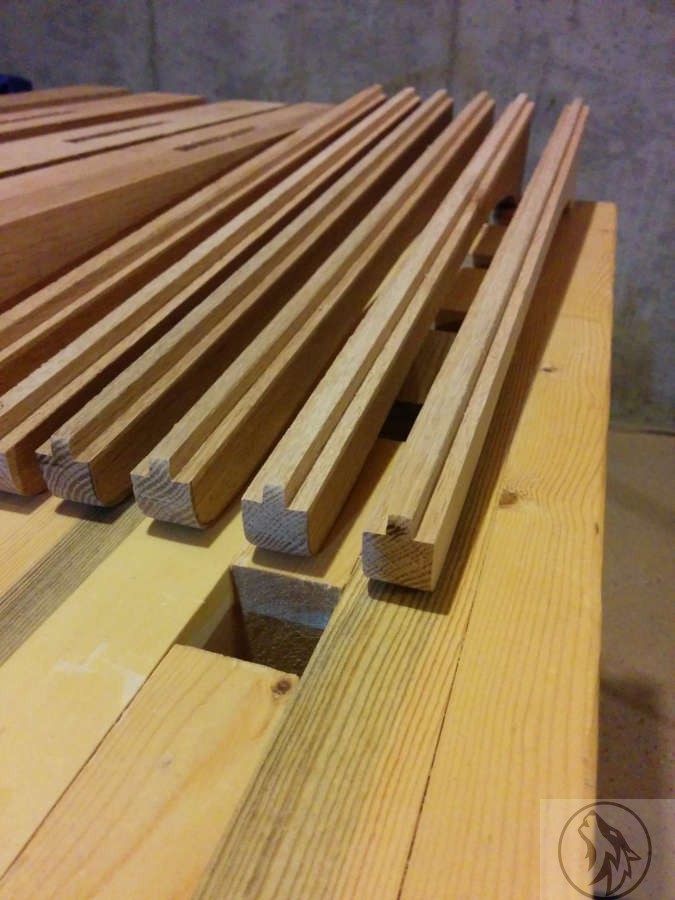
I also cut all of the grooves for the corbels and channels for the spindles by hand. Again, this was very therapeutic and cathartic. I’d spend days in the basement, mallet and chisel in hand. tap, tap, tap. Reposition my hands. tap, tap, tap Reposition. tap, tap, tap.

tap, tap, tap…

And then cleaned them out with the Stanley #71 router.
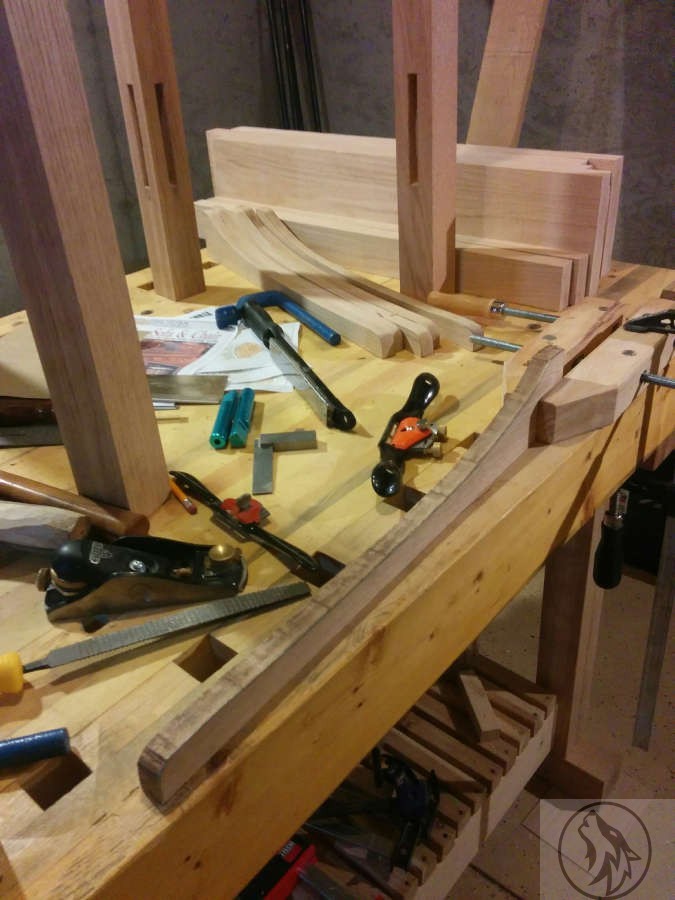
Next came the corbels. Cut on the bandsaw, then finished with hand tools.

The tongues were all done with the Anant rabbet plane.
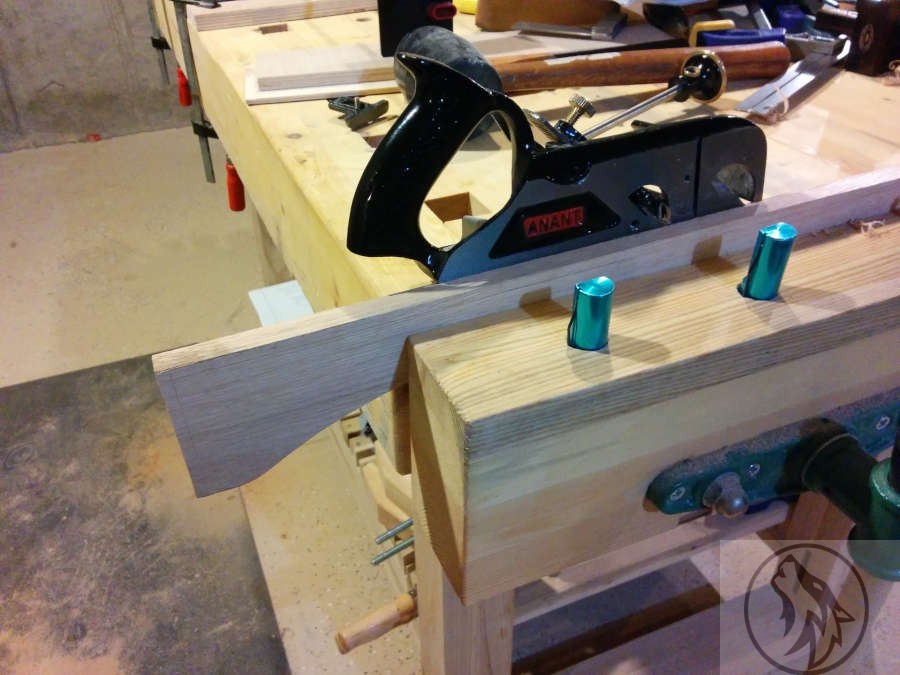
I had read a few bad reviews about Anant planes, but I was able to look at this one before buying it and couldn’t find anything extraordinarily wrong with it so I bought it. After using it for a while the threads for the fence started to get loose and blade cap screws and threads started to do the same. I used this plane through quite a bit of this project,
but eventually got an old Stanley #78 with both fences. I won’t be buying Anant tools anymore, but I wouldn’t have that knowledge or experience if I hadn’t made that mistake. You don’t really know what a tool is like until you’ve used it yourself. Online reviews are a great general guide, but they can’t make that decision for you.
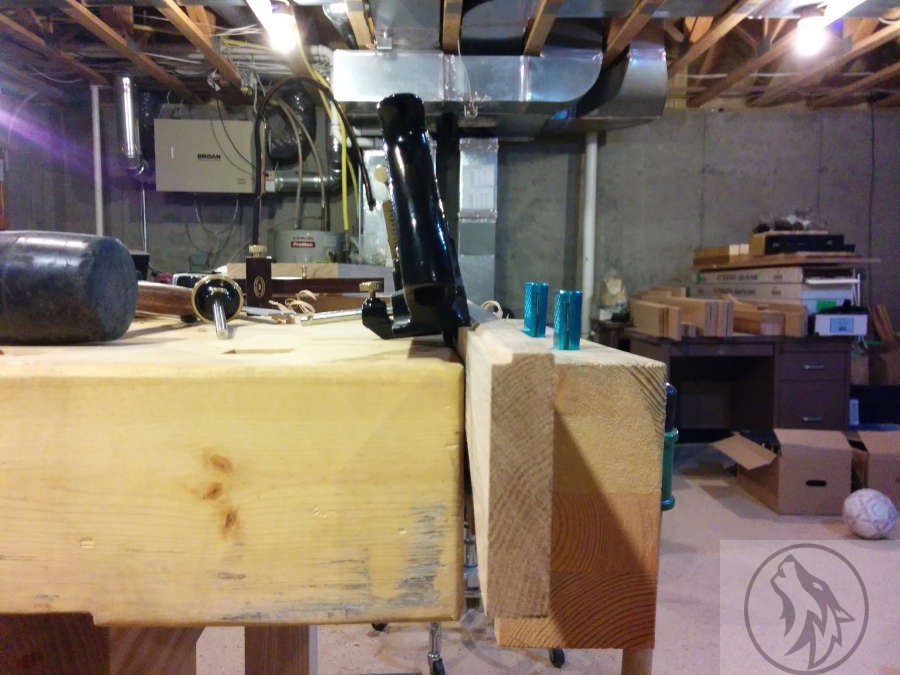
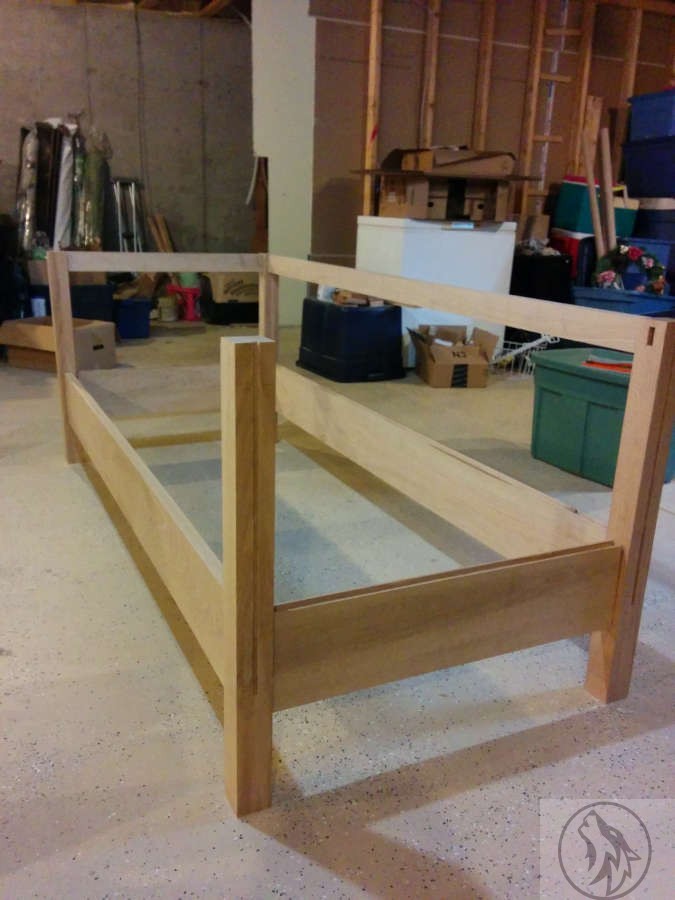
I started dry fitting in the basement, but knew right away that I’d have to move to the garage for the big glue up. I did, however, glue up the side panels in the basement.

What a monster. This is when I started realizing how big this couch was going to be.

Some more fitting and fiddling before I started with the spindles.

The flooring that these are laying on is for another project I have going on upstairs. We had already ripped up the carpeting from the entire top floor of the house and had been walking on plywood for almost a year. I eventually took some time off from work so I could get going on this. It was all cabin-grade ash (the lowest grade of flooring you can get) with a lot of color variation as well as some damaged pieces. But it turned out to be the best thing we could have done for the house. However, that story is for another post.

After fitting the spindles and spacers. This was a very fiddly process, since I was working with spindles that had to be symetrical as well as gradually increasing in width. I ended up with two thin ones on each side, then increasing the width by 1/8 inch for each of the others (I think). I messed around with this formula until I got something that looked right to me, so it probably wasn’t an 1/8 for each one.

I also had to keep in mind that each side had to be mirrored.
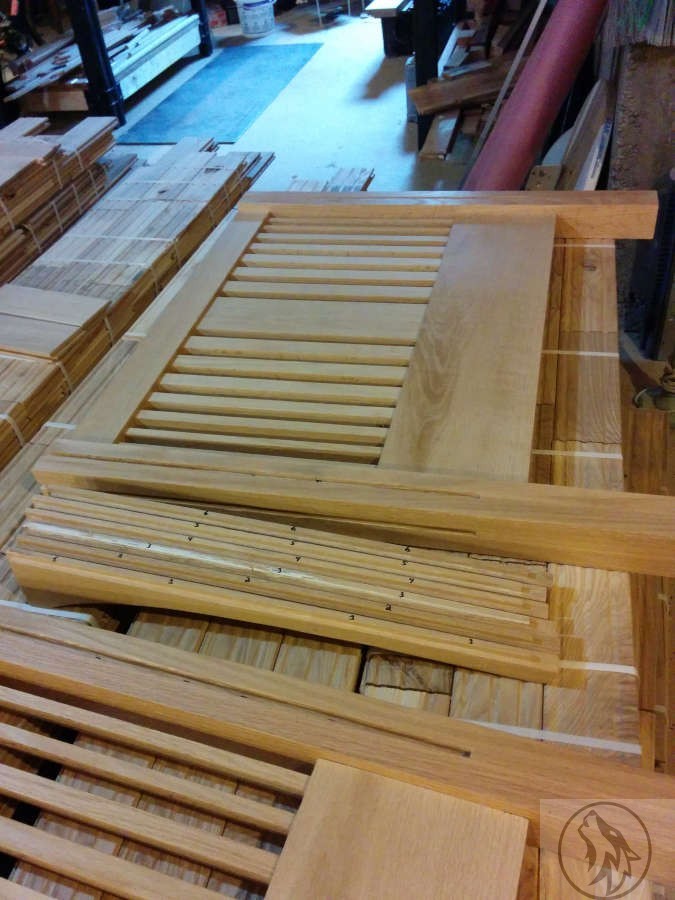
The pair of sides. Almost ready to take it to the garage.

And back in the garage. And you can see just a wee bit more of the fence (you can’t tell I’m proud of that dumb thing can you?).

Now I’ve started measuring out the spindles for the back. This was just as fiddly as the sides, but with the number of spindles and the area to cover, I ended up increasing the size of the spindles after every second one.

I spent hours just looking at spindles. I had bunches of different widths to play with and would get them spaced, look at them, take them out, put different ones in and spaced, look at them, take them out… yadda, yadda, yadda, and I’m finished.

I like this look and will probably try a variation on this sometime in the future, when I make my next piece of Mission style furniture.

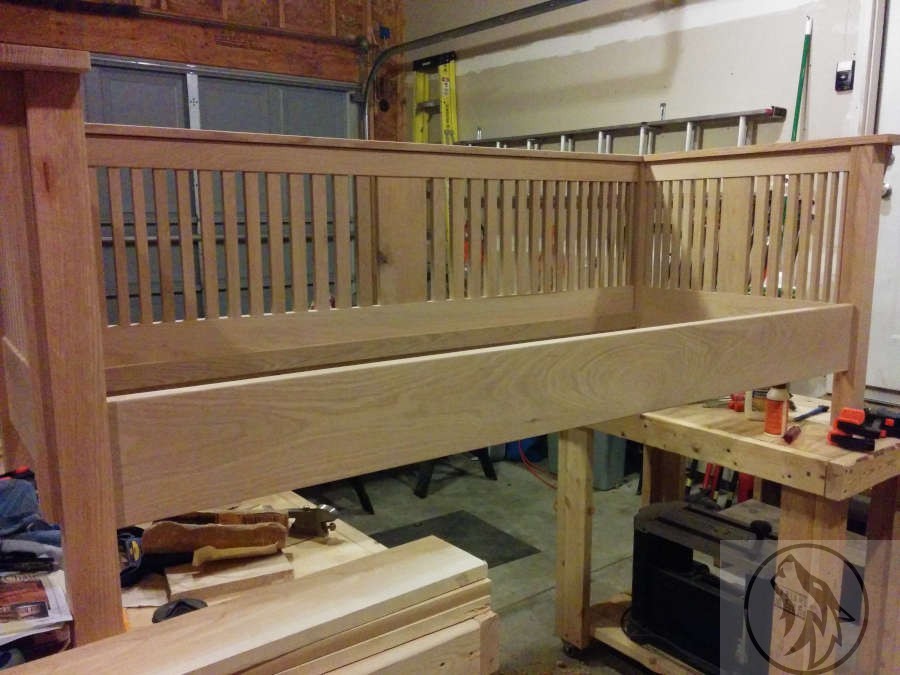
It’s starting to look like a couch. And Ruby was feeling a bit camera shy.
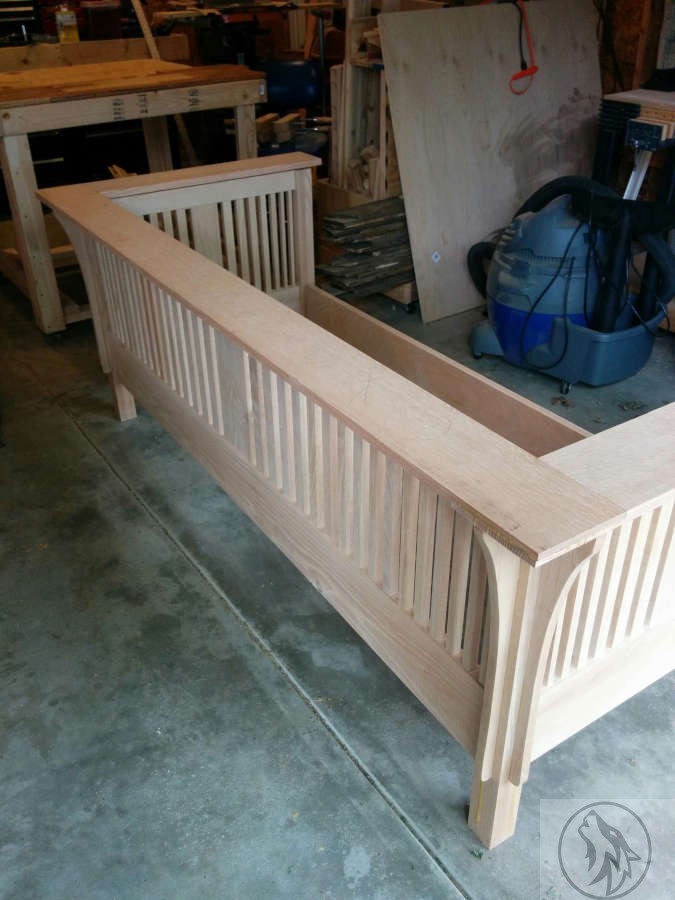
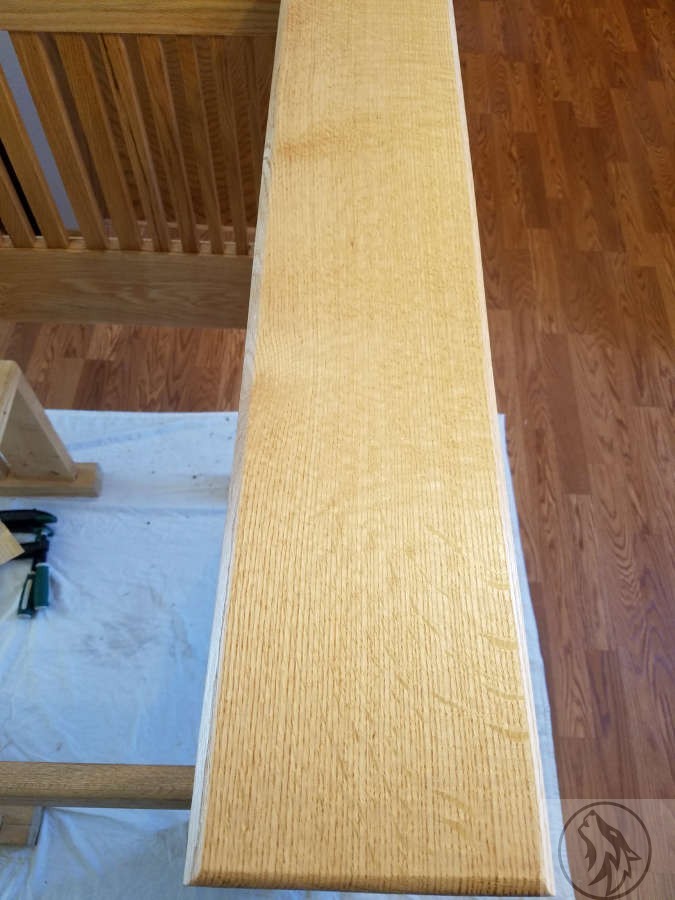
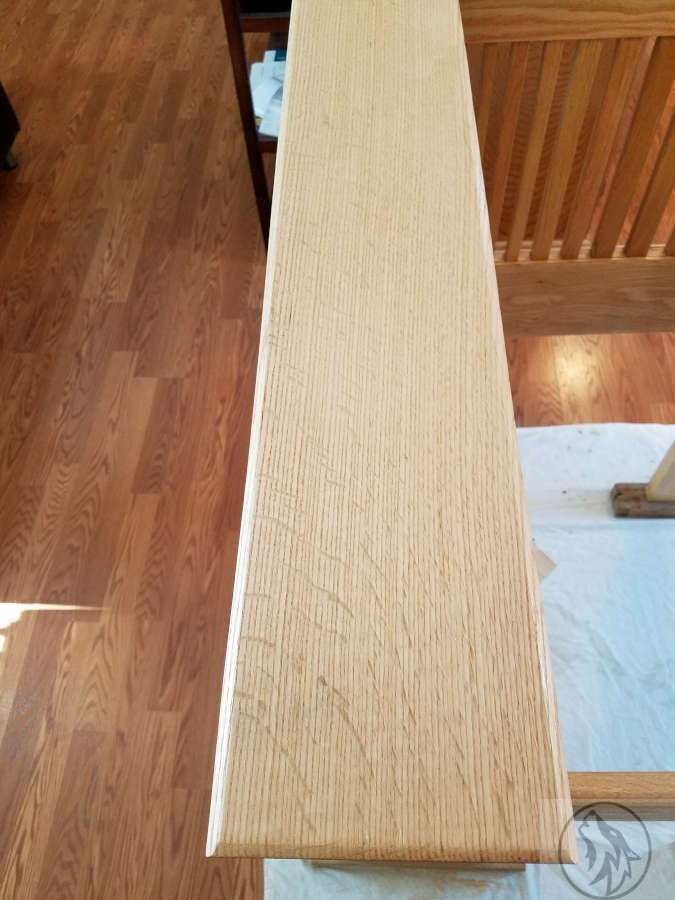
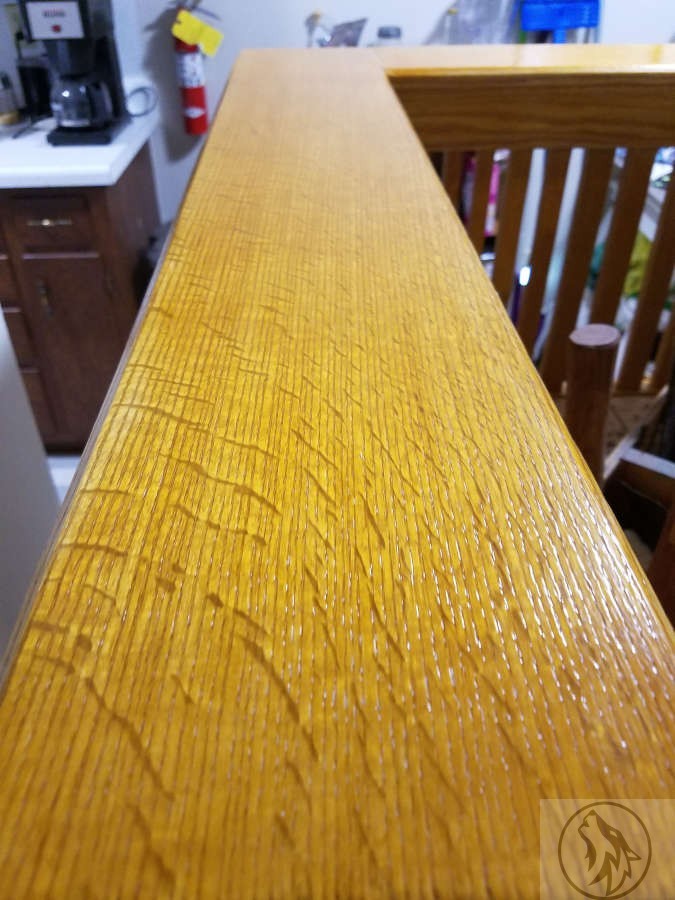
The 1/4 sawn Red Oak, looked beautiful. The medullary rays were the star of the show. The arm and back rest had not been glued on yet, I was still getting the grooves to line up. Rather than just do dowels between the top and the body, I made long tenons at the top of each corbel and then transferred those to the bottom of the arm and back rest. This was not easy, but it did make for a very sturdy construction.
Showing the tops of the corbels and the tenons that went into the bottom of the arm and back rest.

The top has been fit and glued. You can see on the left that a splinter had snapped off. I filled and did my best to color it. Once the stain and shellac were put on, it was less visible. If only I’d had my training with Graham and Clare at Chippendale Furniture School then 😉
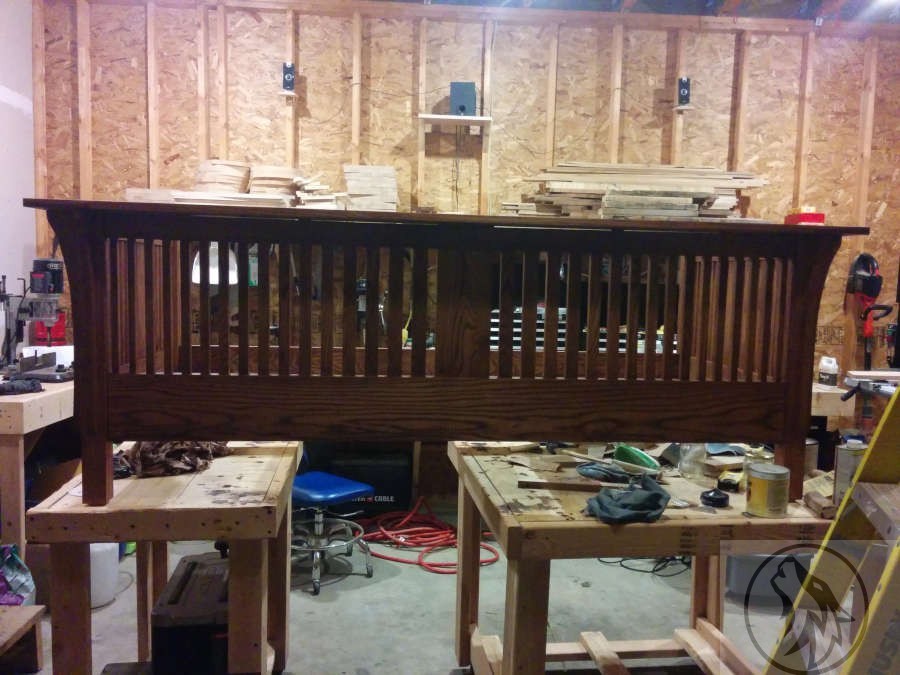
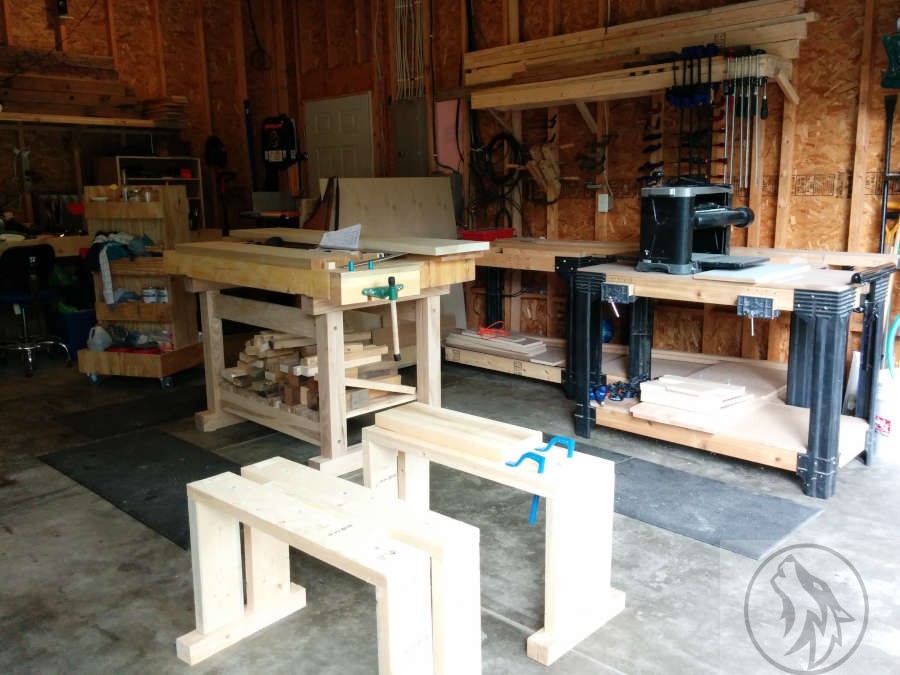
Here she is on some mismatched workbenches. Did I say I was spoiled? Got my jammin’ sound system on the wall so all I had to do was plug my phone in, start Pandora, and go to town on some Dropkick Murphys. Up above (you can see the ladder to the side) there was oodles of storage in the rafters. You can barely see my Steel City mortiser to the left, gathering dust before I sell her.
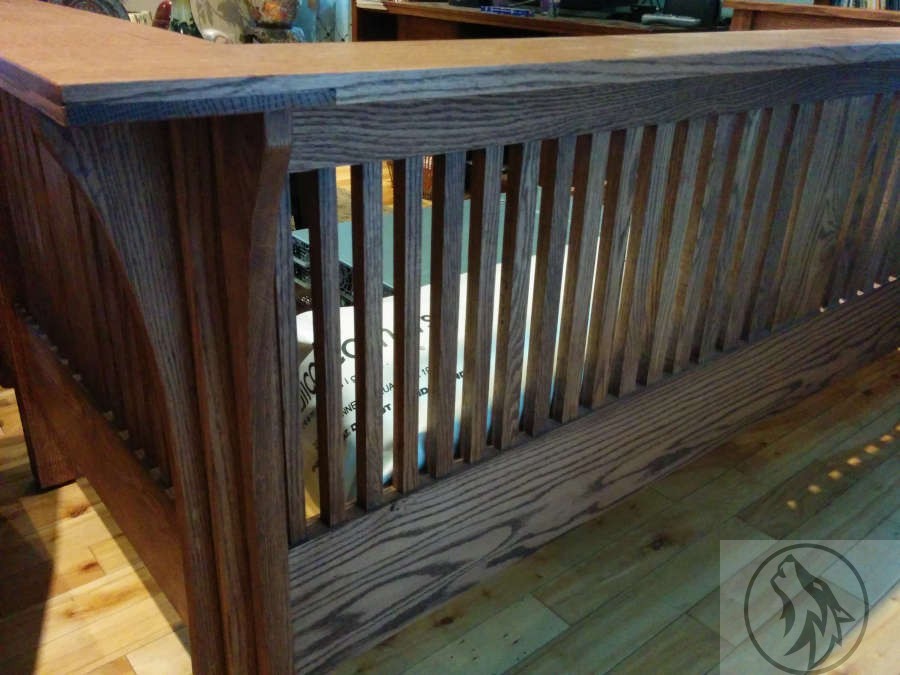
The color of the stain is called Provincial. We had looked at walnut, gunstock, light oak, dark oak, light walnut, and ebony, but settled on Provincial, which Holly and I really liked. I don’t have the shellac on yet, but it already looks nice.
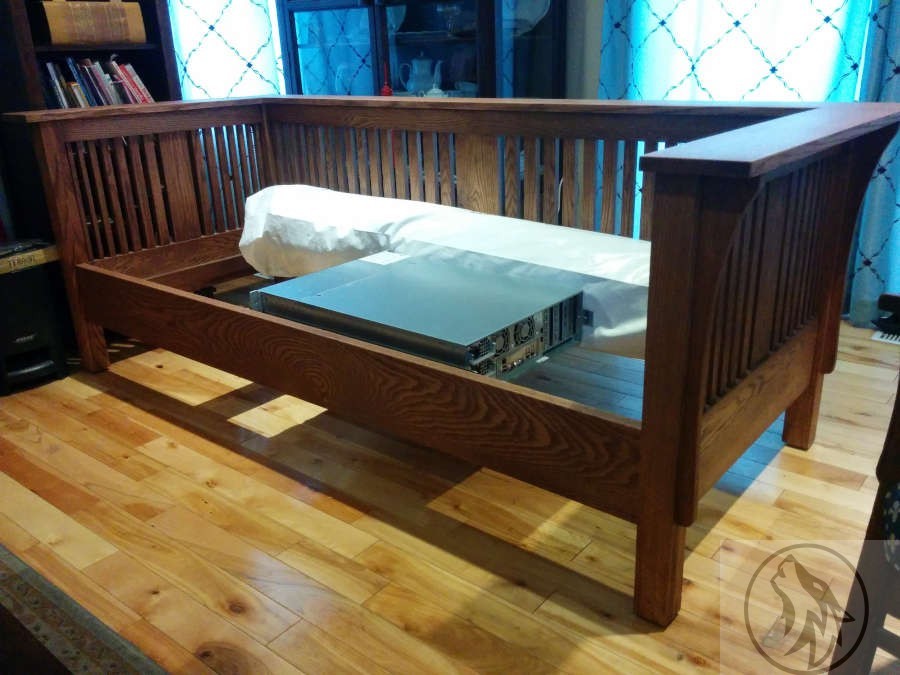
The roll at the back is the fabric we chose and of course the thing in front is a Dell Compellent Storage system that I was getting ready to install somewhere (I think).

I had read some articles on different alternatives for seat frames and I latched on to the woven seats like…like…well, like something that latches onto things.

I looked at some weaving techniques and decided that I would do a very simple weave for this. I also chose twisted sisal because I wanted something durable and natural. I didn’t want nylon or anything similar.
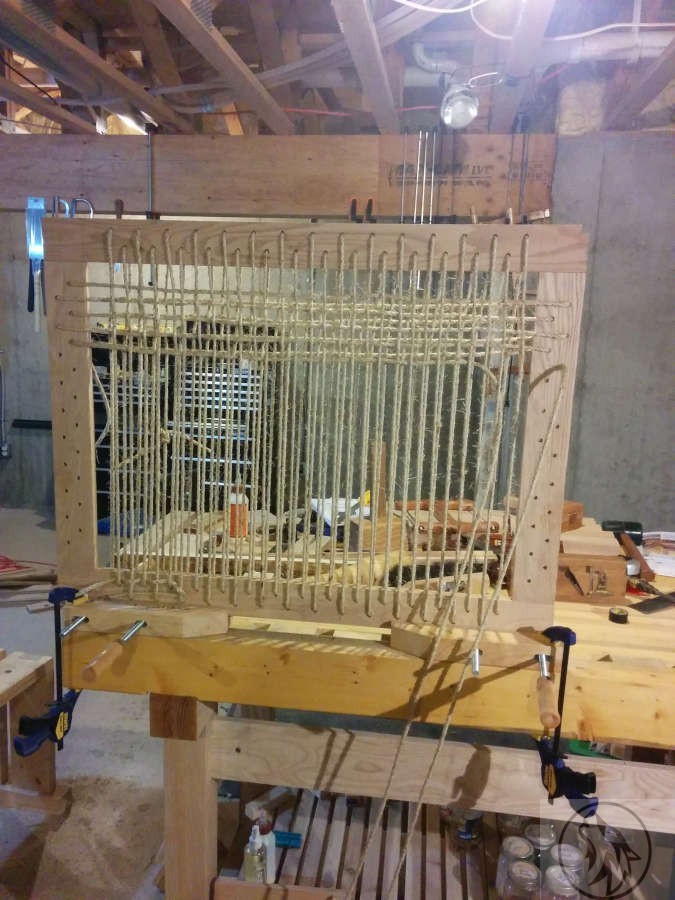
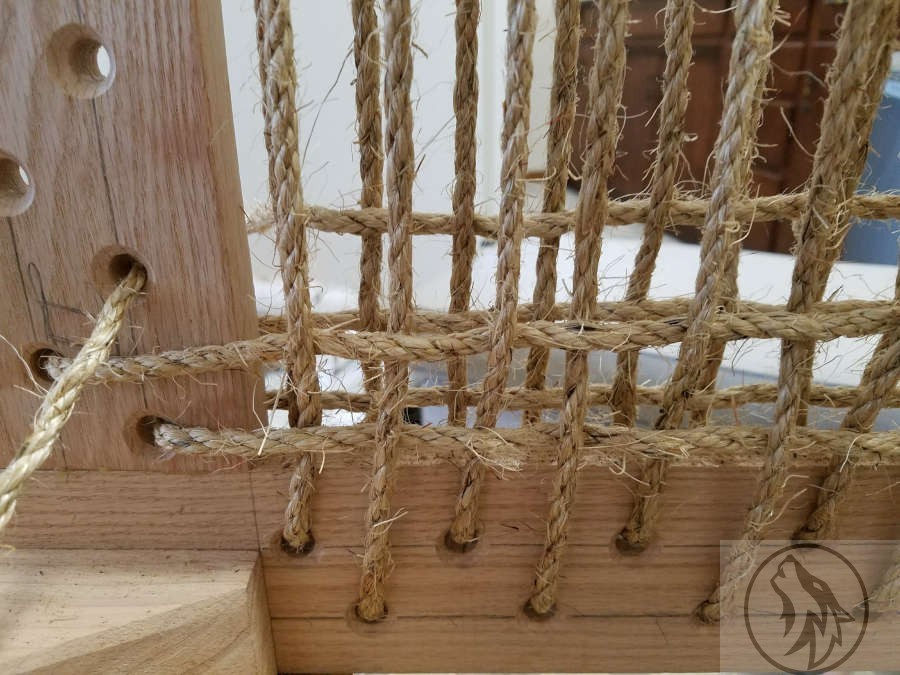
I did the warp first and then the weft. Pulled each row tight and then straightened and tightened more before moving on to the next row.

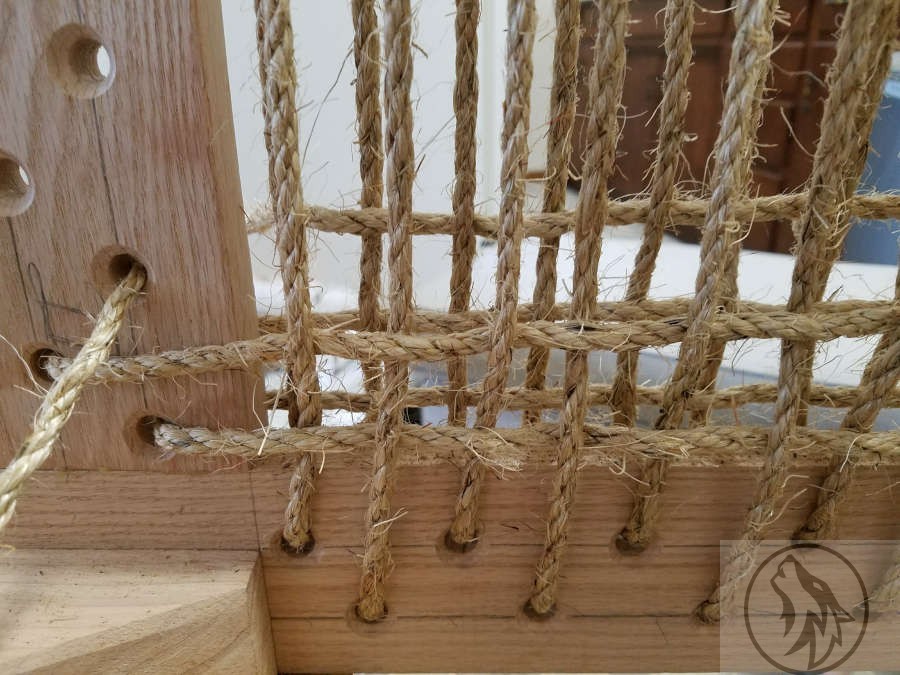
Here’s a corner showing how I have the ends. No tacks or nails. I just have them cinched under the neighboring warp and weft rows.

As for the durability of this kind of cinching. We had this couch for several years and not only did it hold up, but it didn’t start to sag or need tightening at any time. And this was even after moving twice.
And after nearly a year, we finally have the most comfortable couch/sofa/settle we have ever owned.
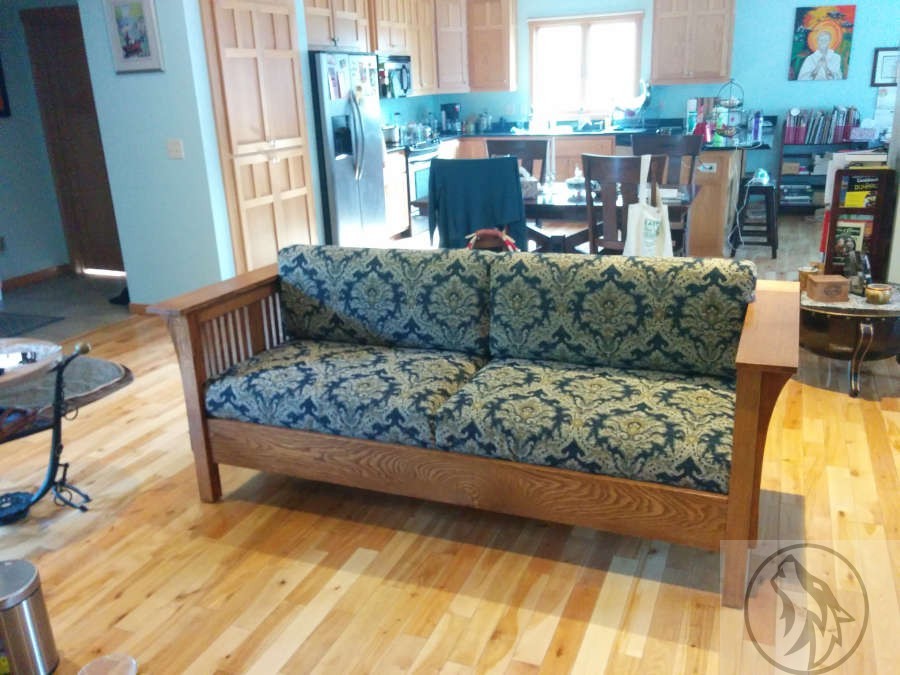
Three coats of clear shellac and a couple of coats of beeswax and she was ready to rock and roll.
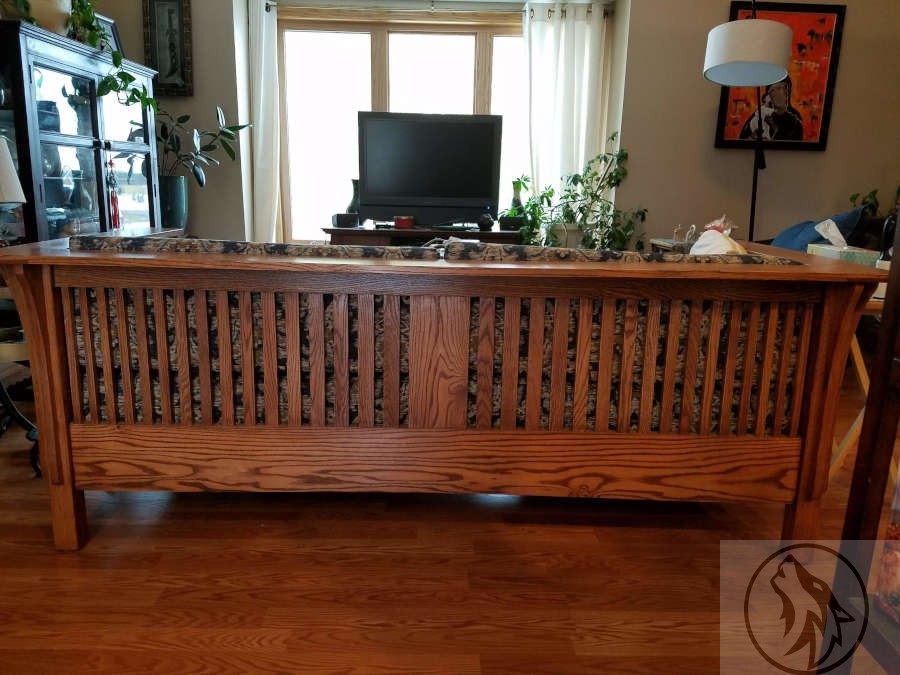
Mission Style Chair

I had been planning to make a chair in the same style of the Prairie Settle because I wanted to fix a few mistakes I’d made with the couch and I just wanted the chair because it’s cool. I still went for the Red Oak because I’m a glutton for punishment. Actually, I don’t remember why I still went with Red Oak, but I’m sure I had a very good reason. There were some measurements for the chair that came with the original plans I’d bought for the Prairie Settle, so I basically made it as a very short version of the Settle.

The build process for this one was rather sporadic, as we moved twice while making it. I started out with the spacious and wonderful garage and basement combo that was a dream.

We then moved to a smaller place with no basement. This was not too much of an issue except in the winter. The garage was not insulated and we were not allowed to heat it (we were renting).

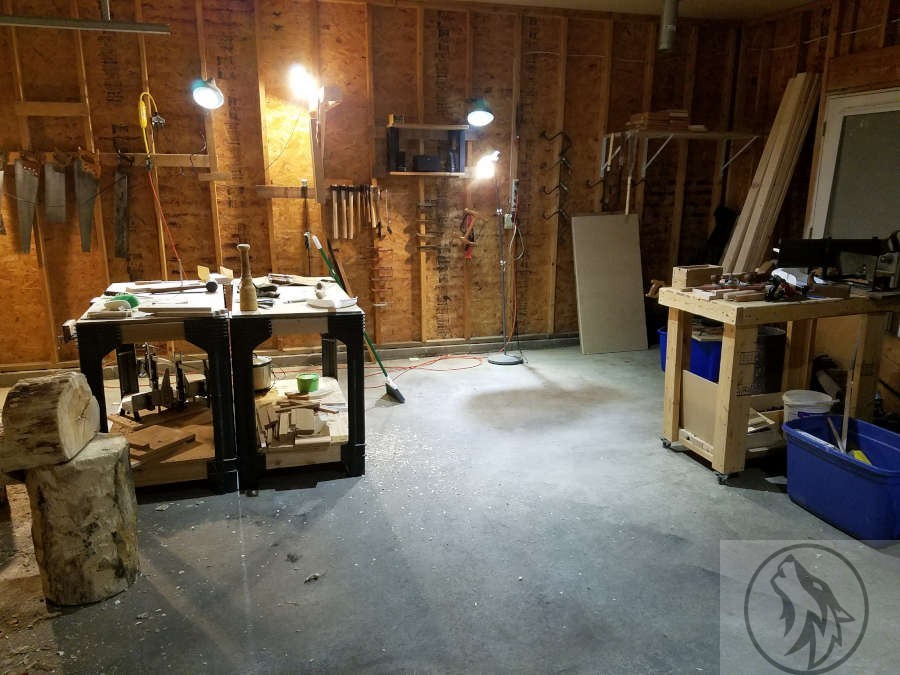
The oak log bench to the left is my bowl carving bench.
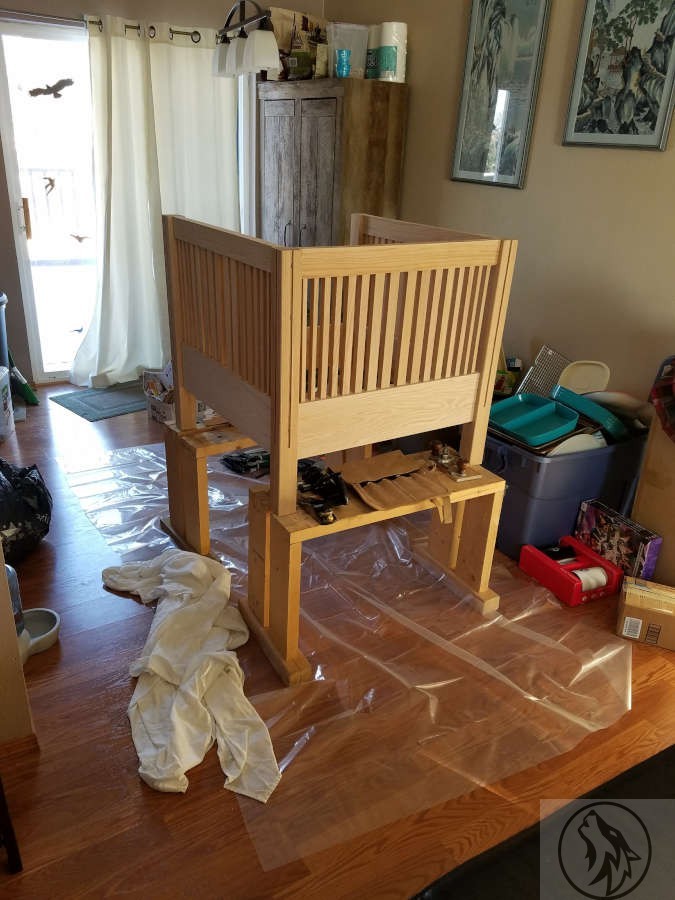
Our Dining room as my winter workshop.

When the temperature drops below 10 degrees Fahrenheit for an extended period it is difficult to use iron or steel tools. That winter we had snow and cold snaps so I ended up bringing the chair into the house to work on. This introduced some interesting obstacles but also got me thinking about what woodworking and furniture making meant to me and how motivated and dedicated I might or might not be.

But that was not the last move in this build. Alas, we had one more move to go before I finished the chair.

My cozy workshop.

Our final move before the chair was finished was into an apartment. This kind of downsizing introduced so many new challenges and compromises that I honestly think this is where I cemented my love of woodworking.

Our downsizing was all part of a grander scheme so it was all self-induced and not due to a personal crisis or anything.


You can see my fresh air workshop in the background. Working off the back of a pickup and using my carving bench very creatively was actually kind of fun.

I’m going to use the constant moving as an excuse (not a legitimate reason, but an excuse) for some of the issues I had with the chair build. Lack of decent lighting was a constant obstacle and unfortunately, it reared its ugly head during the worst time possible, while I was sanding and finishing. I wanted to try something different and the plan was to use some amber shellac and then a brown wax to kill the orange. As you can already see, my plans went awry and my time limitations kept me from getting the wax on. This was one of those moments where I really questioned some of my life choices. In the badly lit apartment it looked very nearly like I wanted, but as soon as I got it outside and into some halfway decent light, I damn near cried.

But I get ahead of myself. The build itself was fairly uneventful.

Again, prepping and dimensioning the lumber by hand was the fun part. I cut the grooves and spindle channels with mallet and chisel, like the Settle project.

The cauls I’m using here are actually all that remained from a coffee table we got from World Market. A lot of their furniture is made of Rubberwood. When Rubberwood trees are finished providing latex, after 20 to 30 years, they used to be burned. Now they are being used in furniture, especially those in the plantations in Asia. What I saw of the wood in this furniture (that I destroyed and used for cauls) is that the colour could be interesting, but not necessarily pretty. It’s a fairly tight grain and not as splintery as Red Oak. It works easily with hand tools and sands well. Since the colour can be kind of offputting, it’s usually heavily stained.

Just as I was getting ready to start my dry fitting of the frame, the temperature dropped and I was forced indoors. This is where I had to be creative and compromise on some things that I would normally do. Without a large surface on which to rotate, flip, support, and clamp, I had to make sure that I had clearance whenever I wanted to move the chair because the clamps might bang into or damage something in the room. This meant that my clamping was not as aggressive as I would have liked and eventually required modification (fixing).

Once again, the 1/4 sawn Red Oak was beautiful.

I made sure to get the medullary rays to flow away from the chair on each arm. Kind of a nice effect.

This is where we moved once again, so the next piece of the puzzle was done at the aparment. Here I started with the seat frame, doing the same weaving and materials as last time. If something works, go with it.


Using my saw benches to clamp the seat frame. This is most certainly not an optimal setup as the saw benches are not heavy enough to keep the frame still while weaving.

I really miss my workbench right now. 

A closer look at the weaving. I talk more about this on the Prairie Settle post, but I got the idea from one of the plans I purchased and then just modified it a bit for my situation. It’s a simple over under through the warp lines. I used the same twisted sisal that I had before as it is a natural fibre. I did not want to use nylon or anything similar. The only bad thing about working with this twine is that it’s rough on the hands and on the fabric. The upholsterer that we used for this piece came up with a wonderful solution that you will see later.

This shows the clinching I used instead of tacks or nails. In this particular situation, the clinches work better than any tacks or nails. I will definitely use this again on future builds. I did the same on the Prairie Settle and the seat frames did not come loose or need tightening at any time over the years of heavy use.

This shows the clinching for the warp line.

The finished seat frame.

We used Niola Furniture Upholstery in Bloomington, MN for this project. He did an awesome job and even wrapped the seat frame to protect the cushion from the sisal
twine.

With the cushions.
And in the real light.

The medullary rays do still pop.

Arts and Crafts style mirror with gilding.

One project that really took me by surprise while at the Chippendale school was a mirror that ended up requiring more brand new skills than I would have thought possible.

I already knew that I wanted to do letter carving and I knew which quote I would use. I first saw the quote “The lyf so short, the craft so long to lerne.” in a picture of a fireplace mantel in a craftsman style home of Gustav Stickley, who was one of the first, and most well known, US mission (arts and crafts) style furniture makers. I then did some research to find out that it is from a poem by Chaucer, called “Parliament of Fowls” which is about how love and life are crafts that take a lifetime to learn. It is also thought to be the origin of St. Valentine’s Day. That said, I only knew it as a quote about traditional crafts and still think of it that way.

It started out as a simple drawing. At this point, I was so focused on my other project that I didn’t put a lot of thought into the scale or proportion, but I knew I wanted an arts and crafts style mirror.

This plan lasted long enough to start dimensioning the lumber and then went through several modifications (in my head). Then, when we ordered the glass I realized I had designed the frame too large, so it went through another major modification.

I thunk and thunk and then thunk some more over the resizing and what shape the mirror should take but had already started laying out the letters since the letter size and font would tell me generally what shape the mirror would take. I knew from the beginning exactly which font I wanted to use on this as I’d seen it used quite often for arts and crafts lettering, but I just didn’t know what it was called. I searched several font websites and found it on https://www.dafont.com/dyer-arts-and-crafts.font and also on https://www.1001fonts.com/dyer-arts-and-crafts-font.html

This is a public domain font and is free for all kinds of usage.

Dyer Arts and Crafts font.

I didn’t want the letters too small as that would make the carving more difficult so when I settled on a size I printed them out, cut and spliced them into their lengths and lay them out on the lumber. Here I needed to make sure my kerning was consistent because I was splicing groups of letters together.

I was worried that as I started to outline the letters onto the wood with the gouges that the letters would move and I’d lose my place, so I also used graphite paper (carbon paper) to trace the outside lines of the letters. This turned out to be overkill and actually created more work for me because I then had to remove the tracing afterwards, which turned out to be more difficult and fiddly than I had planned.

You can see the result of the tracing paper in a few of the letters.

The letter carving itself was very enjoyable and cathartic. I would be so engrossed in my carving that hours would fly by and I’d have to force myself to take a break, stretch, grab a cuppa, chat with the other students, and then dive right back in.

Once I’d reached a point that my rough out of the letters was finished, I shellacked the letters. This was to exaggerate the roughness and show me where I needed to concentrate my efforts to smooth the sides and the outlines.

I’d shellacked the top row, but not the bottom yet.

The roughing out of the letters was the quick part. I spent more than twice as much time smoothing the sides and edges.

After the rough out of the letters. Next I’m on to the smoothing.
Getting there.

Once I’d finished the smoothing of the letters, I was ready to stain and then gild. I later found out that this was the wrong order and next time I’ll gild and then stain. The reason being that when I finished gilding I had to sand the surface in order to create the crisp edges, but doing that removed most of the stain. I then had to restain after I had finished sanding. Not a huge issue as the restain cost me a part of a day and I had to let it dry overnight before shellacking.

I also had to regild the letters as I initially didn’t follow the tutor’s instructions correctly. Richard Walker at http://watergild.com/ was the visiting tutor for our gilding instruction and was great to work with. He never cracked a joke and we always knew when he was being serious. 😉 After realizing my mistake and regilding the letters, I sanded then restained using my super secret mix of water dyes.

Some of the testing I did for the mirror frame. Not all, but some.

After letting the stain dry overnight, I shellacked the front side. This was so I could finish staining the edges without it bleeding into the front.

As I was doing all of this I also worked on the side pieces and created the mount in the back to hold the glass. I don’t have pictures of that, but may add some at a later date.

I also didn’t take pictures of the glass/water gilding on the glass, and I’m really kicking myself now. That process was incredibly interesting and I can’t wait to do another project like this. Again, Richard was excellent to learn from as he was able to walk me through the process several times (I kept getting sidetracked on other stuff and would come back and say, “uh, I can’t remember what you said to do here”). Very patient and a great teacher.

First, I laid out the background, which was white gold (I think it has an Italian name, but can’t remember). Then, I scratched out the outline of the roses. For each rose I started with red gold, then added white gold to the center. I then scratched out the leaves and used green gold. I finished by scratching out the stems and then painted over the back with black acrylic paints. I’ve really condensed the process here because I don’t have a photographic record of the steps, but even though there are a lot of steps here and I had to wait overnight for the water to dry before I could move on to the next portion, it went surprisingly quickly. I will post pictures of the process when I do my next glass gilding project.

And the finished product, with 7 coats of shellac. I’ll add more pictures later.