Veneer pins.

One of the most valuable things I’ve gained from being a student at the Chippendale International School of Furniture is access to antique, and even ancient, furniture that I’d only ever seen in books and online. We have visited homes and museums and have enjoyed access to furniture that I didn’t know existed. We have also had access outside of school to auctions and antique shops where I’ve fondled and caressed (not in a creepy way) beautiful antiques and vintage pieces of furniture for much longer than was appropriate.
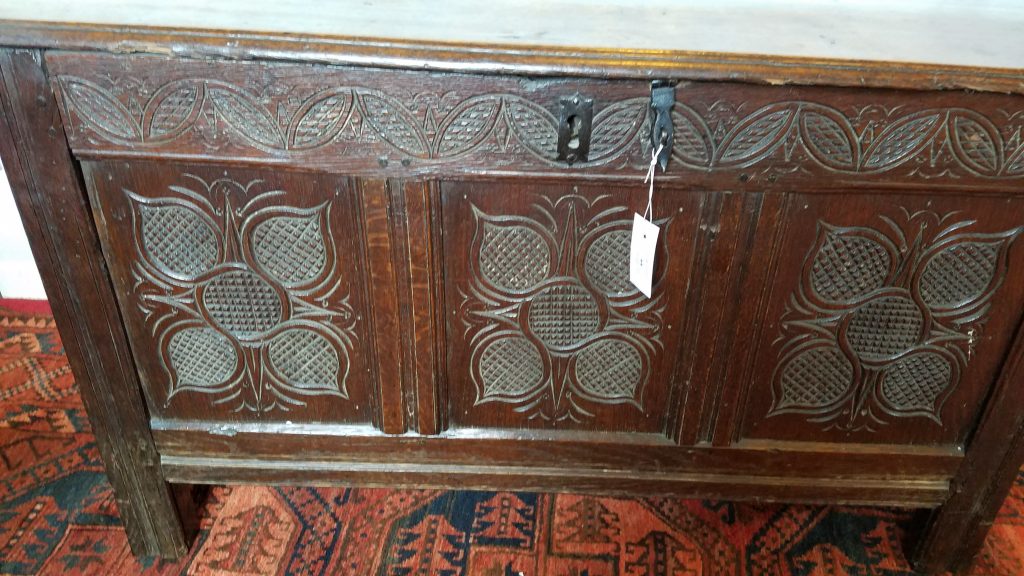
Late 17th C. Oak Coffer

Late 18th C. George III Style ‘Chinese Chippendale’ Mahogany Urn Stand
Mid Century Modern Le Corbusier

I’ve been taught since I was young that when at any museum, or in the vicinity of delicate antiques, you ‘look but don’t touch‘ , so it’s been an amazing treat to be able to visit museums and homes and have that extra bit of access where you can touch the pieces, pick them up, turn them over and look at the underbelly because, in order to really understand how furniture was made, you have to look under, inside, and behind that piece. I first learned this from a blog, Pegs and Tails, that I’ve been following for a few years, and also from Peter Follansbee’s blog but since starting my furniture class I’ve had a chance to experience this first hand.

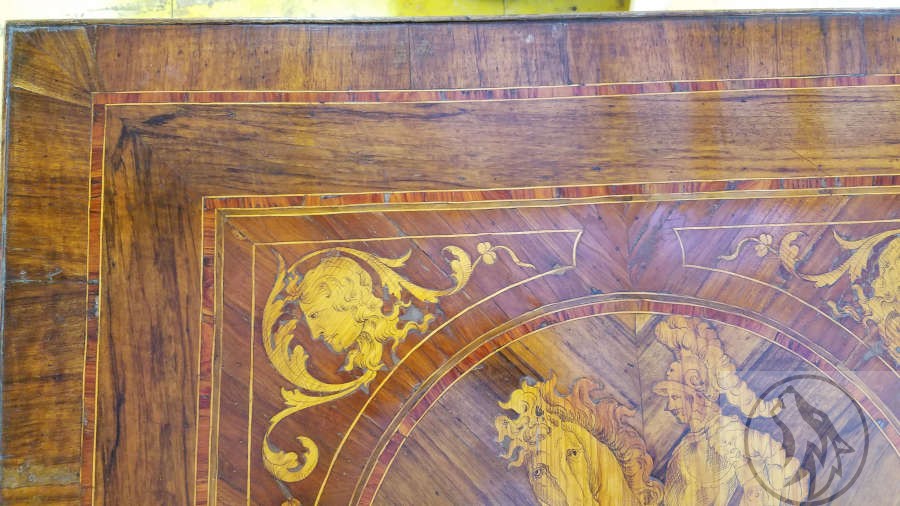
I’ve been able to see and help work on some wonderful pieces of furniture that have come in the School since I began my classes. From damaged chairs to cabinets, desks, dressers, and tables, they have all fascinated and intrigued me, but one particular moment that stands out to me is when a late 18th C. (around 1780) Italian table came in for repair/restoration. I’d not seen a piece like this before, but was immediately drawn to it because as soon as I started looking closely I could see so many wonderful and intriguing things about it.

Late 18th C. Italian table needing some TLC.
Closer view of the top.

But the one thing that caught my eye was when I saw some holes in the veneer and marquetry that didn’t look like normal wear and tear.
I knew that I remembered seeing this somewhere, so I went back to some blogs I follow and found it in the Pegs and Tails blog in a post called “A Thorny Subject” dated 15 Jan 2012. He talks about veneer pins, which were used in period veneer work. They were made of thin sheet steel and guillotined or sheared with a taper. The edges were sharp enough to cut fingers so they were made to cut through the veneer instead of wedging into it. I’ve not found any sheered veneer pins for sale today (only round), but it may just be that my Google-Fu skills are rusty.

Per the article, the veneer pins were often used on uncooperative veneer in corners, on either side of a split or joint, or anywhere the veneer refused to cooperate.
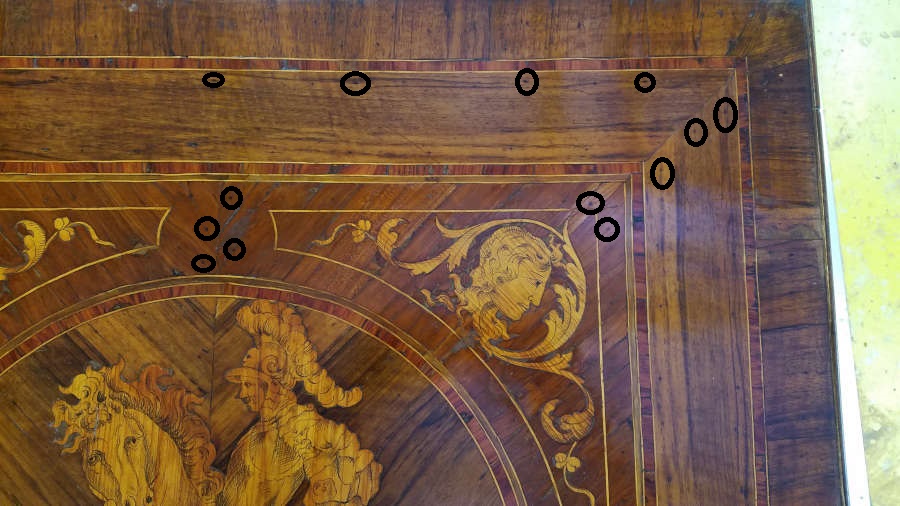
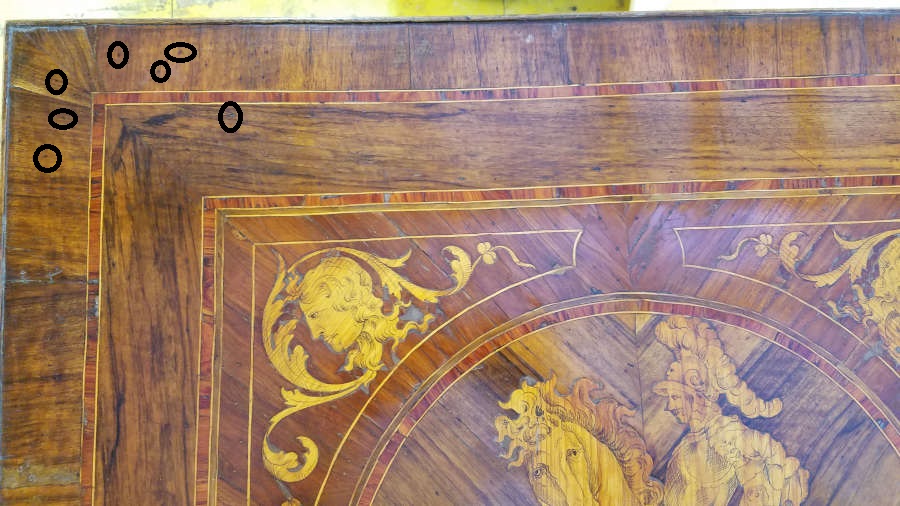
Some of the pin holes are circled.

This was one of those ‘Eureka’ moments for me and just drove home the fact that I’m intrigued by the methods and tools used by pre-industrial furniture makers and crafts people. I was fairly bouncing around the table, babbling like an idiot about these pin holes because it tied together things I’d read about to things I was able to experience. And quite often, making it real is the catalyst for education.

Military Campaign Furniture

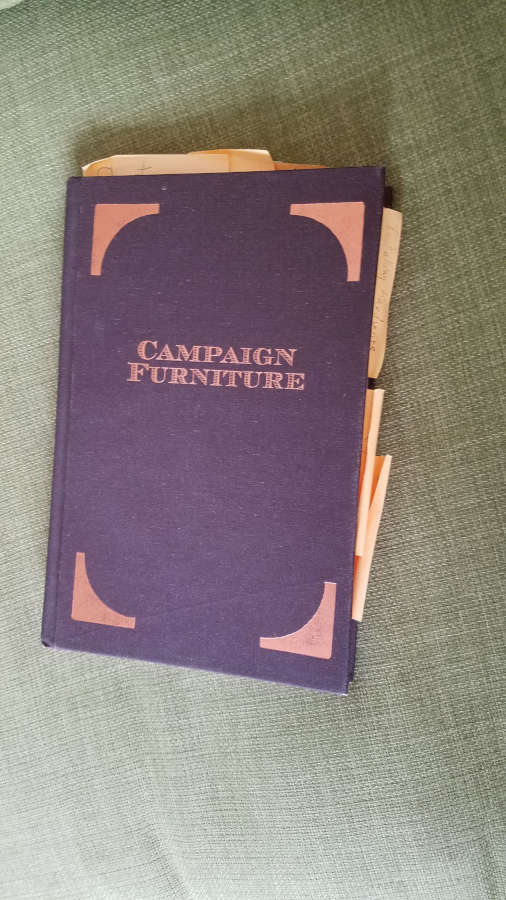
I’ve recently (within the past year) become interested in Military Campaign Furniture. This is something that could, and has, filled books. The one that I have is now very well worn as I have been using it almost every day for a project I’m working on. Campaign Furniture by Christopher Schwarz at Lost Art Press has been indispensable for most of my research on Military Campaign Furniture.

https://lostartpress.com/collections/books/products/campaign-furniture

I like sticky notes.

That said, I’ve also chatted with Simon Clarke at Christopher Clarke Antiques, who specialize in Military Campaign and Metamorphic furniture. They have a blog as well that I’ve used quite a bit, but more than that Simon has been very helpful in answering questions I’ve had about the furniture.

And I’ve also found that Pegs and Tails has quite a bit of valuable information on Campaign furniture as well. You’ll see that I refer to Pegs and Tails quite often as it has become my source for period furniture construction techniques and antique furniture identification more than any book or any other website.

So before I even knew what my Campaign piece would look like, I had already been researching the style and construction for a while. I knew I wanted to make something that I could take up and down narrow stairwells without too much trouble. I knew that I wanted to use brass hardware. And I knew that I wanted something very sturdy, which is what Campaign Furniture was designed for. After that, I had to figure out what it would look like.

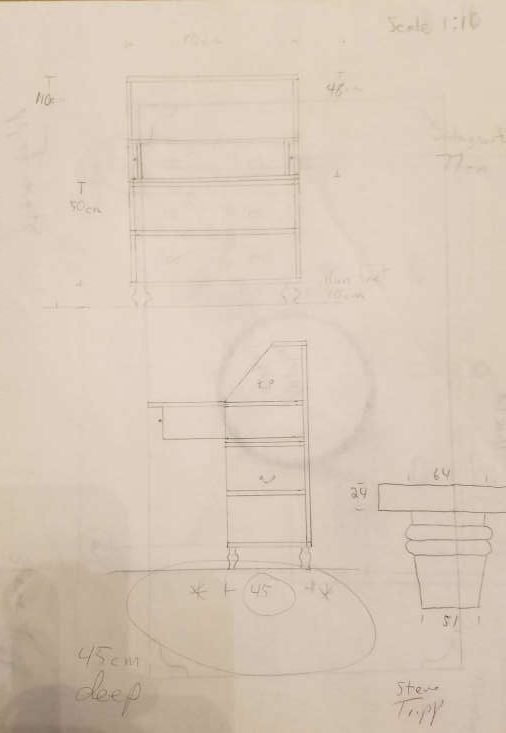
I started out with something closer to a side table. It was high enough to use as a writing surface, which started me thinking about a desk.

Figuring out proportions.

I then added a second chest, slant front, lopers and a gallery for my desk.

I was almost ready to start prepping the lumber.

But the slant front wasn’t doing it for me so I thunk, and thunk, and then thunk some more and decided on a pull out gallery. From this point I don’t have drawings as I had putzed away so much time up to now I had to get started.

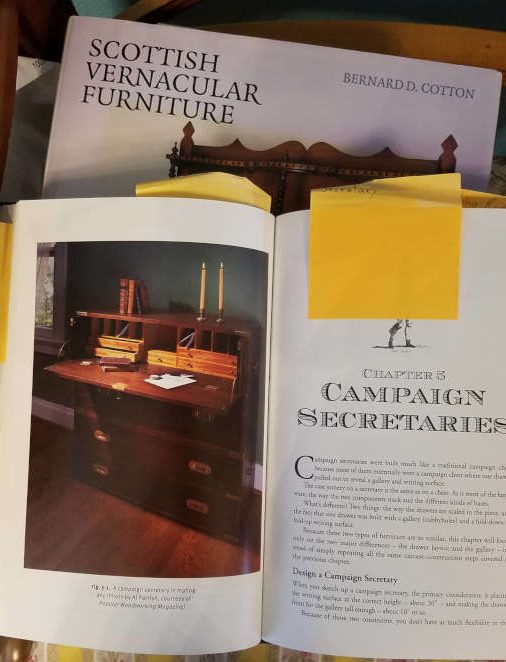
One of my other favourite books in the background, Scottish Vernacular Furniture by Bernard Cotton.
This option would use quadrant stays instead of lopers to support the writing surface.

I had already figured out the gallery portion and knew the height and depth.

I then worked out the height of the desk, compared to the height of the chests and figured out the height of each drawer.

I was finally ready to start constuction. In my next post.

Campaign Style chest. Part 1

One thing about building Campaign Style chests is you gotta love the dovetail. Alot.

Hogged out the majority with an electric router.

The dovetails were easily the most intimidating part of the carcass build, so I wanted to practice before I started on the project. I had some scrap pieces of beech that I thicknessed to be the same as the chest would be. I found an excellent tutorial for full blind and secret mitre dovetails at http://www.mikes-woodwork.com

There are so very many videos and blogs that show and/or describe how to make standard through and half blind dovetails, but there are surprisingly few that show how to make full blind and secret mitred dovetails. Even so, I did find several to choose from and always came back to the mikes-woodwork site. His instruction really worked for me and I used it for all subsequent dovetails for the project.

The reason I was looking into the full blind and secret mitred dovetails is that they were used in period pieces, mostly for the top corners. I checked some pieces locally and found that some had half blind and some had full blind, but I haven’t found a secret mitred carcass yet.

And just a warning. I’ll use “half blind” and “half lap” dovetails interchangeably so if you see me change from one to the other in mid-thought I’m still talking about the same thing.

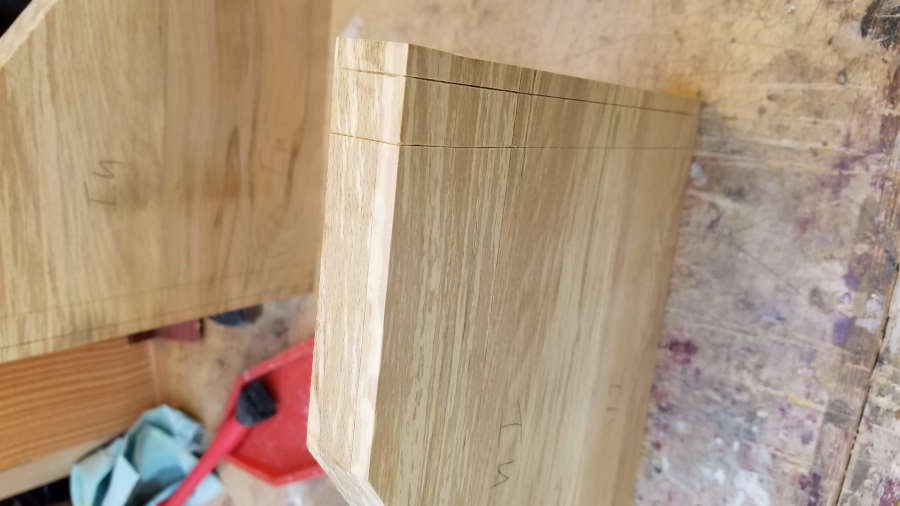
Laying out my lines.
The three pieces with the rebate.
Cut your pins first. It is easier to transfer the pins to the tails with this kind of joint.

Several years ago when I was just beginning to play with joinery, I learned to cut pins first. Not because I watched Frank Klaus or anything like that, but because I found it to be much easier to transfer the pins to the tails. At the time I thought I was cheating or doing it wrong, so I then learned to cut tails first. Since the question, Pins or tails first, has become such a volatile debate, I don’t usually say which way I think is best. That said, I haven’t made enough dovetail joints to even be considered a beginner.

With full blind dovetails you don’t have to worry as much about the proportions of your tails to pins, so make them both big.

I used a mitre jig to reference my chisel from the top and bottom.
And for my first try it wasn’t too bad. Surprisingly little cursing and hardly any crying at all!

Even though my trial run on the hidden mitred dovetail went OK, I decided not to use them in the project. Instead, the two top corners are full blind dovetails (without the mitre). I didn’t take pictures of that procedure but will do so for my next Campaign piece. I did take a picture of the pins though.

Some of my scribbling.

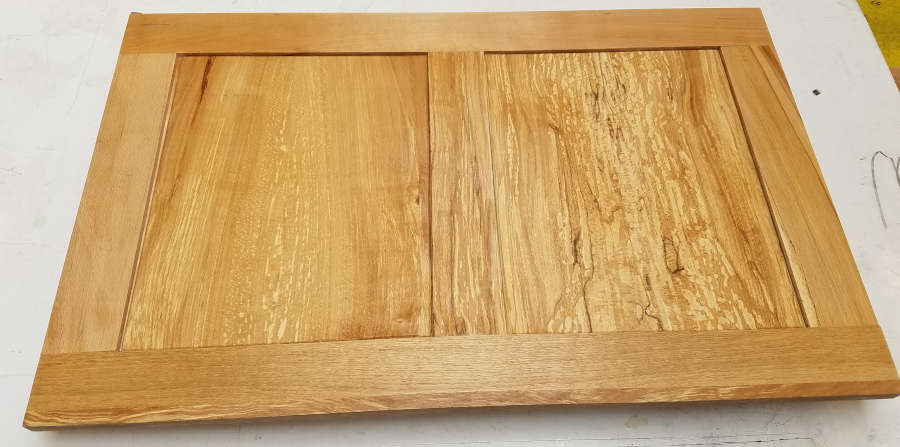
For the backs of these pieces (Chests and Secretaire) the norm was to use a simple boarded back that was screwed into the rebates in the carcass. Another method was a frame and panel. I chose a modified version of the frame and panel for mine. I used mostly offcuts for the frame and panel, but for the frame I needed non-spalted straight grain.

Frame and panel back for Campaign style chests.
My frame and panel back.

The back frame is 12mm thick (about 1/2 inch). I used a half lap here since I didn’t want to fiddle with mortise and tenon that small. The panel is slightly thinner and goes into a 5mm groove in the frame.

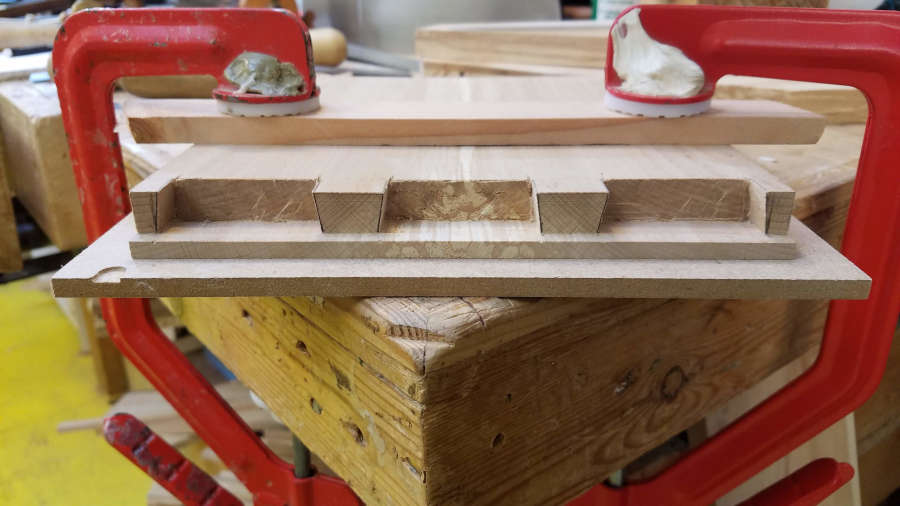
Web frame (webbing) for between the drawers.

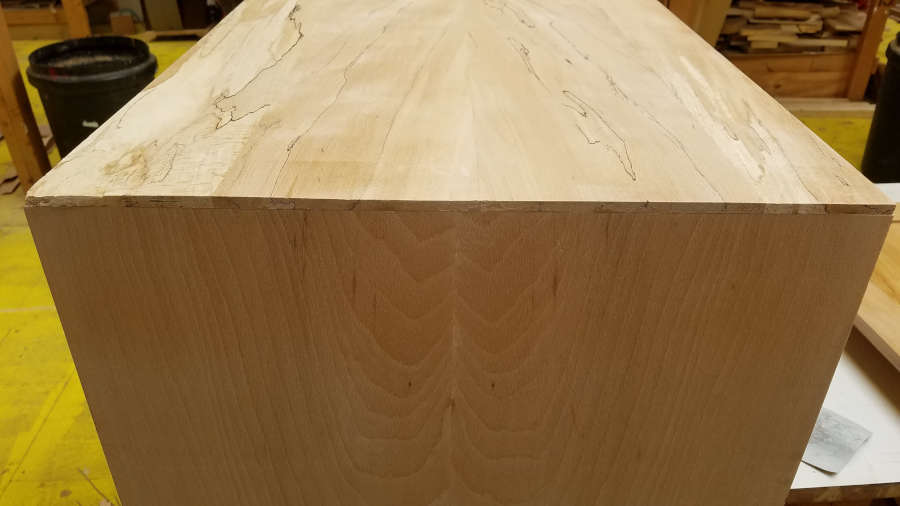
I had some leftover bookmatched flame beech but it wasn’t long enough to use for the backs, so they ended up in the webbing between the drawers. The web frame is the same thickness as the carcass or 18mm (about 3/4 inch). For this, I used mortise and tenon.

While searching for scrap beech I could use for the frames, I came across some oak that was the right length and thickness, so I laminated a piece of flame beech on the front and called it a day.

And I have a couple of boxes. Getting ready to build the drawers and gallery next.

The flame is beautiful, but I was not careful with this and damaged the soft wood on the left side.

To be continued…