Arts and Crafts style mirror with gilding.

One project that really took me by surprise while at the Chippendale school was a mirror that ended up requiring more brand new skills than I would have thought possible.

I already knew that I wanted to do letter carving and I knew which quote I would use. I first saw the quote “The lyf so short, the craft so long to lerne.” in a picture of a fireplace mantel in a craftsman style home of Gustav Stickley, who was one of the first, and most well known, US mission (arts and crafts) style furniture makers. I then did some research to find out that it is from a poem by Chaucer, called “Parliament of Fowls” which is about how love and life are crafts that take a lifetime to learn. It is also thought to be the origin of St. Valentine’s Day. That said, I only knew it as a quote about traditional crafts and still think of it that way.

It started out as a simple drawing. At this point, I was so focused on my other project that I didn’t put a lot of thought into the scale or proportion, but I knew I wanted an arts and crafts style mirror.

This plan lasted long enough to start dimensioning the lumber and then went through several modifications (in my head). Then, when we ordered the glass I realized I had designed the frame too large, so it went through another major modification.

I thunk and thunk and then thunk some more over the resizing and what shape the mirror should take but had already started laying out the letters since the letter size and font would tell me generally what shape the mirror would take. I knew from the beginning exactly which font I wanted to use on this as I’d seen it used quite often for arts and crafts lettering, but I just didn’t know what it was called. I searched several font websites and found it on https://www.dafont.com/dyer-arts-and-crafts.font and also on https://www.1001fonts.com/dyer-arts-and-crafts-font.html

This is a public domain font and is free for all kinds of usage.

Dyer Arts and Crafts font.

I didn’t want the letters too small as that would make the carving more difficult so when I settled on a size I printed them out, cut and spliced them into their lengths and lay them out on the lumber. Here I needed to make sure my kerning was consistent because I was splicing groups of letters together.

I was worried that as I started to outline the letters onto the wood with the gouges that the letters would move and I’d lose my place, so I also used graphite paper (carbon paper) to trace the outside lines of the letters. This turned out to be overkill and actually created more work for me because I then had to remove the tracing afterwards, which turned out to be more difficult and fiddly than I had planned.

You can see the result of the tracing paper in a few of the letters.

The letter carving itself was very enjoyable and cathartic. I would be so engrossed in my carving that hours would fly by and I’d have to force myself to take a break, stretch, grab a cuppa, chat with the other students, and then dive right back in.

Once I’d reached a point that my rough out of the letters was finished, I shellacked the letters. This was to exaggerate the roughness and show me where I needed to concentrate my efforts to smooth the sides and the outlines.

I’d shellacked the top row, but not the bottom yet.

The roughing out of the letters was the quick part. I spent more than twice as much time smoothing the sides and edges.

After the rough out of the letters. Next I’m on to the smoothing.
Getting there.

Once I’d finished the smoothing of the letters, I was ready to stain and then gild. I later found out that this was the wrong order and next time I’ll gild and then stain. The reason being that when I finished gilding I had to sand the surface in order to create the crisp edges, but doing that removed most of the stain. I then had to restain after I had finished sanding. Not a huge issue as the restain cost me a part of a day and I had to let it dry overnight before shellacking.

I also had to regild the letters as I initially didn’t follow the tutor’s instructions correctly. Richard Walker at http://watergild.com/ was the visiting tutor for our gilding instruction and was great to work with. He never cracked a joke and we always knew when he was being serious. 😉 After realizing my mistake and regilding the letters, I sanded then restained using my super secret mix of water dyes.

Some of the testing I did for the mirror frame. Not all, but some.

After letting the stain dry overnight, I shellacked the front side. This was so I could finish staining the edges without it bleeding into the front.

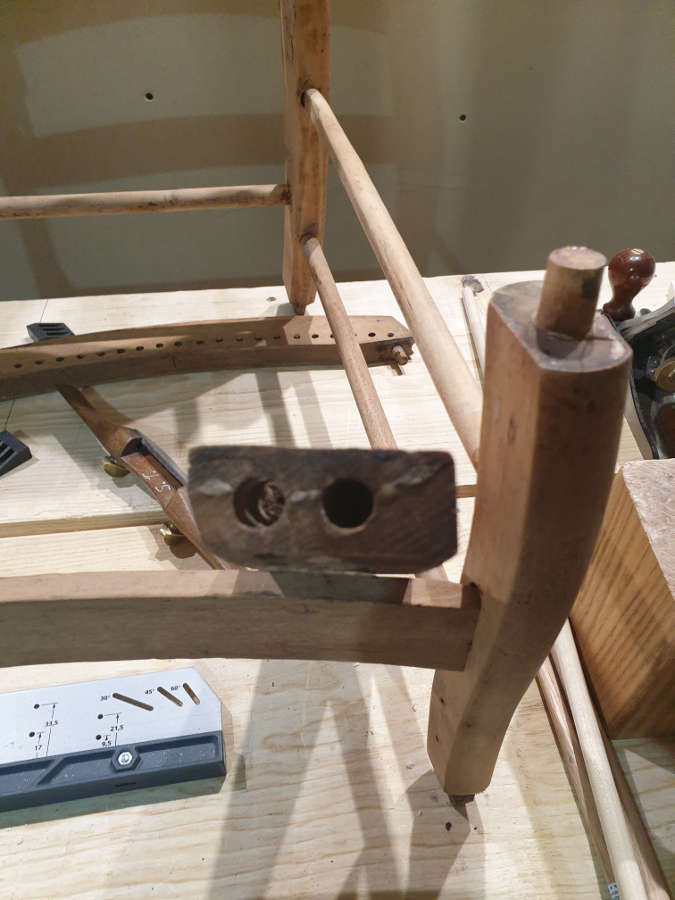
As I was doing all of this I also worked on the side pieces and created the mount in the back to hold the glass. I don’t have pictures of that, but may add some at a later date.

I also didn’t take pictures of the glass/water gilding on the glass, and I’m really kicking myself now. That process was incredibly interesting and I can’t wait to do another project like this. Again, Richard was excellent to learn from as he was able to walk me through the process several times (I kept getting sidetracked on other stuff and would come back and say, “uh, I can’t remember what you said to do here”). Very patient and a great teacher.

First, I laid out the background, which was white gold (I think it has an Italian name, but can’t remember). Then, I scratched out the outline of the roses. For each rose I started with red gold, then added white gold to the center. I then scratched out the leaves and used green gold. I finished by scratching out the stems and then painted over the back with black acrylic paints. I’ve really condensed the process here because I don’t have a photographic record of the steps, but even though there are a lot of steps here and I had to wait overnight for the water to dry before I could move on to the next portion, it went surprisingly quickly. I will post pictures of the process when I do my next glass gilding project.

And the finished product, with 7 coats of shellac. I’ll add more pictures later.

Late 19th C Empire Style Rocker Restoration Part 1

One of the first projects I’ve started working on since moving back to the US is a rocker I picked up at an antique shop. Normally, you don’t find a piece in this shape in an antique store, but it looked like someone wanted to have a go at it and then gave up. The caning had been removed and some of the paint (original dark red) had been removed, but other than that it was just in a sorry state.

Someone got started on this project but didn’t have the time or desire to finish it.
A previous repair.

As I went over this piece, I noticed some things that I would change when I rebuilt it. An example is the rockers, which split along the grain in several places. I’ve decided not to try to reuse these rockers, as I did some experimenting with glue-ups and looked at all the holes created by other repairs and figured it wasn’t worth it.

Another thing I decided to change is how the seat was put together. There were two dowels holding the sides to the front and back pieces of the seat. The side pieces were curved and they split in the short grain.

These side pieces of the seat split along the short grain at the edge.
A bit blurry, but you can see where it split through both dowel holes and then up through the top.

Other than that I didn’t see much that I wanted to change so I took the chair apart.

Once I had the chair apart (except for the top rail and the side piece that I think had been glued together with epoxy or similar) I stripped and cleaned the pieces so I could better evaluate each piece and the joinery.

This is when I found that the frame for the back caning had split into dozens of small pieces, so this will need to be replaced.

Next up in part 2 I make parts for a new seat frame.

Small Oak Serpentine Dresser

So, my glacial progress on these first restoration and repair projects has been a bit disheartening, to say the least, but I’m within spitting distance of finishing the small oak dresser, so here we go.

This is the 2nd project in a group of about a dozen that I’ll be working on in between my day job and getting my workshop insulated (which I will write about in another post). It is an oak dresser that originally came with a mirror. The mirror may be in the group of mirrors that I received with these projects, but I have not tried pairing them yet. The dresser is likely early 1900s or, less likely, late 1800s. The drawer fronts and top are solid oak and the interior is in good shape. The casters are original wood wheel and brass and the drawer hardware appears to be original as well.

Serpentine front small oak dresser. It’s in pretty good shape except for some burns, water stains, and other discolouring.

The dresser was not in bad shape but required some work done to the damaged top, so I got out the card scrapers to remove the burns, then filled the shallow divots with shellac which I coloured to match the rest of the top. Some alcohol and a scrubber got out most of the rest. I then put a few coats of shellac and then some dark wax (Kingdom Restorations). Clare, a tutor at the Chippendale International School of Furniture used to say, “Dark wax can hide a plethora of sins.” In this case, it helps even the tone across the top.

I also needed to replace a damaged runner. This was the only “woodworking” needed for the project.

Damaged runner on the bottom.

I then cleaned out the corners of the panels of the frame and panel sides. This may seem like a nit-picky thing, but in this case, I wasn’t going for a heavily patinated look. Getting rid of the black gunk in the corners just sharpened the edges and “youngened” it up a bit.

I replaced the old casters with reproduction casters from Van Dykes Restorations. The new casters are beautifully made and all I needed to do was plug the old holes, then drill new holes for the new casters.

New caster wheels were just a wee bit larger than the old ones, but the larger wheels roll more smoothly over carpet or rugs. The new casters also have ball bearings – very nice.
This picture shows a hole that has been plugged and is ready to be drilled for the new caster.
This shows that on one of the back legs there was some separation between the different sections of the leg, so I used the glue squeeze out from the peg to put those back together.

While I was working on the casters I noticed that when they were making this dresser, they used a table saw or similar to cut the mortises for the side rails.

On this side you can see the kerf of the saw, so it looks like it took 2 passes to get the right width for this tenon.
For the two top short drawers, the saw just went the entire length.

After this I noticed that the stiles for the side panels were starting to separate so I cleaned the old hide glue out and cooked up a few ounces to re glue.

The hardware was not in horrible shape but a few of the bail pulls were either missing rosettes or the rosettes were damaged so I searched E-Bay and found some nice ones and also found some that I liked at Van Dyke’s Restorers. Even though I found some knobs there as well, I decided to keep the original.

Old knobs and new pulls.

One thing I didn’t replace (yet) is the missing escutcheons for the two top drawers. Why, I can’t even begin to say, except that brain farts are real.

I just have a few fiddly bits to finish up like the escutcheons and runner blocks for the drawers to keep them from jamming, but other than that this has turned out to be a very pretty and usable piece of furniture.

Don’t look at the missing escutcheons!
Before re gluing the sides.
Top turned out beautifully. The cigarette burns and other stains came out very well. There is one divot that I didn’t fill because it was wide but shallow and I figured it was not very noticeable. If I had this to do over again, I might put the time into filling and colouring it, but probably not.

I’ll probably take a look at some brighter, shinier hardware for this one, but I doubt that I’ll go with it. I like the darker hardware on this. I will probably post some pictures with the brighter stuff though, just for comparison.