
You can read part 1 here.
It’s been a while since I’ve done anything with the mirror, so I had to go back over what I had actually accomplished since then. That took all of 5 minutes because all I had done was remove some loose pieces and do a bit of cleaning.
I had more time to work on the piece so I got out my super high-tech wax heater and mixed up a batch of hide glue.

I’ll write a separate post about how I mix and make my hide glue.
While the hide glue was heating up, I went back over the surface area for the loose pieces that needed to be reattached.


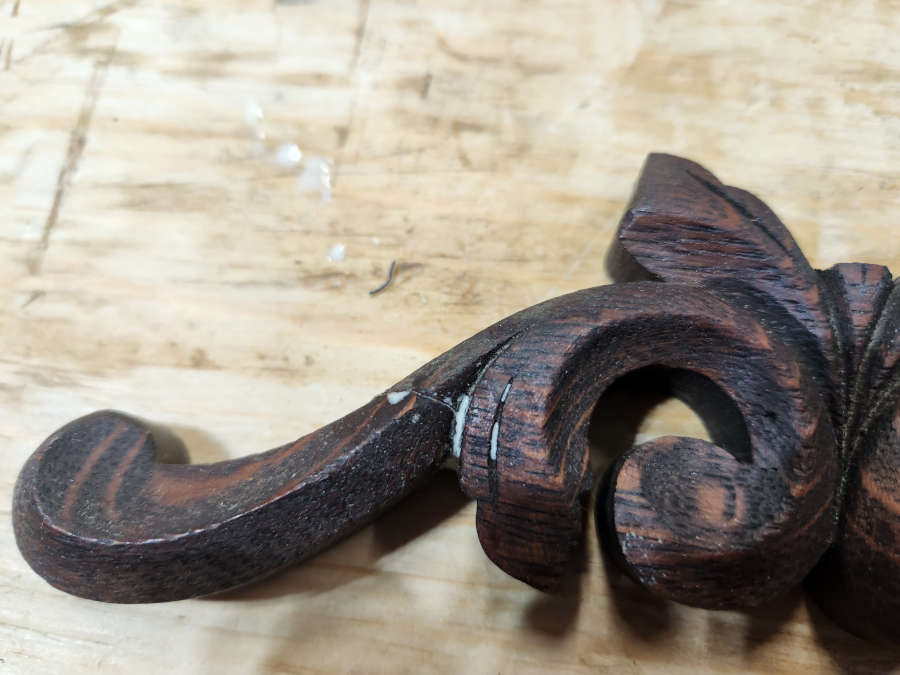
I also glued the top piece back together.

One thing I wanted to touch on here is that when I’m doing repairs, I’ll use different types of adhesive or glue depending on what I’m working on. If there is a piece that is broken and needs to be put back together, then I’ll use wood glue or possibly epoxy. However, if I’m attaching parts to a frame or to other parts, or if I’m putting a joint back together (mortise and tenon, bridle joint, dovetail) then I’ll use hide glue.
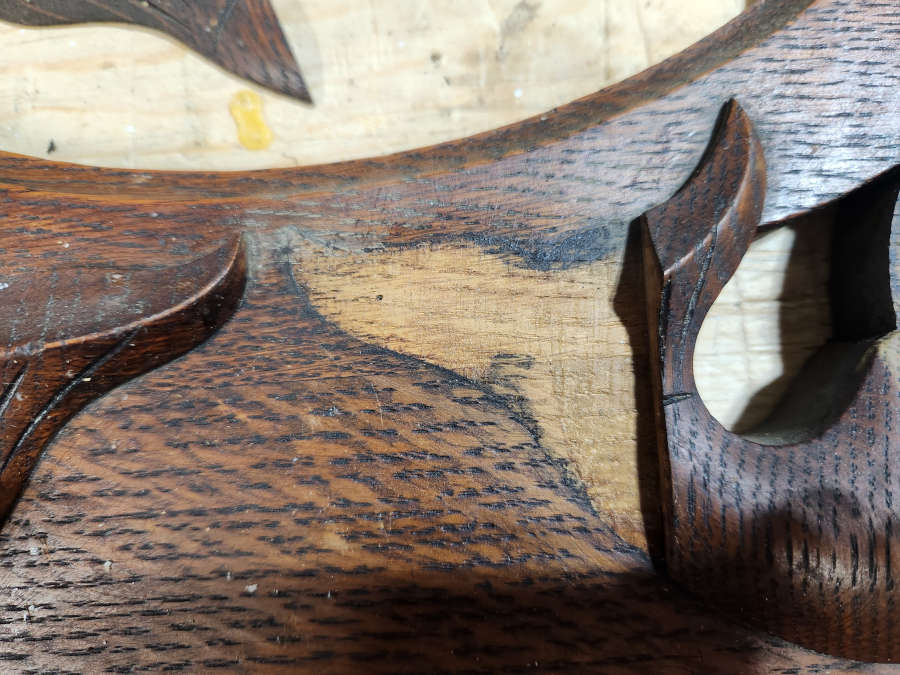
Once I had all of the pieces reattached to the frame, I started working on the pieces that were missing. On this frame there were only two pieces missing, and they were both very straightforward and required very little carving.


Once the glue had dried, I chiselled it down.


The triangular piece took a bit more fiddling but was not difficult to carve down to shape.

I started with a small rectangular piece and slowly filed away a portion just to get it to fit in that space. I made sure the grain matched the piece next to it. I knew the piece was bigger than I needed, but that was not an issue as it gave me something to hold on to while I filed it.


Once I had the corner filed I glued the piece in place. I then began carving the piece to match.


I had also glued back together the frame itself since it was in pieces.


So this is where I am now. This picture doesn’t show it, but both of the new pieces have been carved and are ready for color matching. I’ll get started on that and will have it in the next post.