
This is continued from my first post.
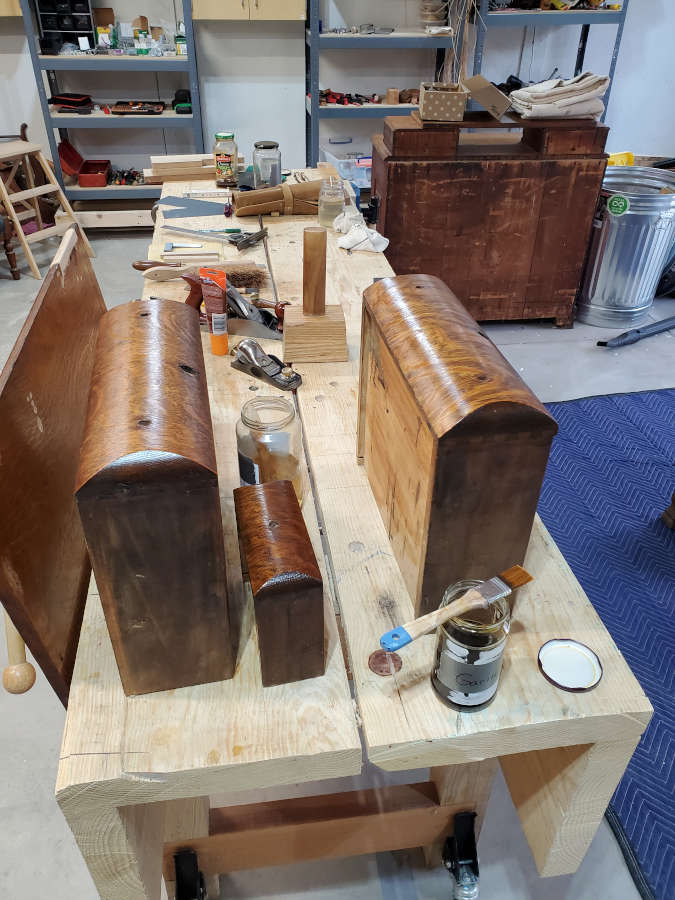
I’ve reached the point where I have taken the piece apart and cleaned each part individually, looking for weak or loose joints, damage to solid wood or veneer and other issues. I’m now ready to start fixing the individual items.
On a side note: I’ve been looking for some maker’s mark or indication of where this piece came from, and have not found anything to narrow it down. I’m pretty sure it’s late 1800s, but it could be very early 1900s (up to 1910).
Back to the topic at hand. One of the things I noticed when disassembling the piece is that the back did not appear to be original. The rebate in the back is 3/4 inch, but the sheets that were used for it were only 1/4 inch. The pieces that made up the back were not plywood, but what appears to be poplar (or something similar).
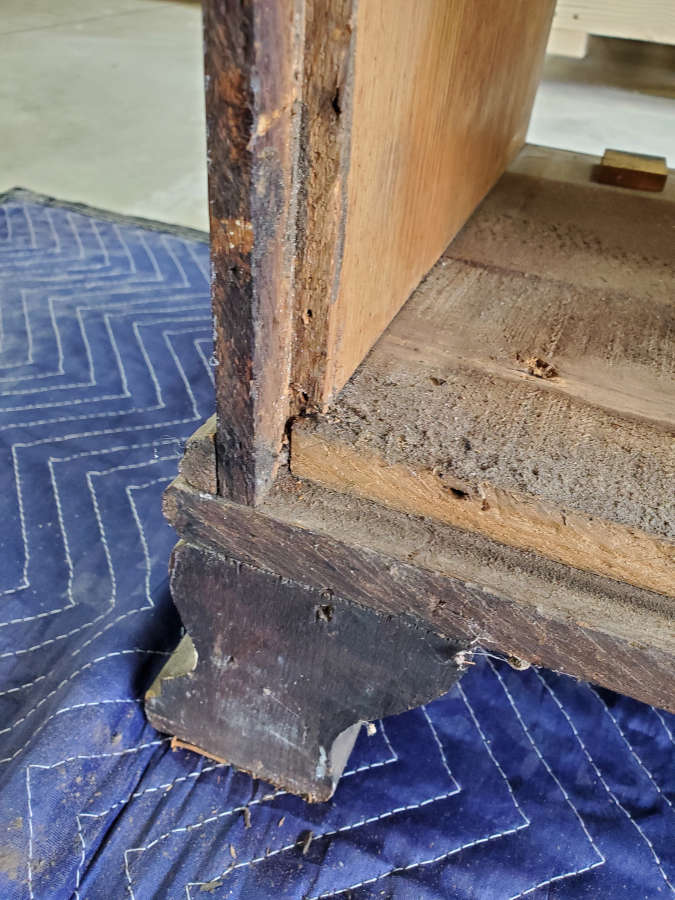

The back had split in a couple of places and I didn’t want to muck about with it, so I took it out and will be replacing it with a frame and panel (actually two). This will stiffen the carcass much better and keep the piece from racking. I have a feeling that racking caused the splits in the back since the thin sheets didn’t stiffen the frame nearly enough.
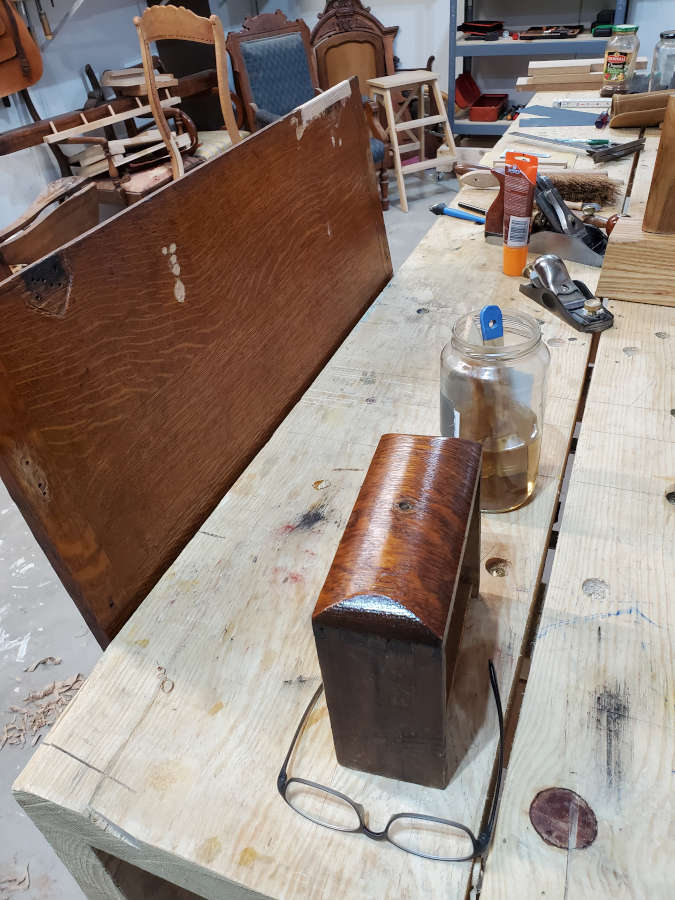
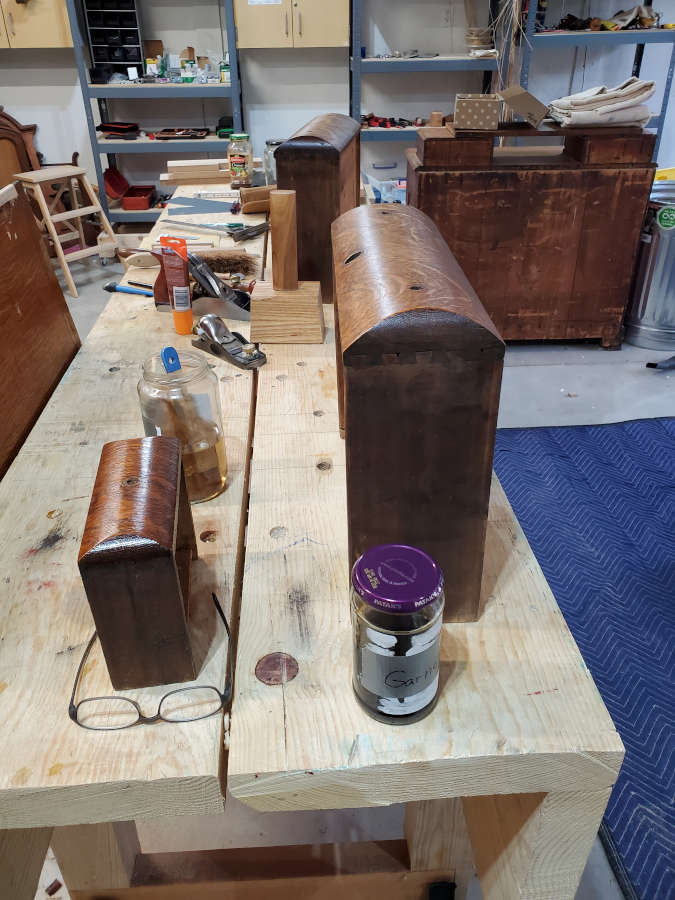
I have gone over the drawers and doors, cleaned them up, removed marks, and then colored and shellacked them.
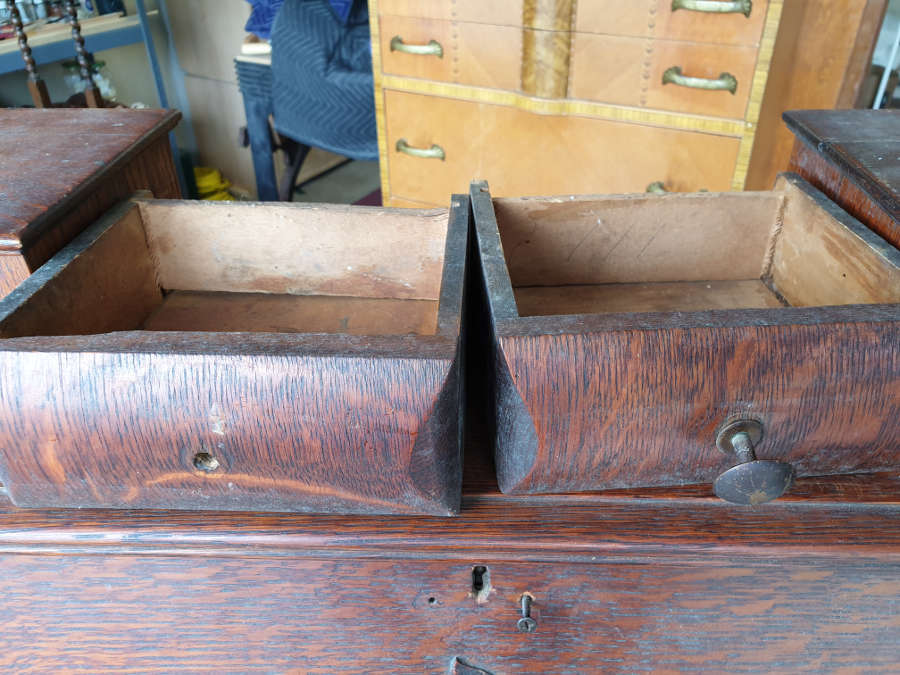


The doors just needed some cleaning. In the picture above you can see the bottom left corner has separated. I reglued this corner, and they are now ready for the new glass I had made for them by a local glazier. I don’t have any pictures of them with glass yet, but I will post some soon.
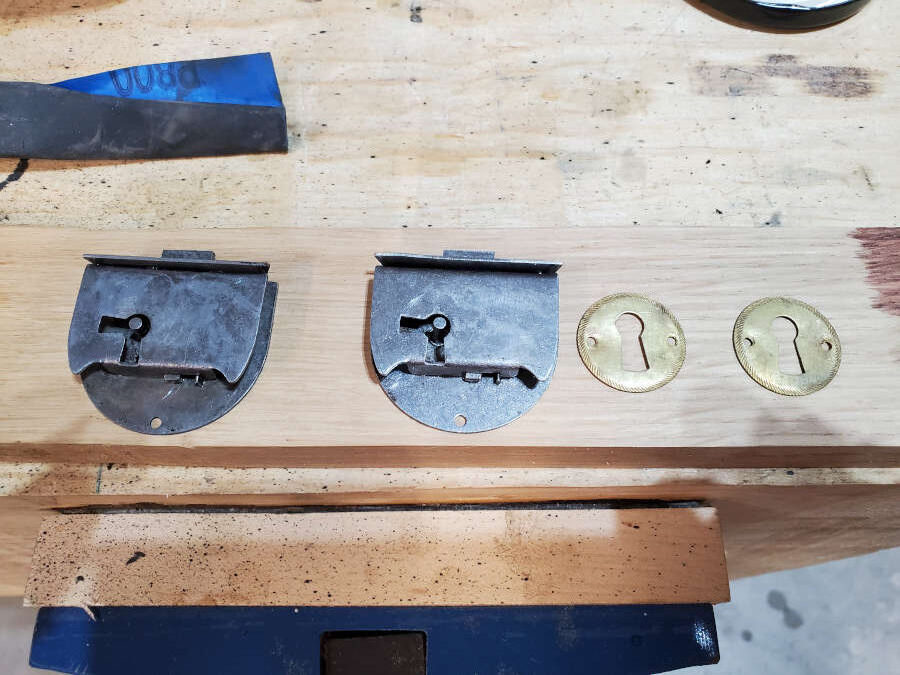
The next post will focus on the physical repairs I’ve made to the hinges of the desk. This is the most involved part of the restoration and so it’s the part I’m really taking my time on.