
You can find part 2 here and part 1 here.
I’ve made some progress on the bedside stand since last we met. I’ve taken the piece apart to clean the joints and make them stronger.

This stand is actually a great example of an older piece that has some pretty interesting “quirks”. Many of the joints were pretty loose and I could see that in a couple of spots the glue was used to fill the significant gaps between the tenon and the mortise. I also noticed that the bottom had been replaced and the new bottom could not be fit into the slots made for it, so a small piece of wood was scabbed onto the front so the bottom just sat on it.

There are also some mortises that are not in the same place on the matching stiles (crooked). That said, this piece has lasted a lot longer than some of the modern “disposable” furniture, and once I am finished with it, it will live on much longer again.
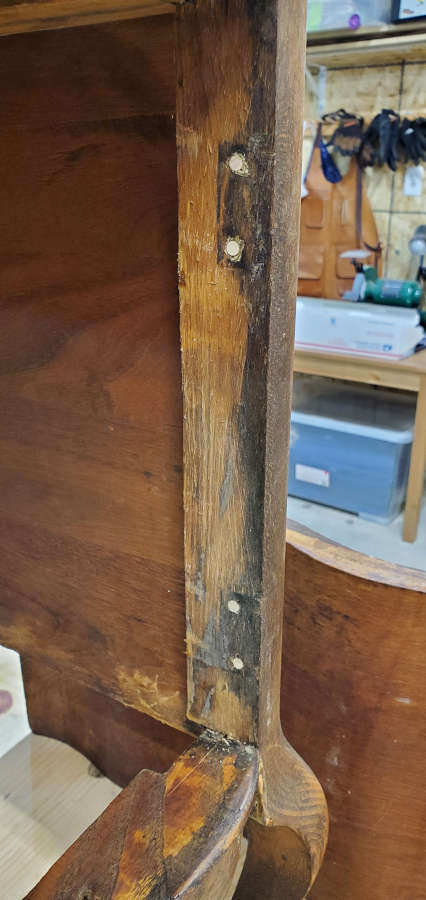
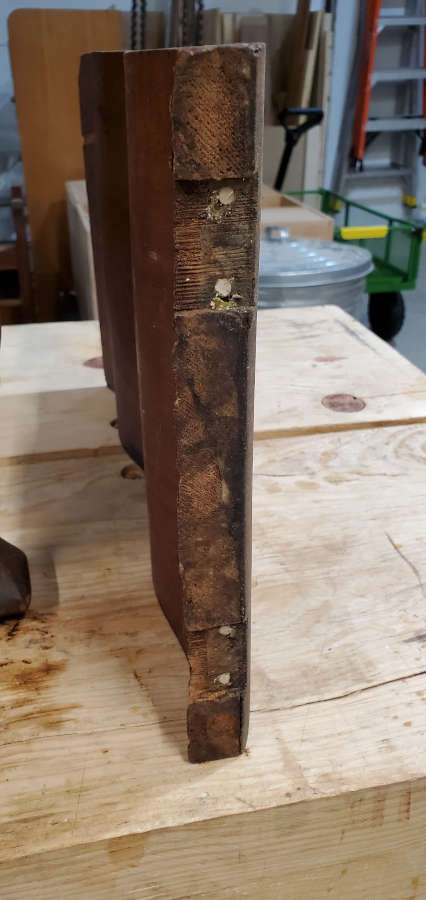
The fire damage was not just to the top but also damaged the leg.

I have scraped away much of the fire damage here and have filled the split. I’m not sure if I will do anything else to it or not as it’s barely noticeable.
One of the more fiddly bits with this piece has been fitting the door. This because the sides are not square and the bottom apron is quite loose and will need to be squared to the bottom of the door. When I removed the door I knew I would not be reusing the screw holes from the previous hinges, so I plugged them with dowels and drilled new holes for the new hinges (nice brass hinges).

Now onto the back of the stand. The original panels were extremely warped and split so I replaced them. As I was getting into this, I noticed that the top rail was also very warped and twisted so I replaced them all.


Making a replacement rail was very straightforward. I used the original as a template and got out my plough plane to cut the groove.

I have everything back together and after I adjust the bottom apron, I’ll be ready to start coloring.

My next post will likely be after I get started on the coloring and finish.