Military Campaign Furniture

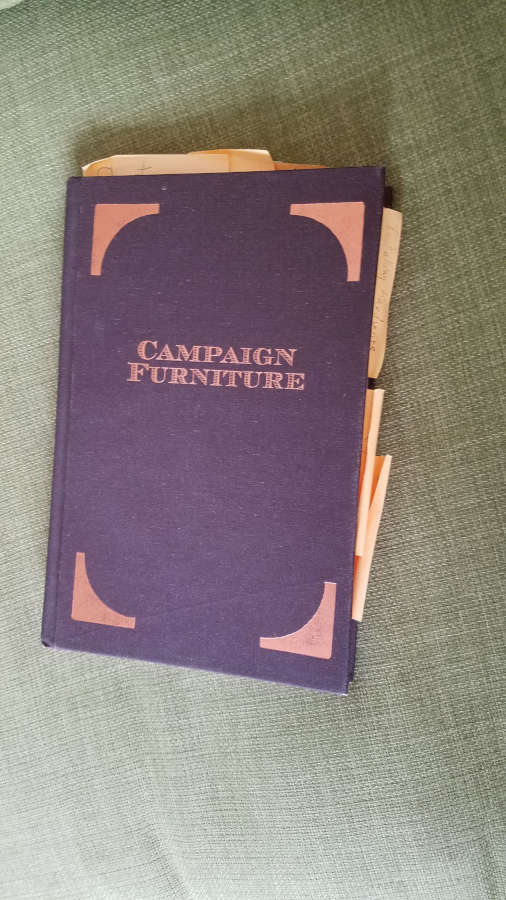
I’ve recently (within the past year) become interested in Military Campaign Furniture. This is something that could, and has, filled books. The one that I have is now very well worn as I have been using it almost every day for a project I’m working on. Campaign Furniture by Christopher Schwarz at Lost Art Press has been indispensable for most of my research on Military Campaign Furniture.

https://lostartpress.com/collections/books/products/campaign-furniture

I like sticky notes.

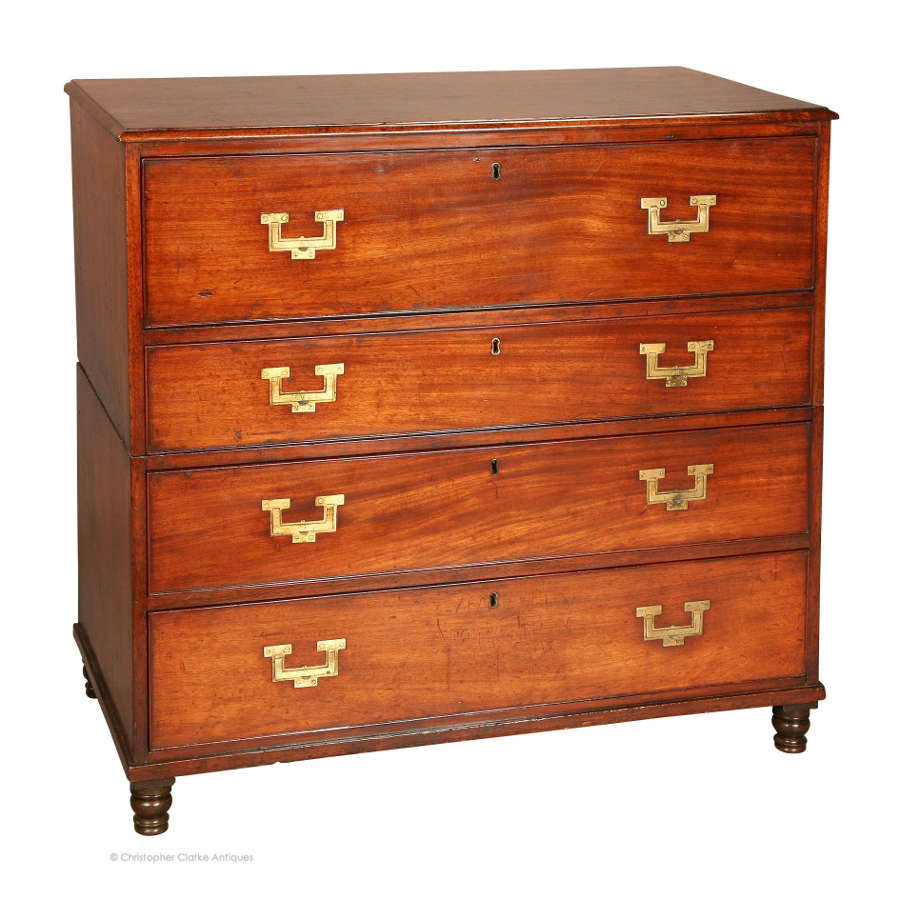
That said, I’ve also chatted with Simon Clarke at Christopher Clarke Antiques, who specialize in Military Campaign and Metamorphic furniture. They have a blog as well that I’ve used quite a bit, but more than that Simon has been very helpful in answering questions I’ve had about the furniture.

And I’ve also found that Pegs and Tails has quite a bit of valuable information on Campaign furniture as well. You’ll see that I refer to Pegs and Tails quite often as it has become my source for period furniture construction techniques and antique furniture identification more than any book or any other website.

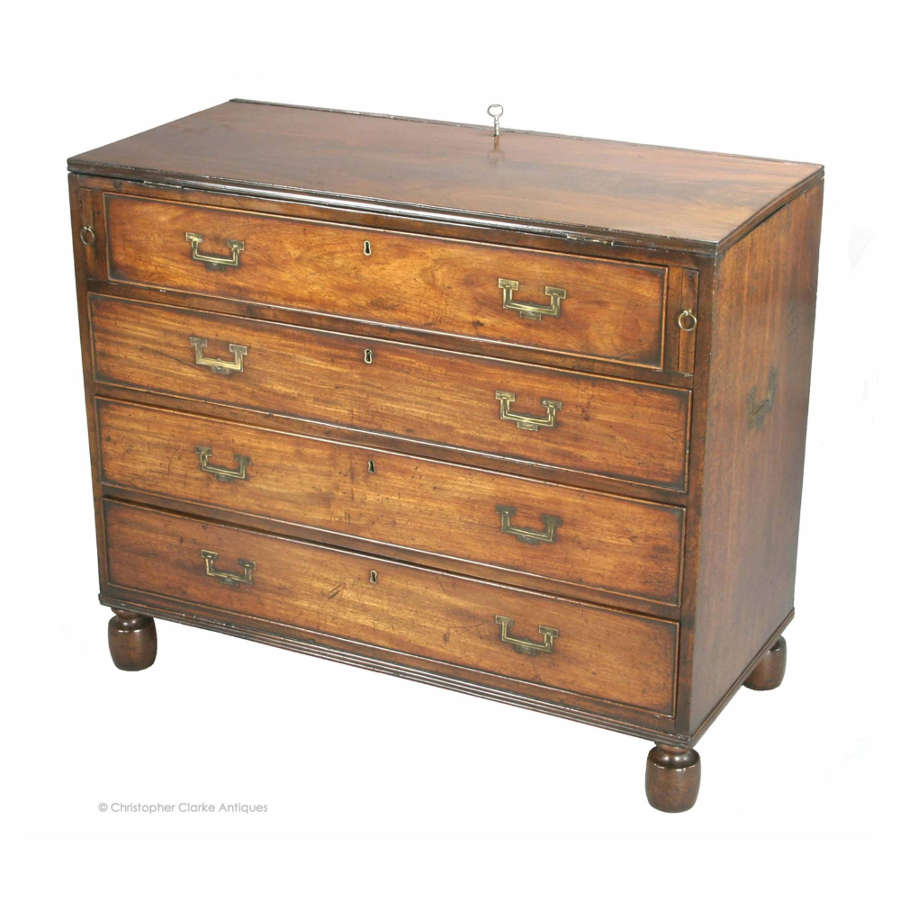
So before I even knew what my Campaign piece would look like, I had already been researching the style and construction for a while. I knew I wanted to make something that I could take up and down narrow stairwells without too much trouble. I knew that I wanted to use brass hardware. And I knew that I wanted something very sturdy, which is what Campaign Furniture was designed for. After that, I had to figure out what it would look like.

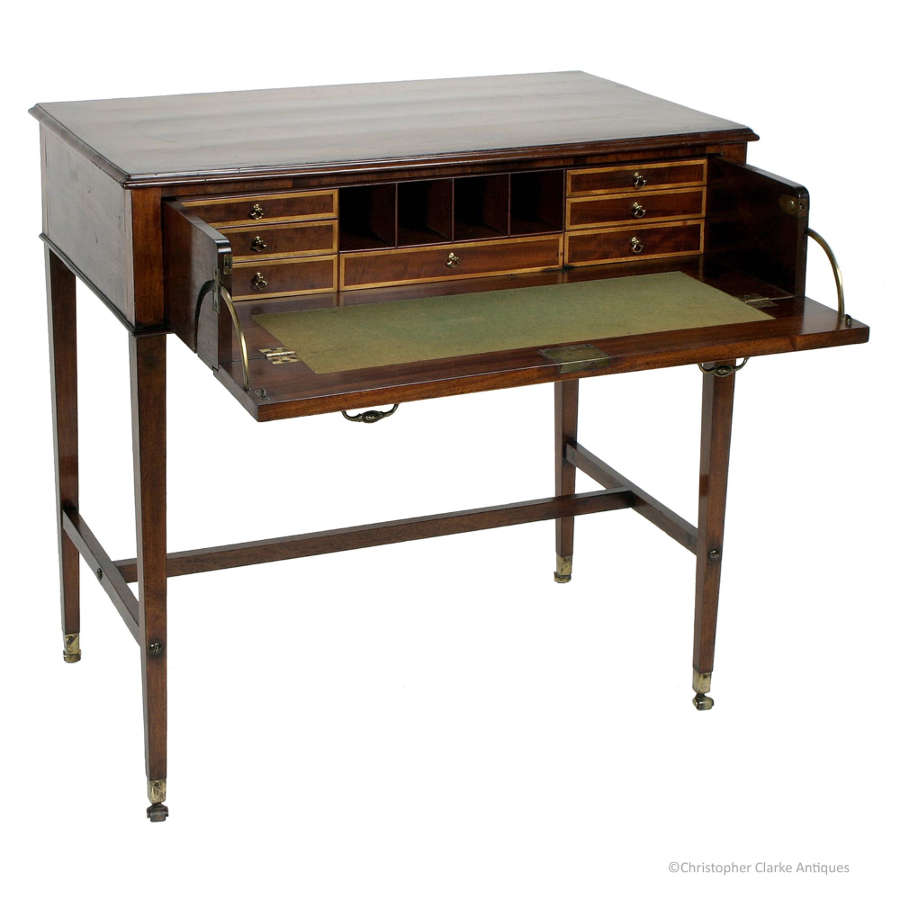
I started out with something closer to a side table. It was high enough to use as a writing surface, which started me thinking about a desk.

Figuring out proportions.

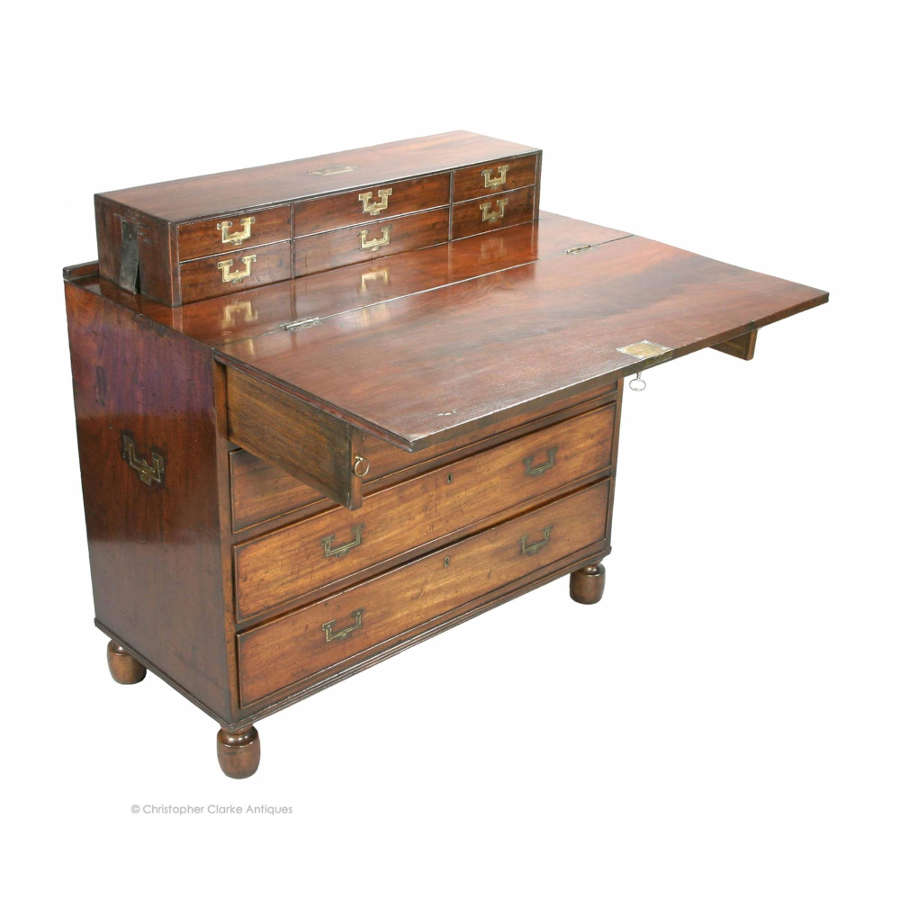
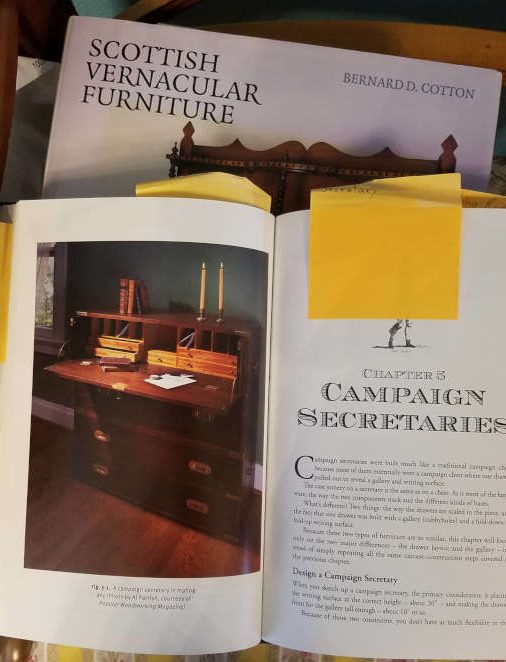
I then added a second chest, slant front, lopers and a gallery for my desk.

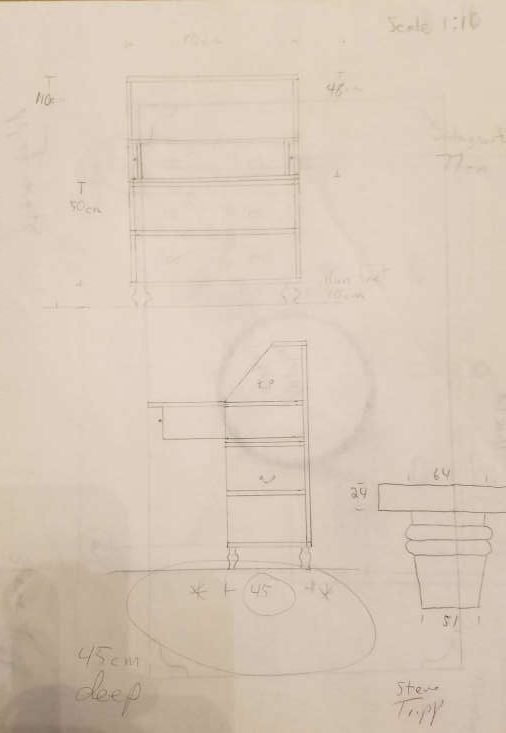
I was almost ready to start prepping the lumber.

But the slant front wasn’t doing it for me so I thunk, and thunk, and then thunk some more and decided on a pull out gallery. From this point I don’t have drawings as I had putzed away so much time up to now I had to get started.

One of my other favourite books in the background, Scottish Vernacular Furniture by Bernard Cotton.
This option would use quadrant stays instead of lopers to support the writing surface.

I had already figured out the gallery portion and knew the height and depth.

I then worked out the height of the desk, compared to the height of the chests and figured out the height of each drawer.

I was finally ready to start constuction. In my next post.

Campaign Style chest. Part 1

One thing about building Campaign Style chests is you gotta love the dovetail. Alot.

Hogged out the majority with an electric router.

The dovetails were easily the most intimidating part of the carcass build, so I wanted to practice before I started on the project. I had some scrap pieces of beech that I thicknessed to be the same as the chest would be. I found an excellent tutorial for full blind and secret mitre dovetails at http://www.mikes-woodwork.com

There are so very many videos and blogs that show and/or describe how to make standard through and half blind dovetails, but there are surprisingly few that show how to make full blind and secret mitred dovetails. Even so, I did find several to choose from and always came back to the mikes-woodwork site. His instruction really worked for me and I used it for all subsequent dovetails for the project.

The reason I was looking into the full blind and secret mitred dovetails is that they were used in period pieces, mostly for the top corners. I checked some pieces locally and found that some had half blind and some had full blind, but I haven’t found a secret mitred carcass yet.

And just a warning. I’ll use “half blind” and “half lap” dovetails interchangeably so if you see me change from one to the other in mid-thought I’m still talking about the same thing.

Laying out my lines.
The three pieces with the rebate.
Cut your pins first. It is easier to transfer the pins to the tails with this kind of joint.

Several years ago when I was just beginning to play with joinery, I learned to cut pins first. Not because I watched Frank Klaus or anything like that, but because I found it to be much easier to transfer the pins to the tails. At the time I thought I was cheating or doing it wrong, so I then learned to cut tails first. Since the question, Pins or tails first, has become such a volatile debate, I don’t usually say which way I think is best. That said, I haven’t made enough dovetail joints to even be considered a beginner.

With full blind dovetails you don’t have to worry as much about the proportions of your tails to pins, so make them both big.

I used a mitre jig to reference my chisel from the top and bottom.
And for my first try it wasn’t too bad. Surprisingly little cursing and hardly any crying at all!

Even though my trial run on the hidden mitred dovetail went OK, I decided not to use them in the project. Instead, the two top corners are full blind dovetails (without the mitre). I didn’t take pictures of that procedure but will do so for my next Campaign piece. I did take a picture of the pins though.

Some of my scribbling.

For the backs of these pieces (Chests and Secretaire) the norm was to use a simple boarded back that was screwed into the rebates in the carcass. Another method was a frame and panel. I chose a modified version of the frame and panel for mine. I used mostly offcuts for the frame and panel, but for the frame I needed non-spalted straight grain.

Frame and panel back for Campaign style chests.
My frame and panel back.

The back frame is 12mm thick (about 1/2 inch). I used a half lap here since I didn’t want to fiddle with mortise and tenon that small. The panel is slightly thinner and goes into a 5mm groove in the frame.

Web frame (webbing) for between the drawers.

I had some leftover bookmatched flame beech but it wasn’t long enough to use for the backs, so they ended up in the webbing between the drawers. The web frame is the same thickness as the carcass or 18mm (about 3/4 inch). For this, I used mortise and tenon.

While searching for scrap beech I could use for the frames, I came across some oak that was the right length and thickness, so I laminated a piece of flame beech on the front and called it a day.

And I have a couple of boxes. Getting ready to build the drawers and gallery next.

The flame is beautiful, but I was not careful with this and damaged the soft wood on the left side.

To be continued…

Campaign Style Furniture design, part 1: brass hardware, straps and corner mounts.

Campaign furniture spanned more than 200 years of English furniture periods from the Georgian through to the mid 20th century. Even though it was around for so long the campaign-style did not change much in those 200 years, which could be attributed to a couple of factors. First, since the furniture had to be mobile and sturdy for use on or near battlefields there are arguably a limited number of ways to build that furniture. Second, the clientele were military officers to begin with, who tended to be staid, conventional, and reserved in their tastes and styles.

I believe the first campaign furniture was made for British naval officers in the early Georgian period (the early 1700s). I’ve perused the Christopher Clarke Antiques Blog and Christopher Schwarz’s book and haven’t found anything definitive on this and will probably follow up with more posts on the history itself.

One feature of campaign furniture that tends to stand out (and is used heavily in contemporary interpretations) are brass coloured straps and hardware.

Brass coloured straps are a decorative element in modern furniture. You will likely find that on modern pieces the straps, corner mounts and related parts are not recessed and installed flush, but are proud of the surface. Another difference is that the straps and hardware will likely be fixed with tacks, pins, or small nails. You may also find the pieces glued to the carcass.

The utilitarian and mobile nature of Campaign furniture means that the brass hardware is functional as well as decorative. Brass straps and corner mounts protect edges and corners. Straps may also help to keep sides from bowing or flexing and creating gaps.

A corner mount.

Corner mounts will usually be flush with the wood, which requires time and effort and would be difficult to automate. The screws will be countersunk slotted screws and again flush so as not to catch on anything while moving it.

Brass straps.

The brass straps are also mounted flush and protect the edges and possibly keep the sides from bowing or flexing since they are of solid wood (mahogany, teak, or in this case, oak).

For part 2 I’ll talk about the drawer hardware.

Campaign Style Furniture design, part 2: Patent (metamorphic) furniture.

This is continued from a post about Campaign Style Furniture I wrote a while back.

All photos in this post are from the Christopher Clarke Antiques website https://campaignfurniture.com

The first thing about Campaign Furniture that got me interested in the style was that many of the pieces broke down for travel or had hidden uses. Some of these designs seemed playful in that what looked like a chest of drawers turns into a desk, or when a small table breaks down into a briefcase-sized box with carrying handles.

A Campaign Secretaire Table. Circa 1790, in mahogany.

I find a piece like this just fantastic as it packs so much utility into such a small space.

Legs and stretchers are stored inside.
This is one of my favourite designs. The gallery and writing space are large enough to be useful and small enough to be mobile. The stretchers are very important as without them the legs would not last a day, especially on uneven ground or with the racking and twisting of use near a battlefield.

The chests that convert to secretaires or desks are beautiful pieces. There are several different methods of hiding the writing surface and gallery, like below where the top folds out and rests on lopers and the gallery pops up on springs.

Georgian Military Campaign Chest

The following is the most prevalent style though and is what I styled my campaign chest after (I’m still working on it and plan to have it finished sometime this millennium). My drawings (from my other post) show that I am using the quadrant stays like the following example, instead of lopers like the above example, to support the writing surface.

Chest Secretaire early 19th Century

One thing that I found while planning my campaign chest is that much consideration must be given to the height of the drawers so that the writing surface is comfortable to use. Once you get the writing surface at the correct height, you then have to look at the size of the drawers and if you want symmetry from top to bottom. In my case, I decided to go with a larger drawer at the bottom and top and then smaller drawers in the middle. This was also factoring in the height of the feet.

Patent furniture and campaign furniture are not the same. Patent furniture became an important part of a military officer’s inventory because of its great utility, but some campaign furniture is not patent furniture, but simply breaks down for travel or is made to be more durable (with brass strapwork and corner protection).

My next post on campaign furniture will be when I start working on my own piece again. Hopefully soon.