Veneer pins.

One of the most valuable things I’ve gained from being a student at the Chippendale International School of Furniture is access to antique, and even ancient, furniture that I’d only ever seen in books and online. We have visited homes and museums and have enjoyed access to furniture that I didn’t know existed. We have also had access outside of school to auctions and antique shops where I’ve fondled and caressed (not in a creepy way) beautiful antiques and vintage pieces of furniture for much longer than was appropriate.
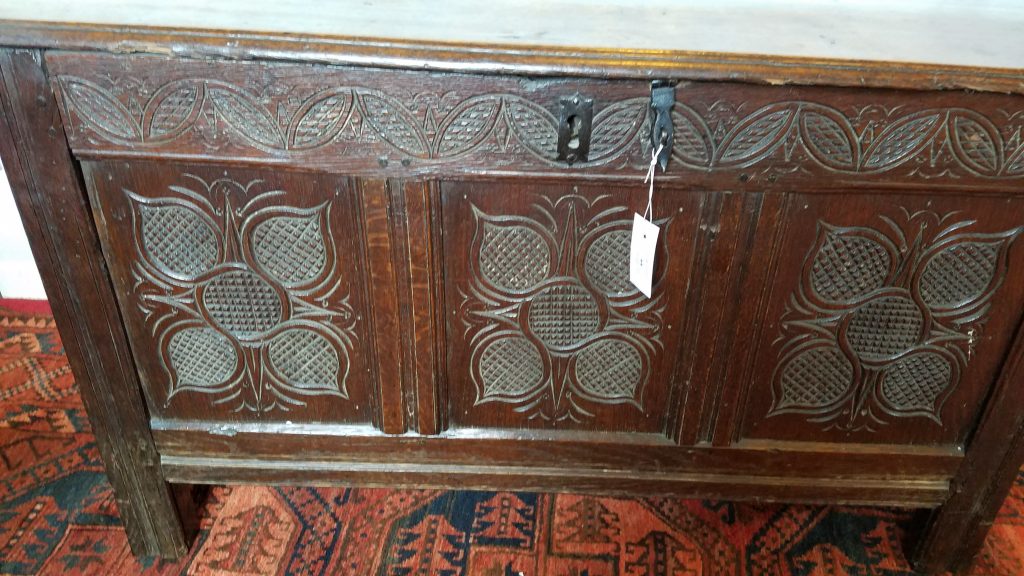
Late 17th C. Oak Coffer

Late 18th C. George III Style ‘Chinese Chippendale’ Mahogany Urn Stand
Mid Century Modern Le Corbusier

I’ve been taught since I was young that when at any museum, or in the vicinity of delicate antiques, you ‘look but don’t touch‘ , so it’s been an amazing treat to be able to visit museums and homes and have that extra bit of access where you can touch the pieces, pick them up, turn them over and look at the underbelly because, in order to really understand how furniture was made, you have to look under, inside, and behind that piece. I first learned this from a blog, Pegs and Tails, that I’ve been following for a few years, and also from Peter Follansbee’s blog but since starting my furniture class I’ve had a chance to experience this first hand.

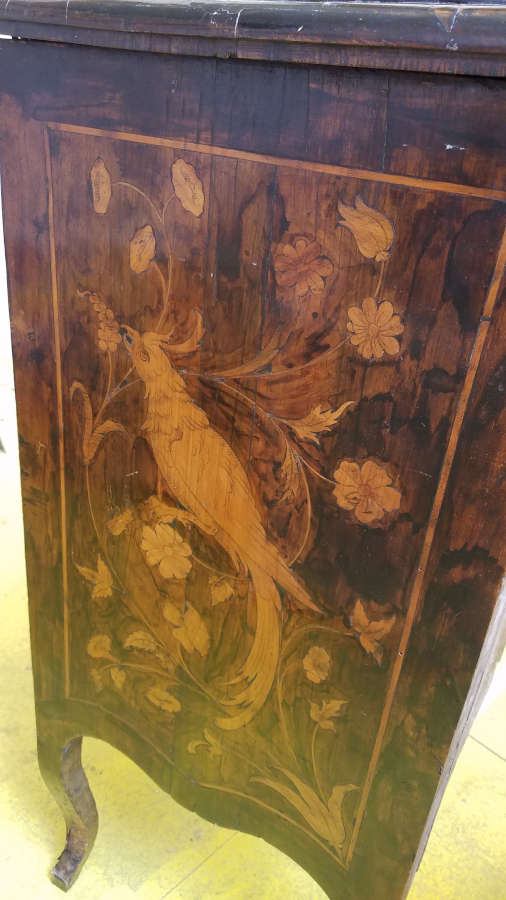
I’ve been able to see and help work on some wonderful pieces of furniture that have come in the School since I began my classes. From damaged chairs to cabinets, desks, dressers, and tables, they have all fascinated and intrigued me, but one particular moment that stands out to me is when a late 18th C. (around 1780) Italian table came in for repair/restoration. I’d not seen a piece like this before, but was immediately drawn to it because as soon as I started looking closely I could see so many wonderful and intriguing things about it.

Late 18th C. Italian table needing some TLC.
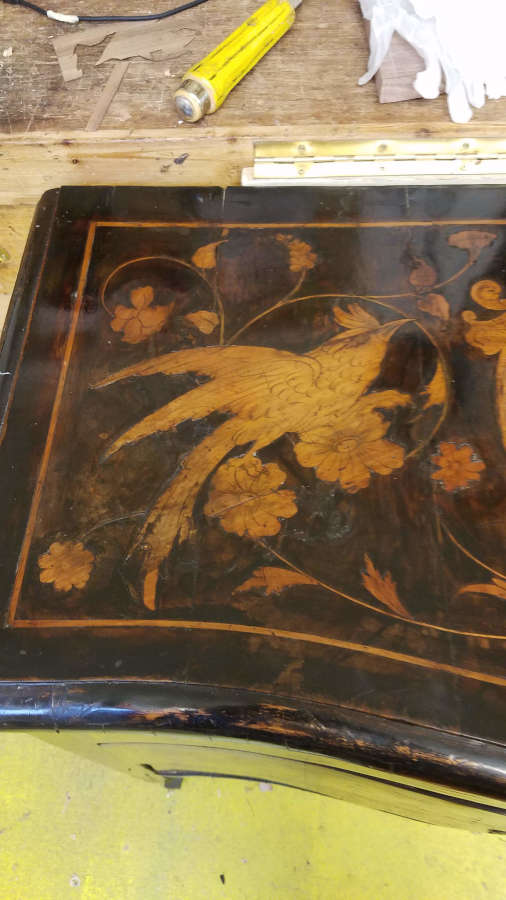
Closer view of the top.

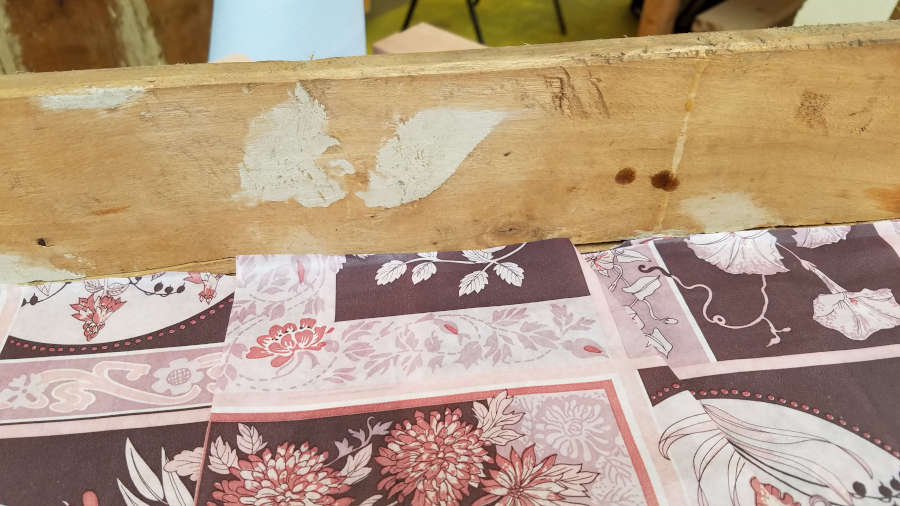
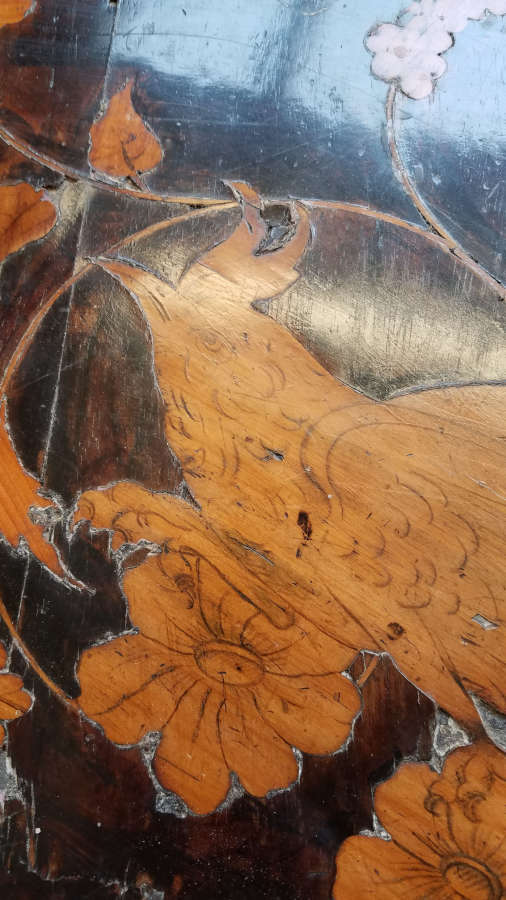
But the one thing that caught my eye was when I saw some holes in the veneer and marquetry that didn’t look like normal wear and tear.
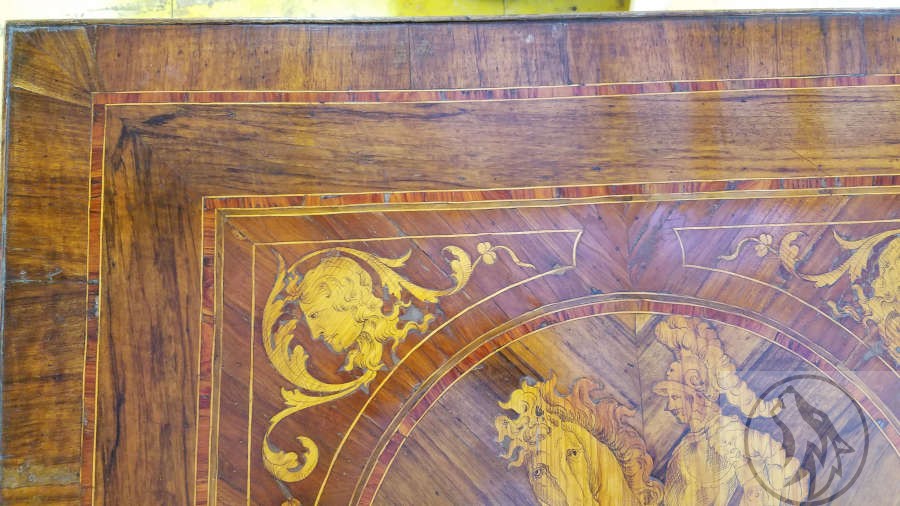
I knew that I remembered seeing this somewhere, so I went back to some blogs I follow and found it in the Pegs and Tails blog in a post called “A Thorny Subject” dated 15 Jan 2012. He talks about veneer pins, which were used in period veneer work. They were made of thin sheet steel and guillotined or sheared with a taper. The edges were sharp enough to cut fingers so they were made to cut through the veneer instead of wedging into it. I’ve not found any sheered veneer pins for sale today (only round), but it may just be that my Google-Fu skills are rusty.

Per the article, the veneer pins were often used on uncooperative veneer in corners, on either side of a split or joint, or anywhere the veneer refused to cooperate.
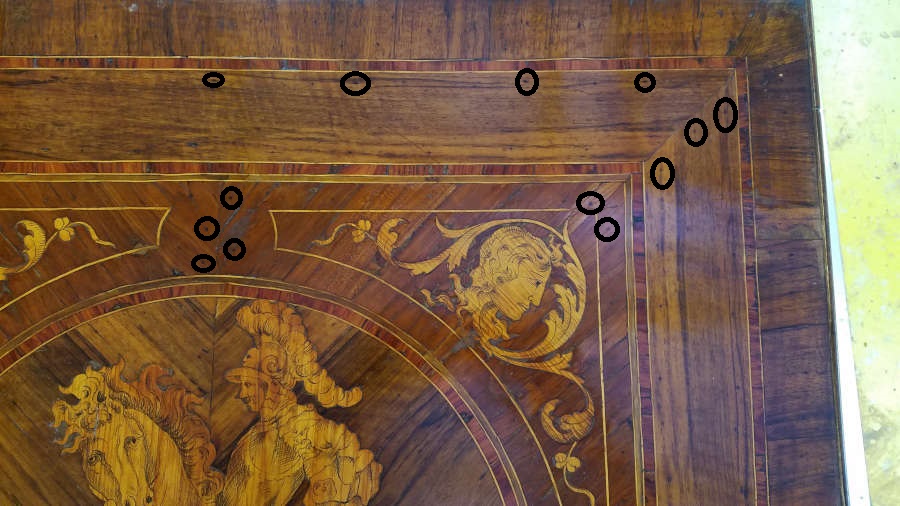
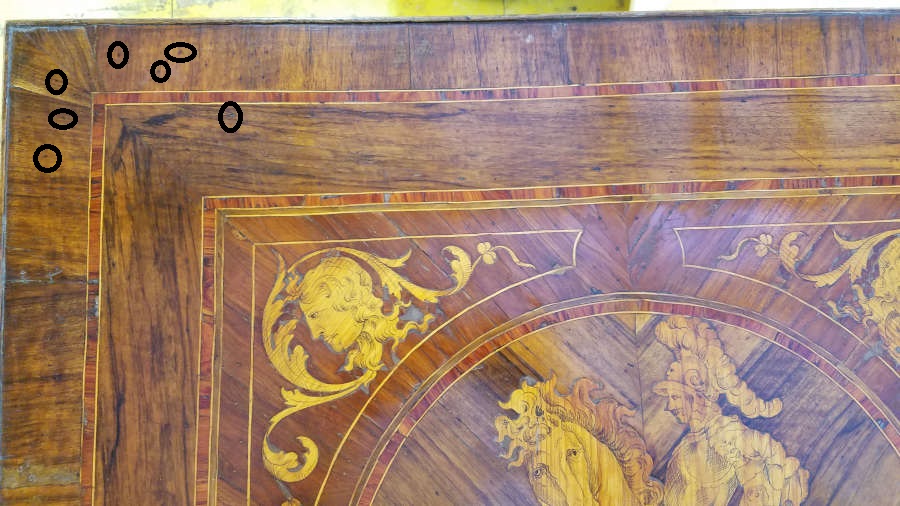
Some of the pin holes are circled.

This was one of those ‘Eureka’ moments for me and just drove home the fact that I’m intrigued by the methods and tools used by pre-industrial furniture makers and crafts people. I was fairly bouncing around the table, babbling like an idiot about these pin holes because it tied together things I’d read about to things I was able to experience. And quite often, making it real is the catalyst for education.

Military Campaign Furniture

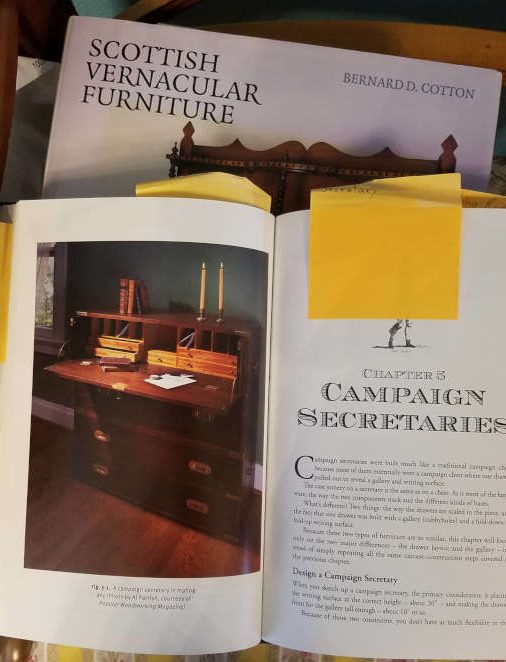
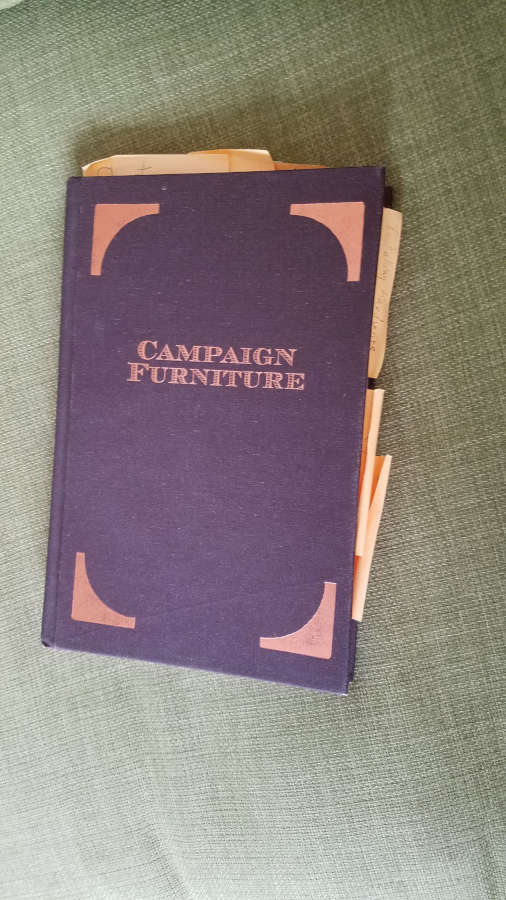
I’ve recently (within the past year) become interested in Military Campaign Furniture. This is something that could, and has, filled books. The one that I have is now very well worn as I have been using it almost every day for a project I’m working on. Campaign Furniture by Christopher Schwarz at Lost Art Press has been indispensable for most of my research on Military Campaign Furniture.

https://lostartpress.com/collections/books/products/campaign-furniture

I like sticky notes.

That said, I’ve also chatted with Simon Clarke at Christopher Clarke Antiques, who specialize in Military Campaign and Metamorphic furniture. They have a blog as well that I’ve used quite a bit, but more than that Simon has been very helpful in answering questions I’ve had about the furniture.

And I’ve also found that Pegs and Tails has quite a bit of valuable information on Campaign furniture as well. You’ll see that I refer to Pegs and Tails quite often as it has become my source for period furniture construction techniques and antique furniture identification more than any book or any other website.

So before I even knew what my Campaign piece would look like, I had already been researching the style and construction for a while. I knew I wanted to make something that I could take up and down narrow stairwells without too much trouble. I knew that I wanted to use brass hardware. And I knew that I wanted something very sturdy, which is what Campaign Furniture was designed for. After that, I had to figure out what it would look like.

I started out with something closer to a side table. It was high enough to use as a writing surface, which started me thinking about a desk.

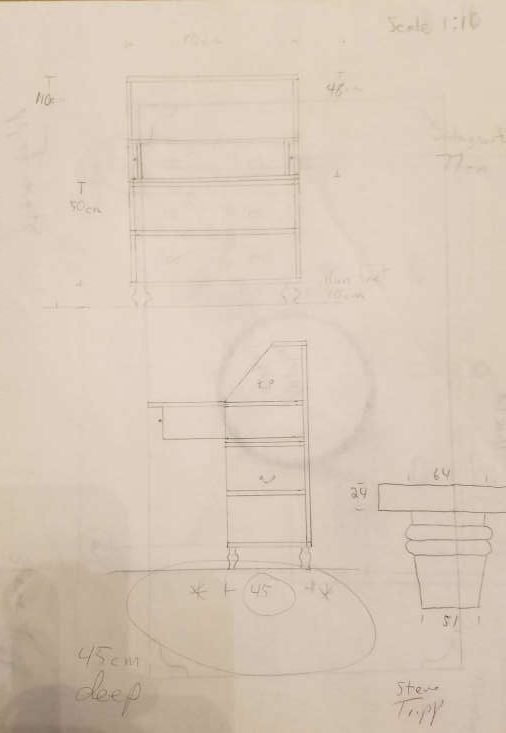
Figuring out proportions.

I then added a second chest, slant front, lopers and a gallery for my desk.

I was almost ready to start prepping the lumber.

But the slant front wasn’t doing it for me so I thunk, and thunk, and then thunk some more and decided on a pull out gallery. From this point I don’t have drawings as I had putzed away so much time up to now I had to get started.

One of my other favourite books in the background, Scottish Vernacular Furniture by Bernard Cotton.
This option would use quadrant stays instead of lopers to support the writing surface.

I had already figured out the gallery portion and knew the height and depth.

I then worked out the height of the desk, compared to the height of the chests and figured out the height of each drawer.

I was finally ready to start constuction. In my next post.

Campaign Style Furniture design, part 1: brass hardware, straps and corner mounts.

Campaign furniture spanned more than 200 years of English furniture periods from the Georgian through to the mid 20th century. Even though it was around for so long the campaign-style did not change much in those 200 years, which could be attributed to a couple of factors. First, since the furniture had to be mobile and sturdy for use on or near battlefields there are arguably a limited number of ways to build that furniture. Second, the clientele were military officers to begin with, who tended to be staid, conventional, and reserved in their tastes and styles.

I believe the first campaign furniture was made for British naval officers in the early Georgian period (the early 1700s). I’ve perused the Christopher Clarke Antiques Blog and Christopher Schwarz’s book and haven’t found anything definitive on this and will probably follow up with more posts on the history itself.

One feature of campaign furniture that tends to stand out (and is used heavily in contemporary interpretations) are brass coloured straps and hardware.

Brass coloured straps are a decorative element in modern furniture. You will likely find that on modern pieces the straps, corner mounts and related parts are not recessed and installed flush, but are proud of the surface. Another difference is that the straps and hardware will likely be fixed with tacks, pins, or small nails. You may also find the pieces glued to the carcass.

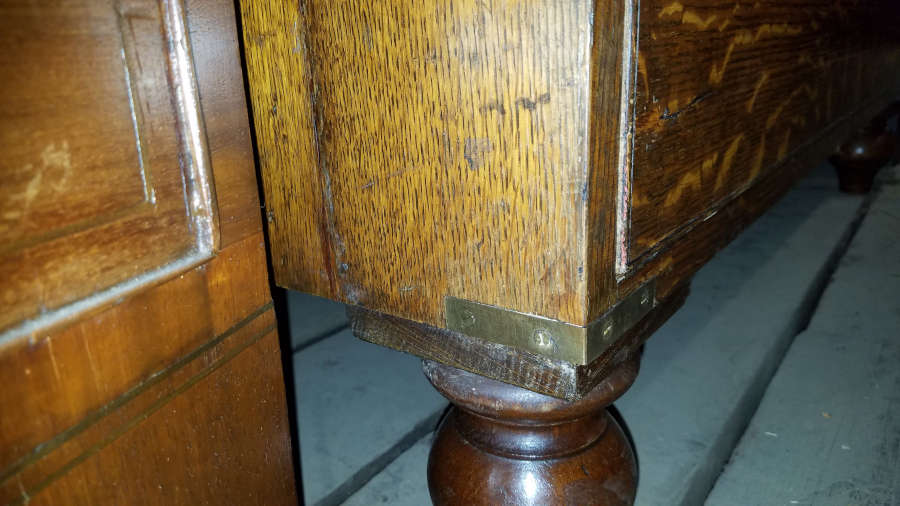
The utilitarian and mobile nature of Campaign furniture means that the brass hardware is functional as well as decorative. Brass straps and corner mounts protect edges and corners. Straps may also help to keep sides from bowing or flexing and creating gaps.

A corner mount.

Corner mounts will usually be flush with the wood, which requires time and effort and would be difficult to automate. The screws will be countersunk slotted screws and again flush so as not to catch on anything while moving it.

Brass straps.

The brass straps are also mounted flush and protect the edges and possibly keep the sides from bowing or flexing since they are of solid wood (mahogany, teak, or in this case, oak).

For part 2 I’ll talk about the drawer hardware.

A closer look at the 18th-century Italian chest.

In the previous post, I was working on the top of the chest but didn’t show any of the rest of the piece, so here goes.

The first thing I noticed when the piece came into the shop was the back.

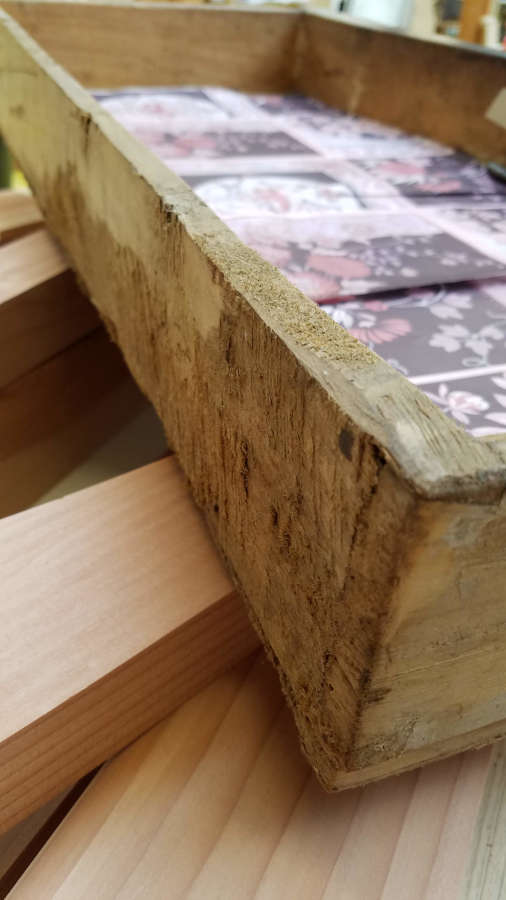
It initially looked, and felt, like thin cement covering the joints but Graham identified it as gesso. This makes more sense because workshops would have had gesso available for painting (and gilding?)

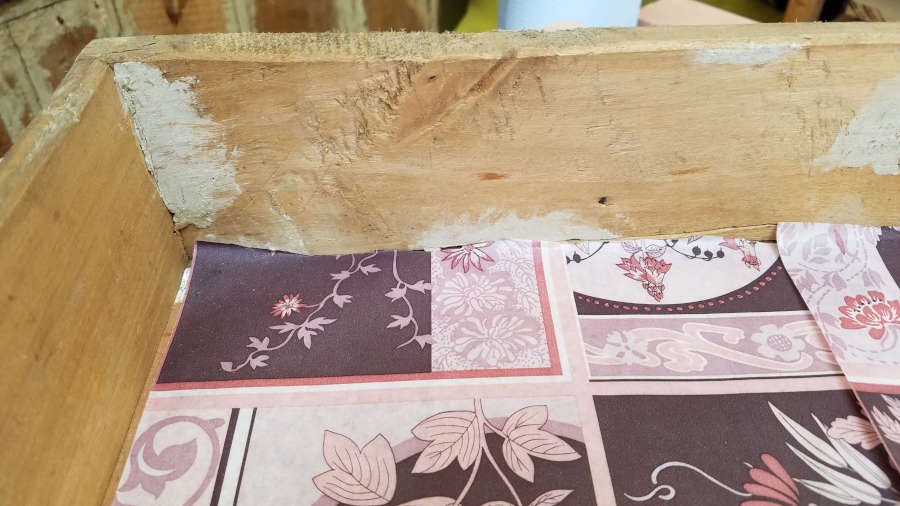
This next picture made me think that most of the carcass may have had a gesso coating. The drawer side looks like it could have been covered, and then through the years the majority just wore away.

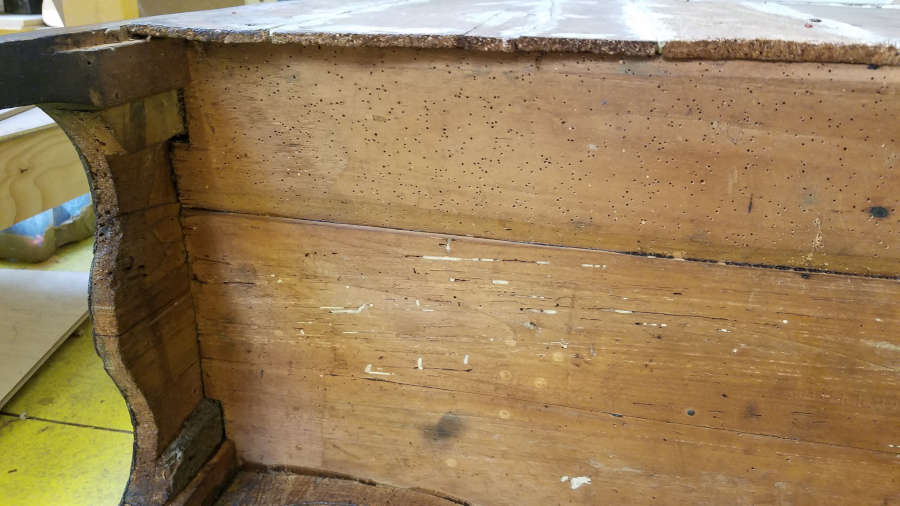
But then the inside of the drawer again looks like the gesso was used to cover gaps in joints, smooth dents, and fill holes. So I don’t think the gesso was used to cover the entire carcass, but I do believe it was added at a later date to cover gaps that developed as the lumber dried and shrank.

Next, I looked at the drawers. This along with the back of the chest brings up an interesting point. The craftsperson (craftspeople) who worked on this were very efficient with their time and energy. Non-show surfaces were not smoothed or scraped.

And, unfortunately, this piece had been a meal or two for some woodworms. Unfinished surfaces were given woodworm treatment as soon as the piece came into the shop.

This next picture highlights a couple of points. First, I think it re-enforces the idea that the gesso was a later addition to cover up the gaps made by dried and shrunken wood. Second, the non-show surfaces again show the efficient use of their time. The only smooth surface in this drawer space is the bottom where the drawer sanded it smooth from hundreds of years of use.

I eventually started looking at the show surfaces.

This marquetry is very similar to the table that came in a while back.

A portion of the Italian table that came in for restoration a while back. I’ll post more on this one later.

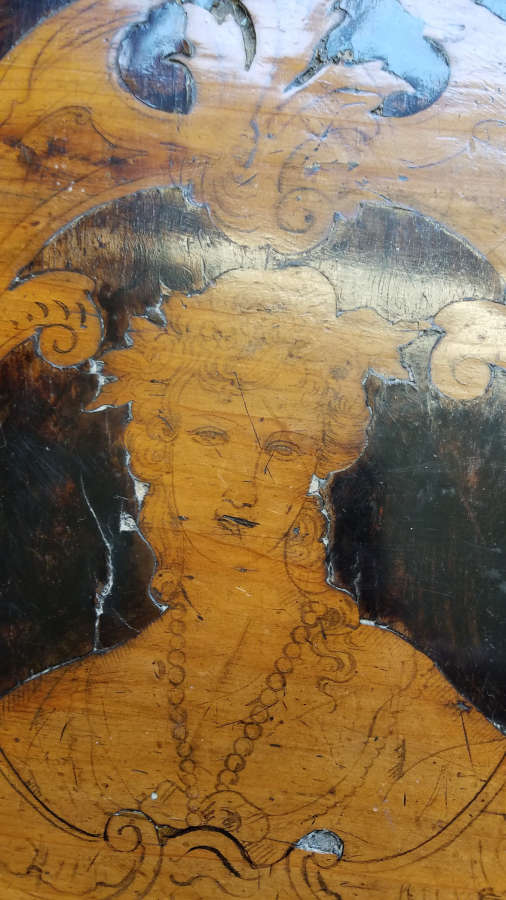
One thing about the marquetry is that the lines for the detail are not carved like first thought. They are drawn.
I didn’t think much of this at first, but when Graham needed to do some work on the table he discussed how important this detail is. If you have to use meths (methylated spirits – denatured alcohol) to clean or take off the finish for any portion, it can also erase the detail work so you have to be careful where and how you use any chemicals to clean a piece.
One major difference between the table and the chest is that the table is all marquetry and veneer with a clear finish, whereas the chest is marquetry and a painted veneer.

Painted veneer.
Veneer with clear finish.

Graham thinks this means the two pieces were made in the same shop, but the chest was a project for an apprentice. That makes sense to me and I’m running with that theory.

Campaign Style Furniture design, part 2: Patent (metamorphic) furniture.

This is continued from a post about Campaign Style Furniture I wrote a while back.

All photos in this post are from the Christopher Clarke Antiques website https://campaignfurniture.com

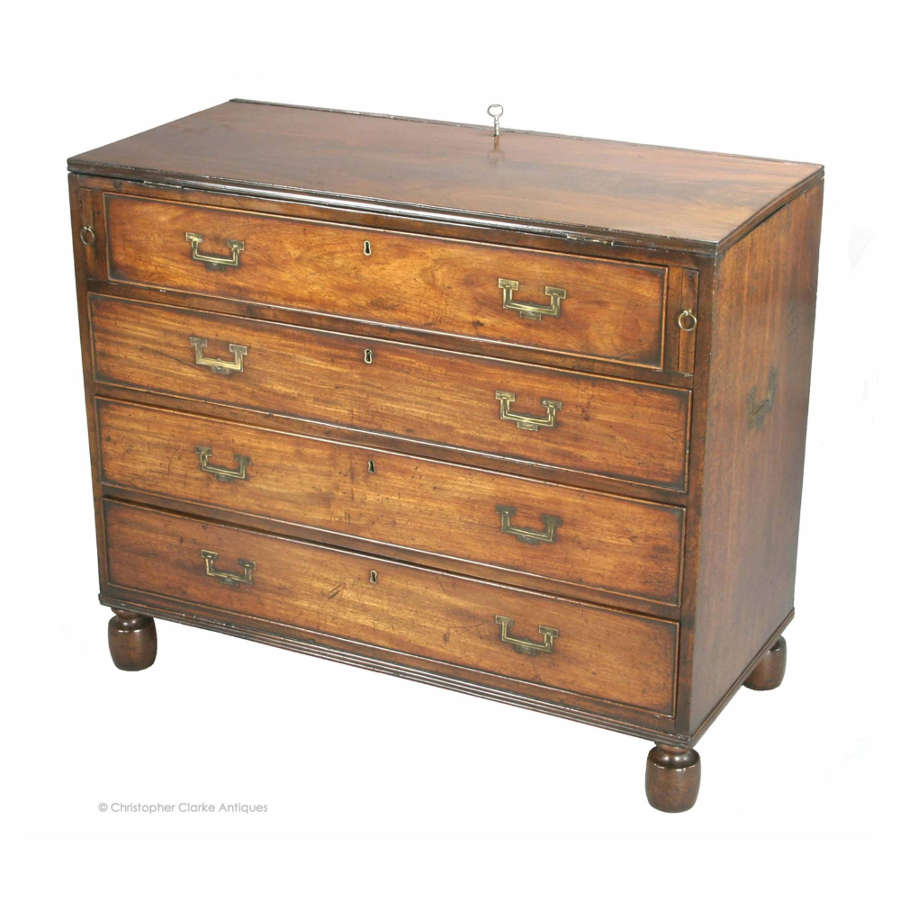
The first thing about Campaign Furniture that got me interested in the style was that many of the pieces broke down for travel or had hidden uses. Some of these designs seemed playful in that what looked like a chest of drawers turns into a desk, or when a small table breaks down into a briefcase-sized box with carrying handles.

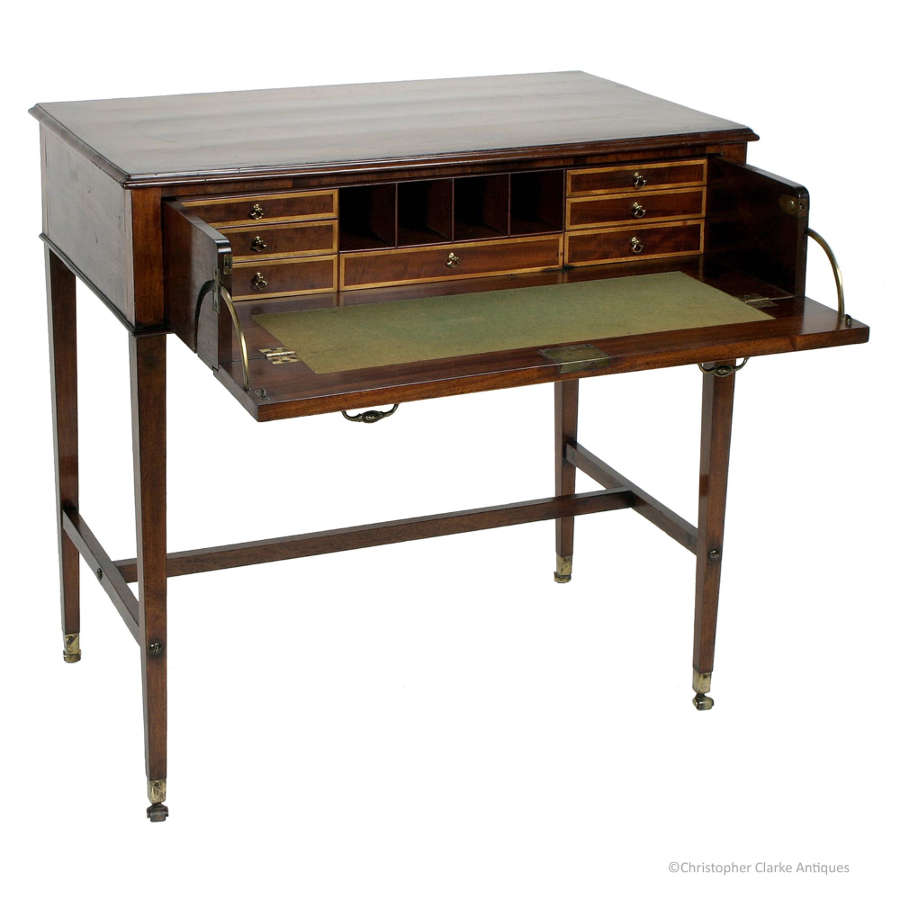
A Campaign Secretaire Table. Circa 1790, in mahogany.

I find a piece like this just fantastic as it packs so much utility into such a small space.

Legs and stretchers are stored inside.
This is one of my favourite designs. The gallery and writing space are large enough to be useful and small enough to be mobile. The stretchers are very important as without them the legs would not last a day, especially on uneven ground or with the racking and twisting of use near a battlefield.

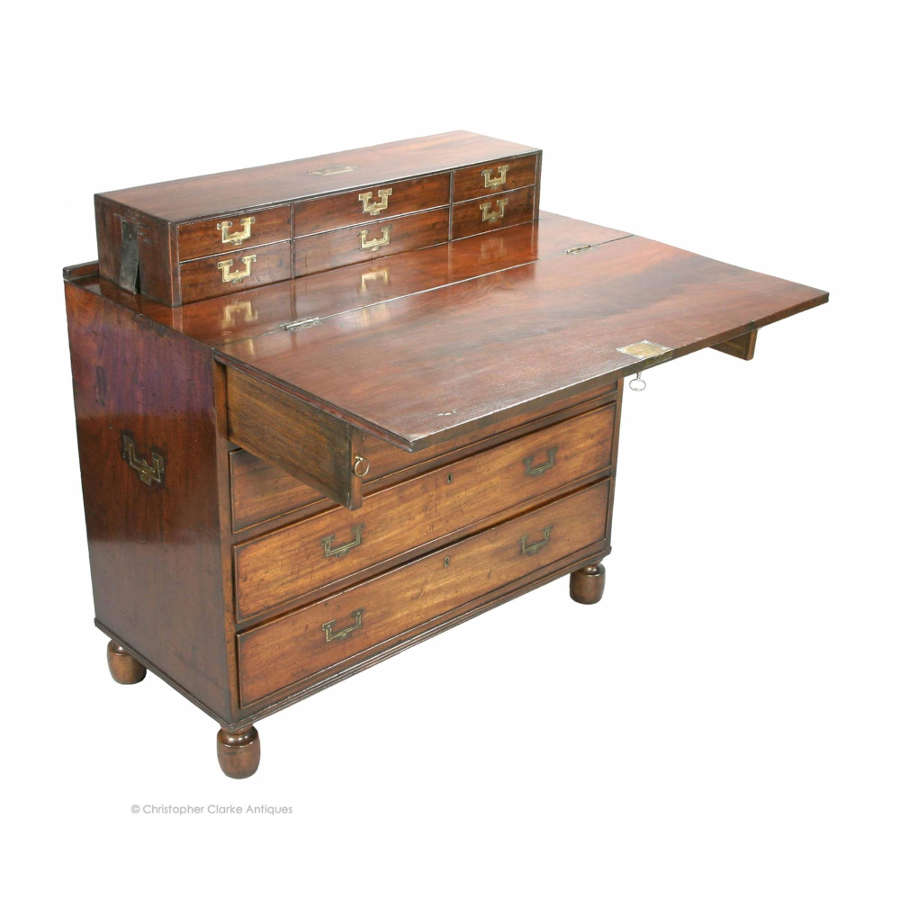
The chests that convert to secretaires or desks are beautiful pieces. There are several different methods of hiding the writing surface and gallery, like below where the top folds out and rests on lopers and the gallery pops up on springs.

Georgian Military Campaign Chest

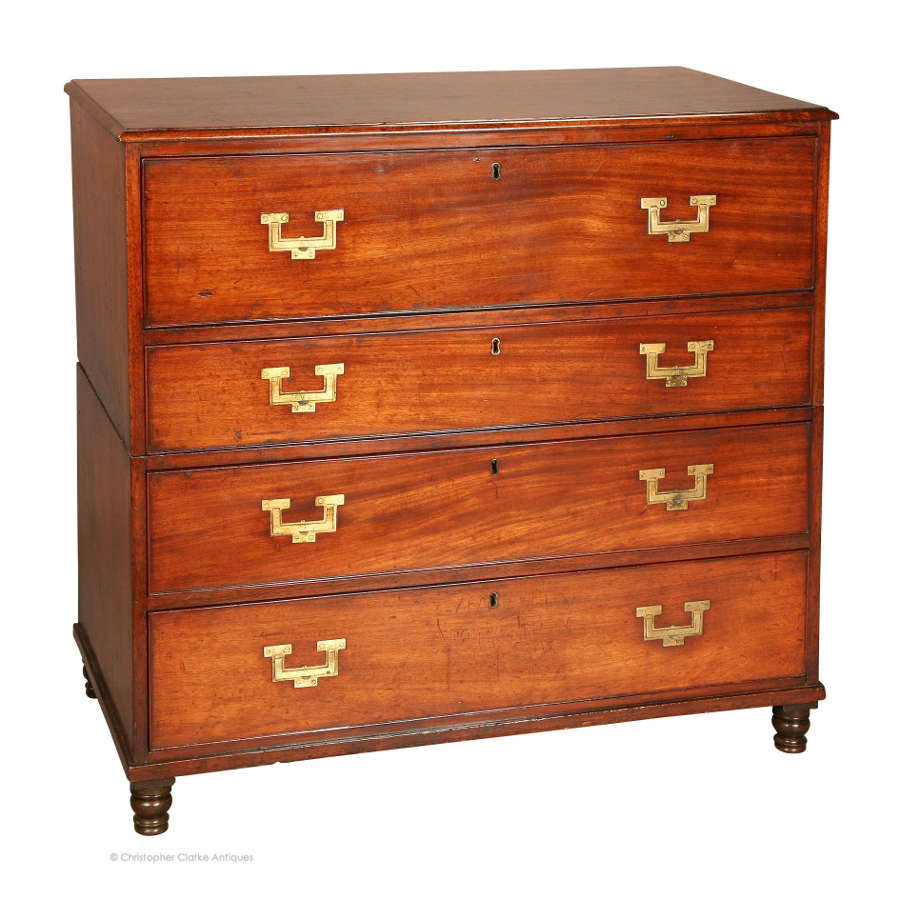
The following is the most prevalent style though and is what I styled my campaign chest after (I’m still working on it and plan to have it finished sometime this millennium). My drawings (from my other post) show that I am using the quadrant stays like the following example, instead of lopers like the above example, to support the writing surface.

Chest Secretaire early 19th Century

One thing that I found while planning my campaign chest is that much consideration must be given to the height of the drawers so that the writing surface is comfortable to use. Once you get the writing surface at the correct height, you then have to look at the size of the drawers and if you want symmetry from top to bottom. In my case, I decided to go with a larger drawer at the bottom and top and then smaller drawers in the middle. This was also factoring in the height of the feet.

Patent furniture and campaign furniture are not the same. Patent furniture became an important part of a military officer’s inventory because of its great utility, but some campaign furniture is not patent furniture, but simply breaks down for travel or is made to be more durable (with brass strapwork and corner protection).

My next post on campaign furniture will be when I start working on my own piece again. Hopefully soon.