Slant top secretaire restoration. Part 2

This is continued from my first post.

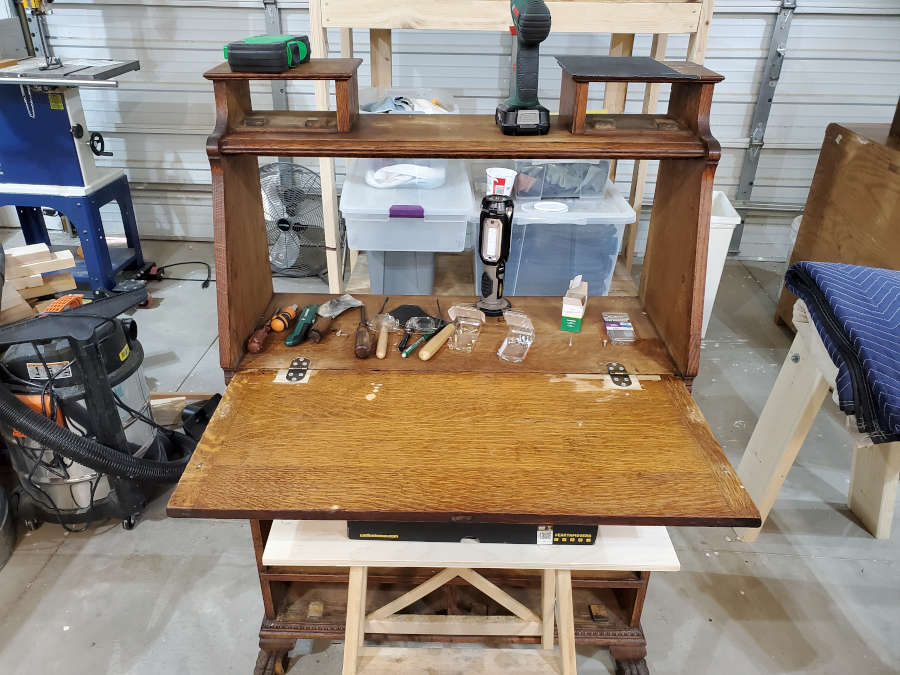
I’ve reached the point where I have taken the piece apart and cleaned each part individually, looking for weak or loose joints, damage to solid wood or veneer and other issues. I’m now ready to start fixing the individual items.

On a side note: I’ve been looking for some maker’s mark or indication of where this piece came from, and have not found anything to narrow it down. I’m pretty sure it’s late 1800s, but it could be very early 1900s (up to 1910).

Back to the topic at hand. One of the things I noticed when disassembling the piece is that the back did not appear to be original. The rebate in the back is 3/4 inch, but the sheets that were used for it were only 1/4 inch. The pieces that made up the back were not plywood, but what appears to be poplar (or something similar).
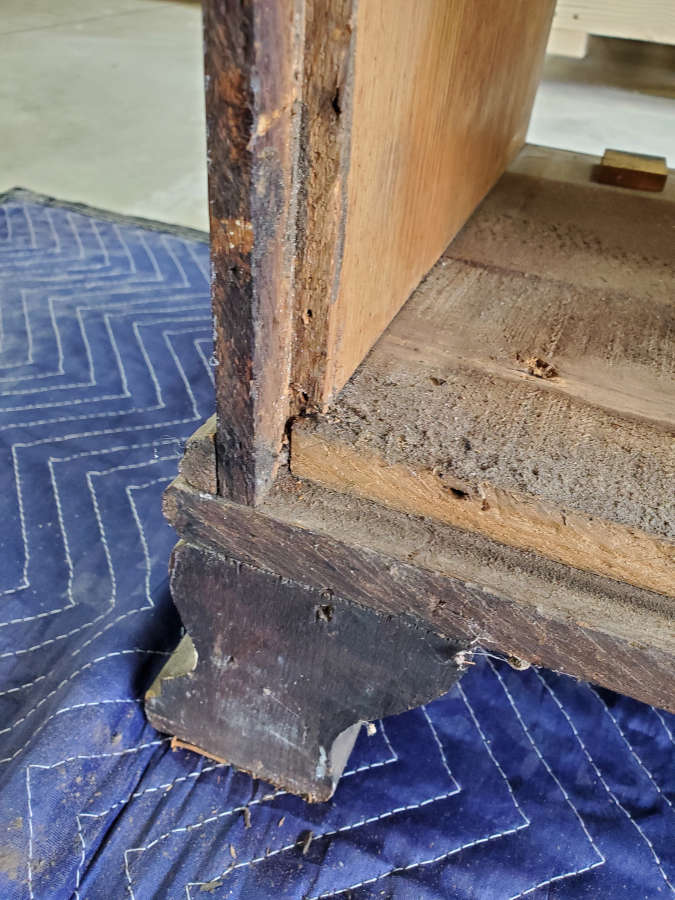
3/4 inch rebate around the back of the piece.
You can see that the back has likely been replaced with a much thinner sheet.

The back had split in a couple of places and I didn’t want to muck about with it, so I took it out and will be replacing it with a frame and panel (actually two). This will stiffen the carcass much better and keep the piece from racking. I have a feeling that racking caused the splits in the back since the thin sheets didn’t stiffen the frame nearly enough.

I have gone over the drawers and doors, cleaned them up, removed marks, and then colored and shellacked them.
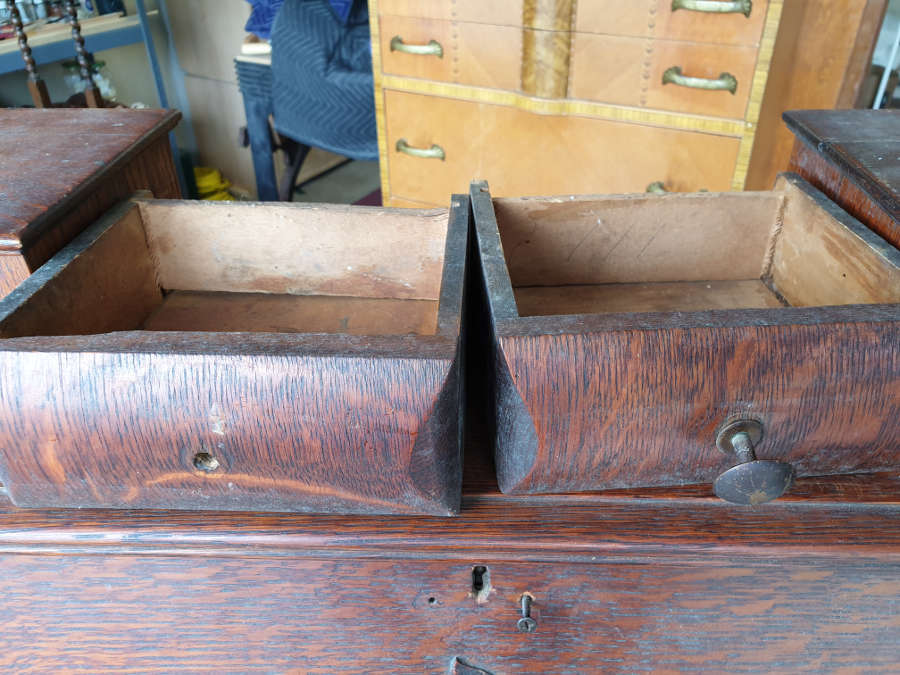
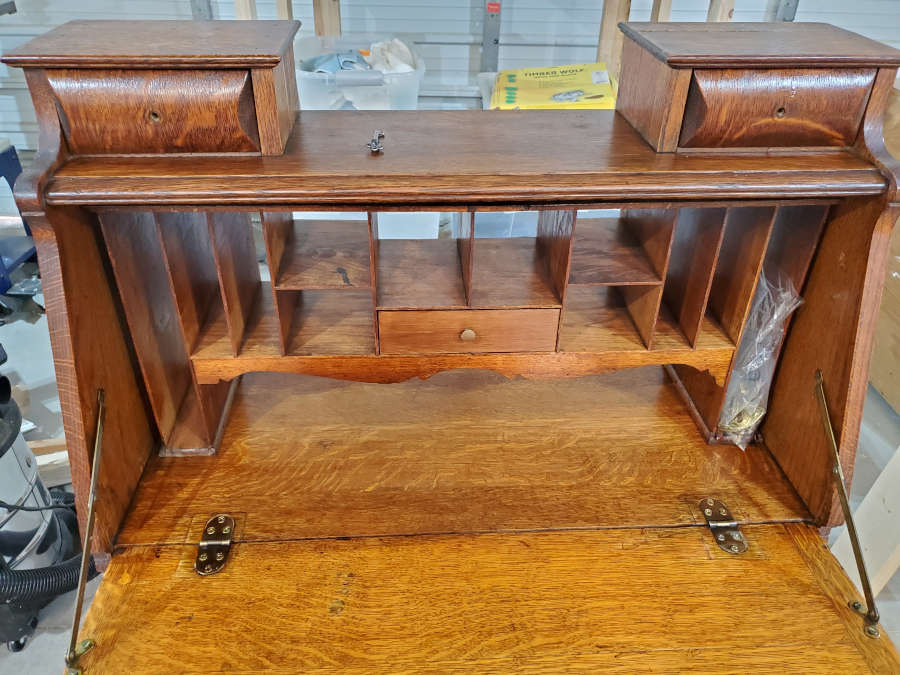
Small drawers need some lovin’.
One of the big drawers.
Before removing the escutcheon and the old lock.
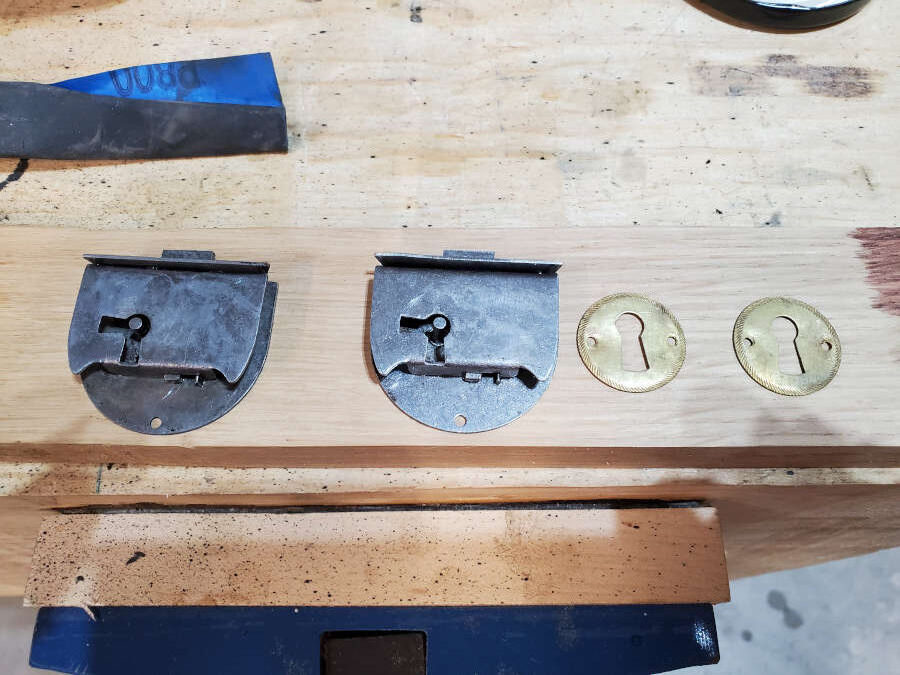
Replacement locks and escutcheons.

The doors just needed some cleaning. In the picture above you can see the bottom left corner has separated. I reglued this corner, and they are now ready for the new glass I had made for them by a local glazier. I don’t have any pictures of them with glass yet, but I will post some soon.
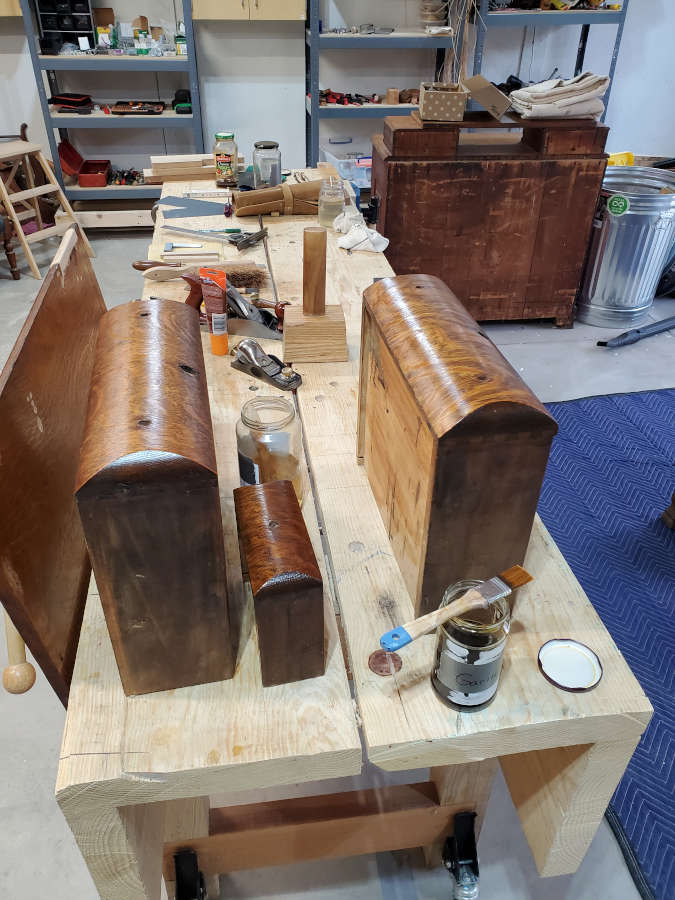
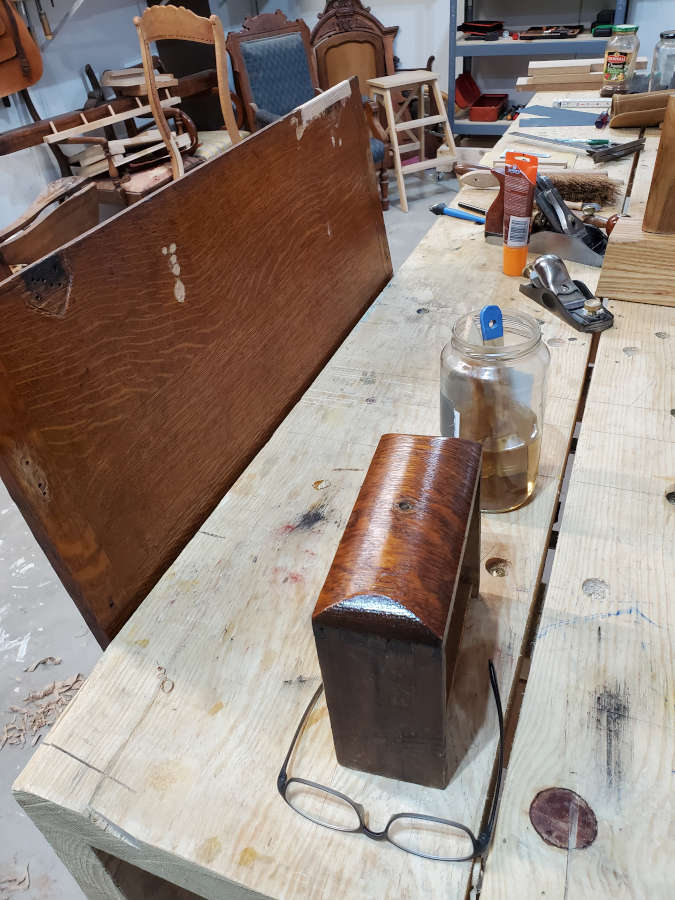
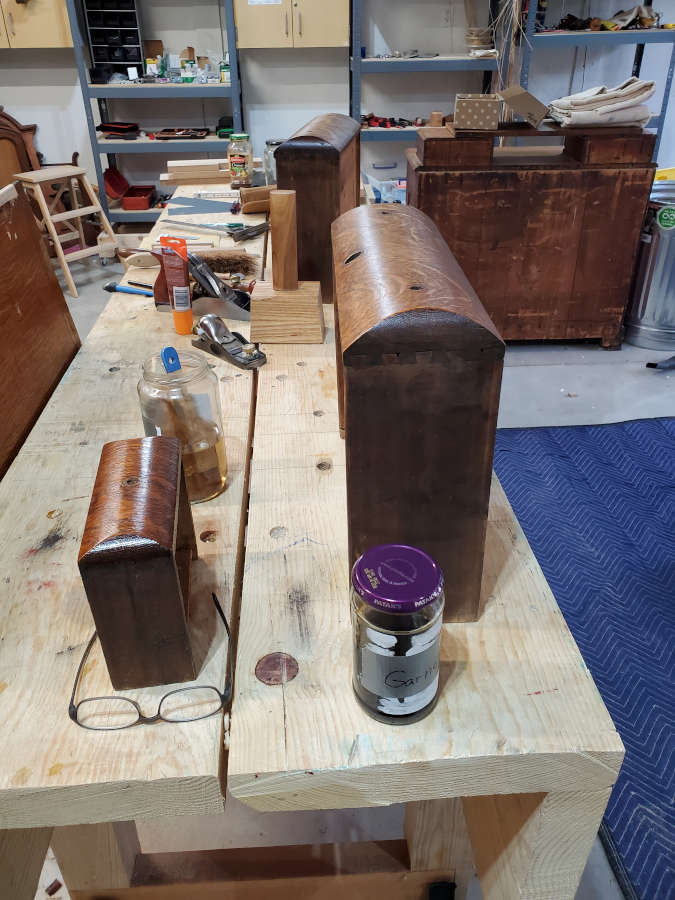
Here are three of the drawers after some cleaning.
The small drawers really cleaned up well.
The big drawer is ready for some shellac.

The next post will focus on the physical repairs I’ve made to the hinges of the desk. This is the most involved part of the restoration and so it’s the part I’m really taking my time on.

Slant top secretaire restoration, Part 4

This is continued from part 3. I’ve made good progress on the secretaire, and I was going to say that it doesn’t look like it, but after going through my previous posts, I take that back.

With her new bling, but still a broken toe.

I’ve made progress on several fronts (and backs). The back frame and panel is finished. I used some 3/4 inch pine for the frame and 1/4 inch plywood for the panel. I cut the pine into 2 1/2 inch rails and stiles and then got out one of my plough planes with a 1/4 iron.

The plough plane (and 1/4 inch iron) I used to cut the channel for the plywood.

A couple of fun facts about the planes to the right in the picture above. The one with the wormholes I got while on a project (my day job) in Georgia. A co-worker and I were driving to the project site when we saw an antique store and had to stop. I found this toothing plane and even though it’s pretty holy, the blade is in great shape. I’ve used it once (I do not collect tools, I use them. That’s my story and I’m sticking to it.) but I don’t work with thick veneers – yet – so I haven’t had a chance to really put it to use. Next to it are a pair of match planes from Sweden, made in the 1880s. I had been drooling over them at Allen Snyder’s booth at Midtown Antiques in Stillwater for a while, but then forgot about them when they weren’t there any more. Holly had got them for my birthday present.

Back on topic. The frame and panel for the back was pretty straightforward, so I was able to knock it out in a day. The coloring took another couple of days.

Trimming it down to size.
The water based colors that I use. I learned how to use these while at school and have been playing with colors since.
The back-facing side is almost ready. I just realized that I didn’t take any pictures of the front-facing side.
Ignore the shiny fasteners. I haven’t dulled them yet.

I made the back-facing side darker, to match the back that was on here. The front-facing side, I matched to the color and tone of the case.

I also finished the hinges for the slant front and the damaged portion of the lid.

Splicing in the repairs.
The gaps along each side match.
You can see that I haven’t colored the repair here yet.
Edge view of the damaged area.

The next thing I’ve started on is the front doors. You can see the beautiful bevelled glass that I got from my local glazier, Tom Huisman https://www.huismanglass.com/

During my first fitting of the front doors. I’ll have better pictures of the glass later.

I’ll have more pictures of the glass in the doors in a later post. Right now I’m making repairs and replacing the hinges. There had been several repairs of the doors which ended up with a large mortise cut into both doors.

Deep mortises had been cut into both doors for previous repairs.
Damage as well as the deep mortise.

Because of the deep mortises that had been cut into both doors there was nearly an inch gap between the doors when they closed, so the lock could not reach the other door.

Original (non functioning) lock.

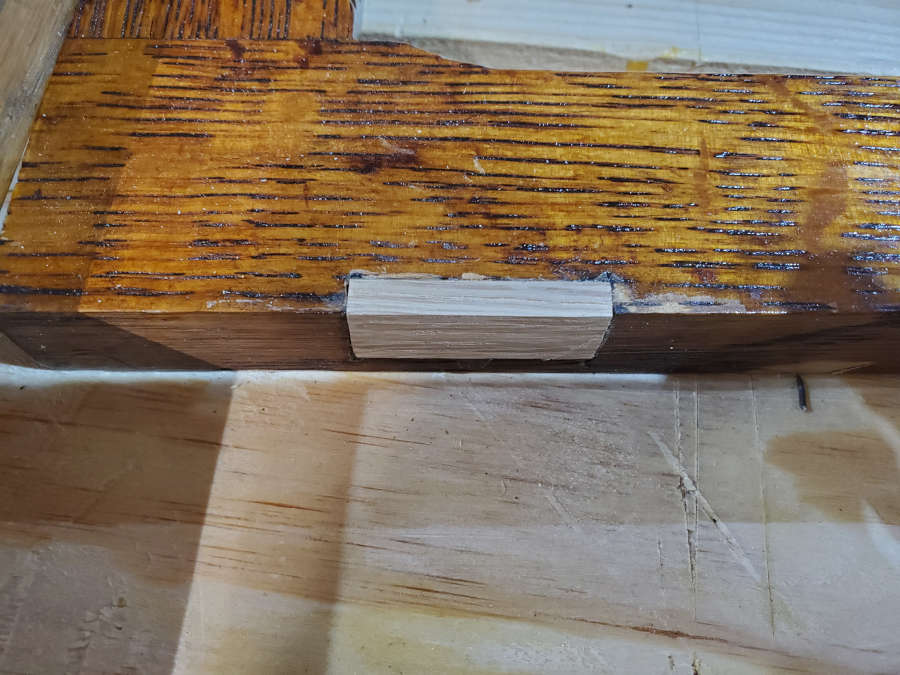
I cleaned out the mortises and spliced in some oak.

I then shaved it down with a block plane, spokeshave, and sandpaper.

Next steps will be to fit the new hinges and color the repairs.

I’m really getting close to finishing this piece, and I’m very excited. Once the front doors are done, I’ll finish my touch-ups of the slant top, as it has become something of a distraction. I’ll have better pictures of the hardware in my next post and talk about where I got it.

Small elm bedside stand, Part 2 “Scars to your beautiful”

Part one is here.

Even though I didn’t start working on the top first, I’m going to talk about it here first because the biggest decisions I had to make about the restoration were related to the top.

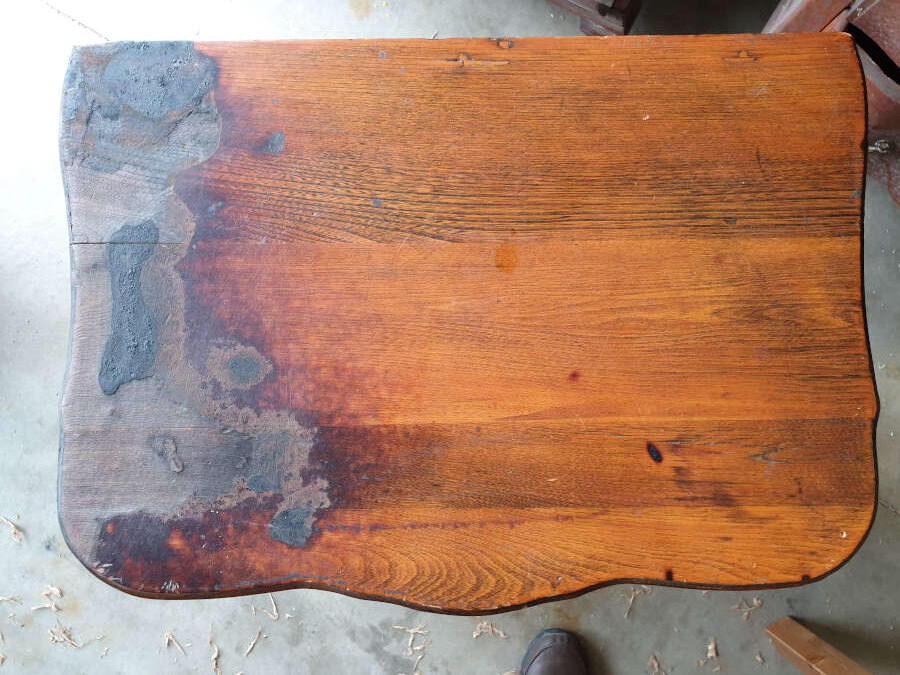
First, a couple more pictures of the damage.

A few observations I made right away were that the damage was deep. I wasn’t sure how deep, but I would soon find out. The second was that the boards that make up the top were very different and there was no attempt to arrange them in a way that blended the grain. That is just a lost opportunity with something as beautiful as elm. The feathery grain is distinctive and makes it one of the most beautiful of all the woods.

The feathery grain is what makes elm so distinctive and beautiful.

I did also notice that the sides of the piece also showed the lost opportunity as the boards were not arranged for either side. I’m pretty sure this piece was made in an automated shop. Either that or the assembly line that the workers were on didn’t allow them the time to make these types of decisions.

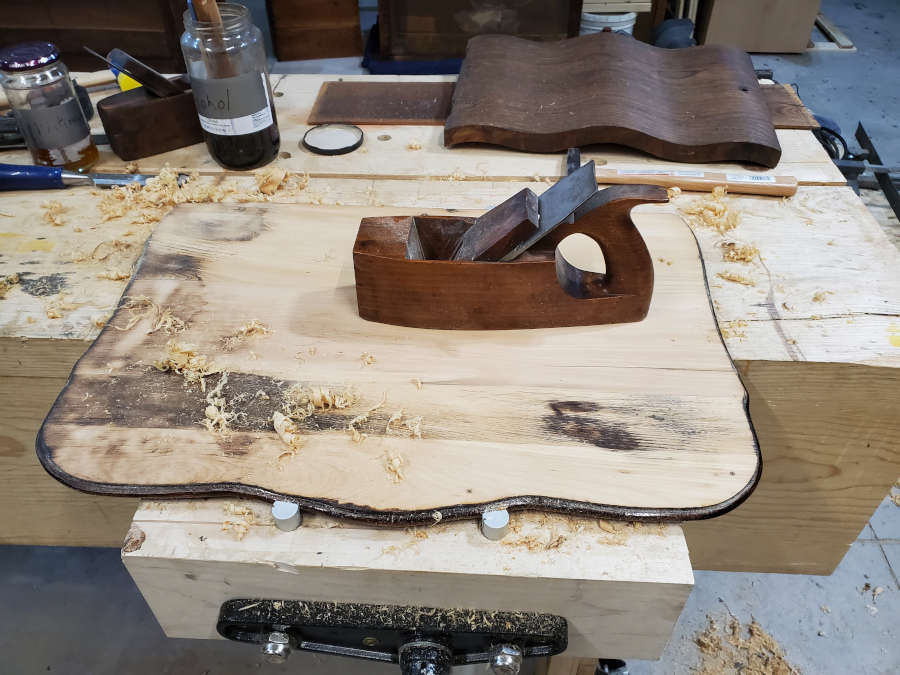
As I looked at the fire damage, I had a couple of options running around in my head. If it was too deep I could take enough material off of the top to make it flat and then laminate some new elm on top. I could also take out material just from the portion of the top that was damaged (the left 1/3 of the top) and then laminate new material in. I dismissed this last one right away because that would have left a long line down the top where the new and old wood meet. I decided that I just did not want to introduce any new material to the top if I could help it, so I got out my hand plane and my scrapers and got to work.

At this point I was really worried that the damage had gone too deep.
Put some alcohol down to see what the grain would look like after finishing. Still a long way to go.

After working on the top for a while, I really started to worry that the damage had simply gone too deep and that I would have to laminate material on to the top. But I did actually reach a point where I felt that the damage was not the first thing you would see.

The damage to the left side meant that the edge was more rounded over than the undamaged side, so I just rounded over the undamaged side and called it a day. When I run my fingertips over both sides, it is not distracting, and you can’t really see that the edge is not as sharp as it could be.

I don’t have a lot of pictures of the colouring process, because it was more of a matter of colour matching the different boards than it was to match the top to the rest of the piece. But eventually, I got to a point where I could leave it alone and work on the rest of the piece.

Leaving it alone for now.
Using the door to match the colour to.
Before and after.

I’m happy with how it’s turned out so far, and any further tweaks I feel need to be made can be done with wax.

Now on to the rest of the carcase.

Youngsters, young adults and woodworking.

A while back we visited the grandbabies and I was delighted to find that both of my granddaughters were interested in learning to use an axe and carving knife. I wasn’t sure how to start, so I began with the basics of showing them how to use an axe, how to hold it, how to stand, how to swing the axe, and the safety involved in each step. I took each step relatively slowly and quickly found that I needed to vary the speed of my instruction between the two. For my oldest granddaughter, this seemed to be more of a curiosity, a new thing for her to try, learn, and then store away for later use. On the other hand, my younger granddaughter was eager to soak up everything about the axe, the knives, the wood, safety, how to hold each tool correctly, and how to position the tools and wood. She was also the one who used the tools with either hand, just like I do. I have learned to use my hand tools with either hand out of necessity because I have arthritis in my shoulders and need to be able to switch up as needed. To see my grandbaby do the same thing, and to be such a quick study at it was very exciting and I was eager to continue to teach her in this fashion.

Even though their hands are much smaller, they both surprised me by being able to handle the axe very well. This helped me to realize something I had been very wrong about; that children can use some potentially dangerous tools under proper supervision. I had watched and read about other woodworkers teaching their children/grandchildren how to use power tools and hand tools and my reaction had always ranged from, “interesting” to “I don’t think so“, so when I got back home after our visit I realized that my view on this had changed. Not significantly, but enough that I could see the value in teaching younger people how to safely use tools. I think it dates me when I say that when I grew up, I learned how to use tools by hurting myself and then not doing that again. I have a responsibility to make sure that my grandbabies do not have to learn in this inefficient and unnecessarily dangerous way.

Plus, it’s fun and a wonderful way for us to spend time together.