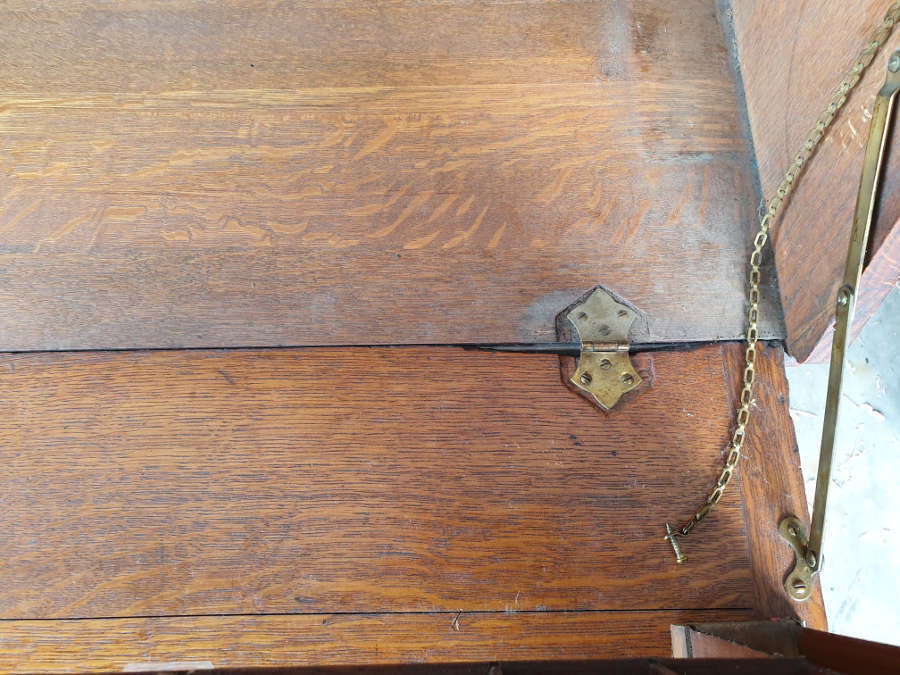
I mentioned in my previous post that the hinges for the slant top portion of the desk would be the most involved part of the restoration. The hinges had been replaced a few times and the hinge shape had changed as well. This not only left random holes but large shapes carved into the shelf and the lid.


It looks like these replacement hinges were a bit of a rush job. The mortise that the hinges are set in is too large for the hinge and the person doing the restoration may have used one chisel to remove the material. It also looks like the hinge may have been installed incorrectly, which then caused a portion of the lid to break off when the lid was opened. This is all speculation, but I like to put myself in their shoes and see if I can find explanations for the things I find.

As you can see there are a couple of different sizes carved into this piece and that along with the damage done to the edge of the lid told me that I need to repair these and not just put new hinges in there.
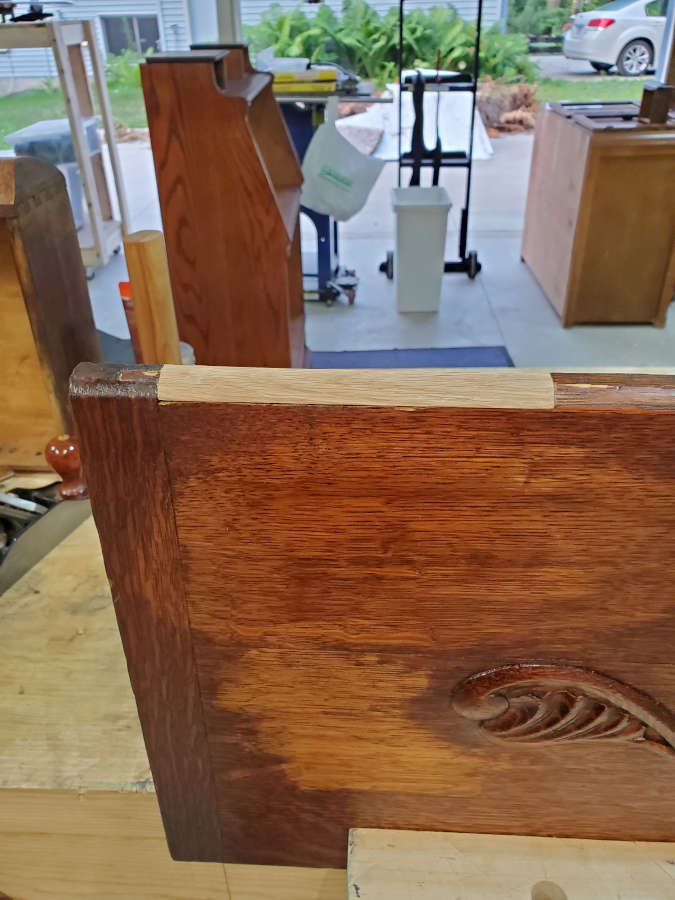
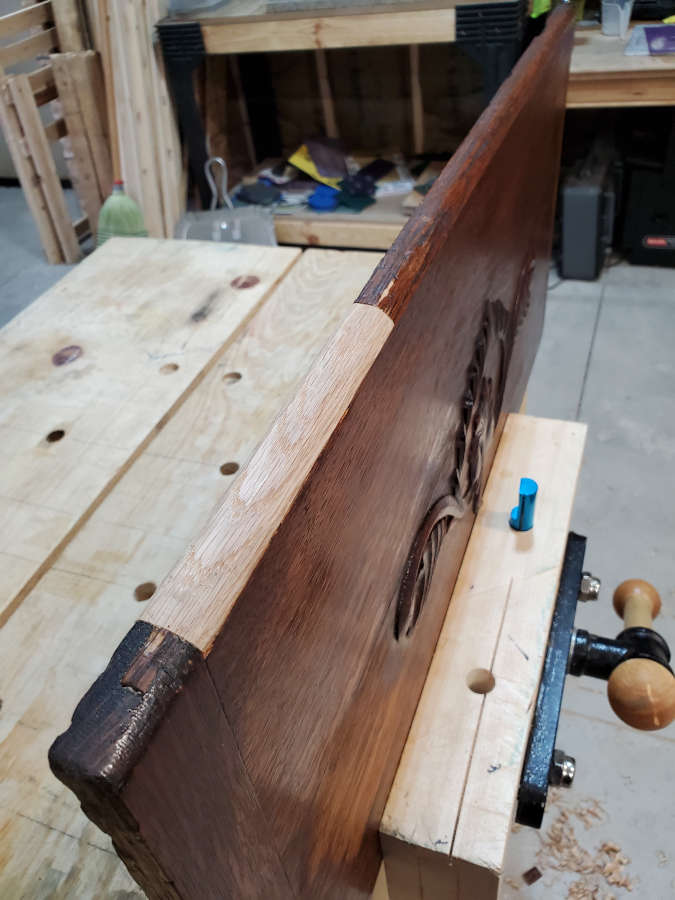
This is where the project gets challenging because I have to remove material and then splice in new material to make the piece stronger. In this case, I need to remove a section where the lid broke and also remove the material around the old hinge mortise. I then splice in the new material. When I cut these pieces I have to pay attention to grain direction, grain orientation, grain consistency (is it clear straight grain or curvy). In the case of the broken lid portion, I saw that the edge showed the flat sawn side and the flat top showed the quarter sawn. For the hinge pieces, I looked at how the quarter sawn grain ran and oriented the new pieces to mimic that.


In the picture above, you can see that I cut the mortise along the grain and oriented the patch so that the grain followed the surrounding grain. Once the piece was glued I then used a block plane and then sandpaper to bring the material down to level.
In my next post I’ll show the rest of the process of cutting in the new hinges and coloring and blending the repairs.
