It’s been quite some time since my last post and I was going to blame it entirely on my ongoing upgrade of the workshop, but that would be a fib. I have half a dozen posts being drafted, but I just haven’t put the time into getting them done and published. That said, I wanted to show what is partly responsible for my lack of material.
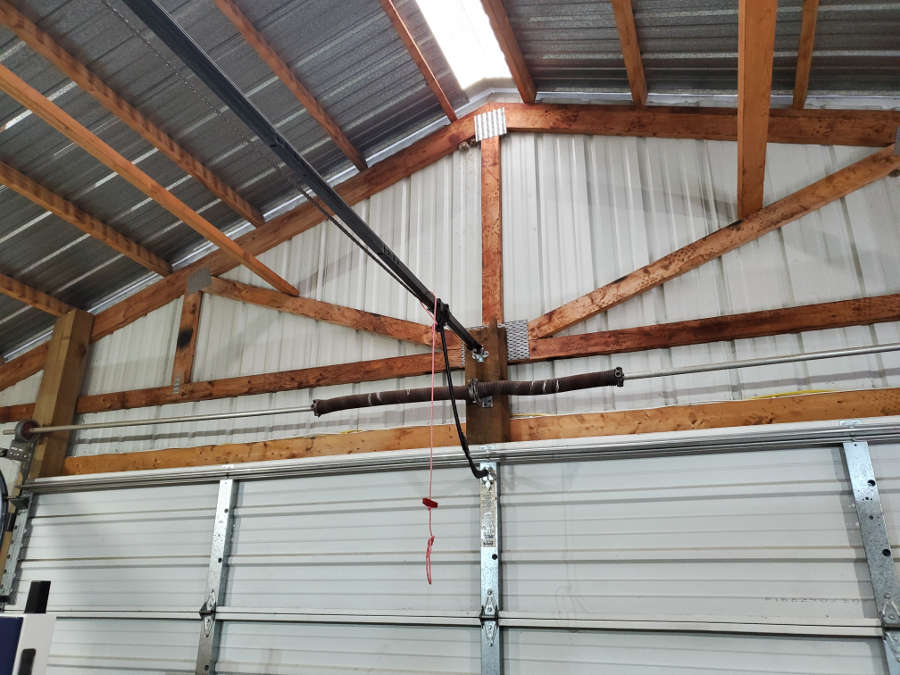
My new workshop is a pole shed that was built in 1993 (I have the inspection paperwork from the previous owner). It has electricity and 2 circuits with an overhead door, some lights, and two outlets, so my first project was to wire it as a usable workshop. For this I had an electrician come and look at the setup. He let me know that the feeder from the house to the workshop was good for 100 Amp, so I made my improvements based on that and now have multiple outlets on each wall. I also added more lighting and will eventually have 2 separate circuits for lighting. I also added a circuit for temporary electrical heating. I say temporary because with our winters electrical heating is far too expensive.


I’m putting a lot of planning and effort into making this workshop usable year-round and for me, that means keeping it cool in the summer as well as warm in the winter. Since I work with shellacs, waxes, and other temperature-sensitive solutions I want to keep my workspace usable for as much of the year as possible.
I’ve had a workshop in our basement before (different home) and I loved it, but I couldn’t work on large pieces because of the stairs. The basement had an 8-foot ceiling and was insulated so it was an almost perfect 56 degrees year-round. All of my other workshops have been in the garage so I was only able to use it for a portion of the year. I’ve decided that this workshop will be usable year-round and I’m going to (for me) great lengths to make it so.
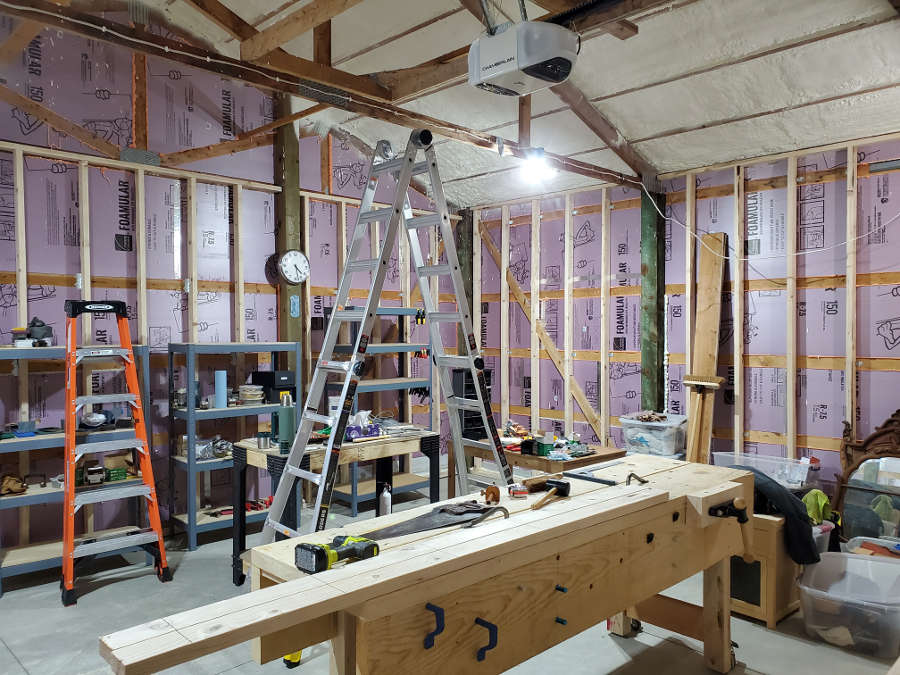
I mentioned the electrical first but that actually had to wait. The first thing I did was to put up foam board insulation (1.5 inch) and then used spray foam to seal the edges and foil tape to seal the seams between pieces of foam board. I then furred out the walls with 2 x 4 frames and studs 16 inches on center. This was so I could add 3 1/2 inches of rock wool batt insulation.

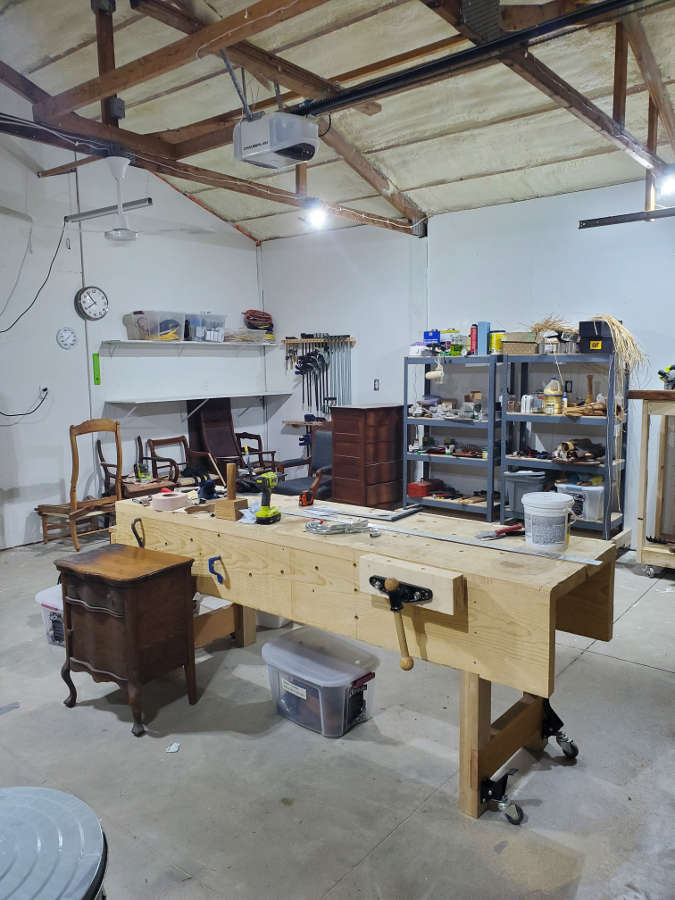
I then hired a local company to come in and spray the ceiling with closed-cell foam. They did an OK job, not great and not horrible, so I won’t say their name. That said, it is hit or miss with some of these businesses and the best you can do is a lot of research. They put up 3 1/2 inches (more or less) and it definitely made a difference in the workshop.


I’m doing one wall at a time at this point (sheathing and painting) so as soon as I have the 1st wall done I can start working in the space.
This spring I’ll be getting a trench dug between the house and workshop to run a natural gas line for my heating next winter. I’ll also be installing a ductless mini-split this spring for cooling this summer. Before the trench is filled in I’ll also run some network cable for Internet access in the workshop as I do not want to do wireless between buildings.
This project is flowing at a glacial pace, but every once in a while I stop and realize that I have made some pretty good progress. I just can’t wait to have space to start my furniture projects again. There are so many of them I think I’ll be busy for a year at least.
I’ll be posting further progress, but hopefully I’ll be posting some of my other drafts before then as well.


