One thing about building Campaign Style chests is you gotta love the dovetail. Alot.

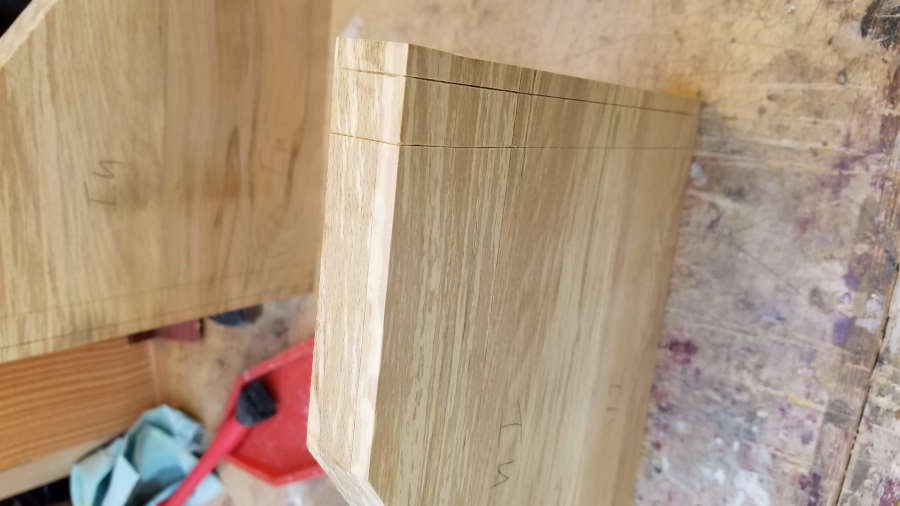
The dovetails were easily the most intimidating part of the carcass build, so I wanted to practice before I started on the project. I had some scrap pieces of beech that I thicknessed to be the same as the chest would be. I found an excellent tutorial for full blind and secret mitre dovetails at http://www.mikes-woodwork.com
There are so very many videos and blogs that show and/or describe how to make standard through and half blind dovetails, but there are surprisingly few that show how to make full blind and secret mitred dovetails. Even so, I did find several to choose from and always came back to the mikes-woodwork site. His instruction really worked for me and I used it for all subsequent dovetails for the project.
The reason I was looking into the full blind and secret mitred dovetails is that they were used in period pieces, mostly for the top corners. I checked some pieces locally and found that some had half blind and some had full blind, but I haven’t found a secret mitred carcass yet.
And just a warning. I’ll use “half blind” and “half lap” dovetails interchangeably so if you see me change from one to the other in mid-thought I’m still talking about the same thing.


Several years ago when I was just beginning to play with joinery, I learned to cut pins first. Not because I watched Frank Klaus or anything like that, but because I found it to be much easier to transfer the pins to the tails. At the time I thought I was cheating or doing it wrong, so I then learned to cut tails first. Since the question, Pins or tails first, has become such a volatile debate, I don’t usually say which way I think is best. That said, I haven’t made enough dovetail joints to even be considered a beginner.
With full blind dovetails you don’t have to worry as much about the proportions of your tails to pins, so make them both big.


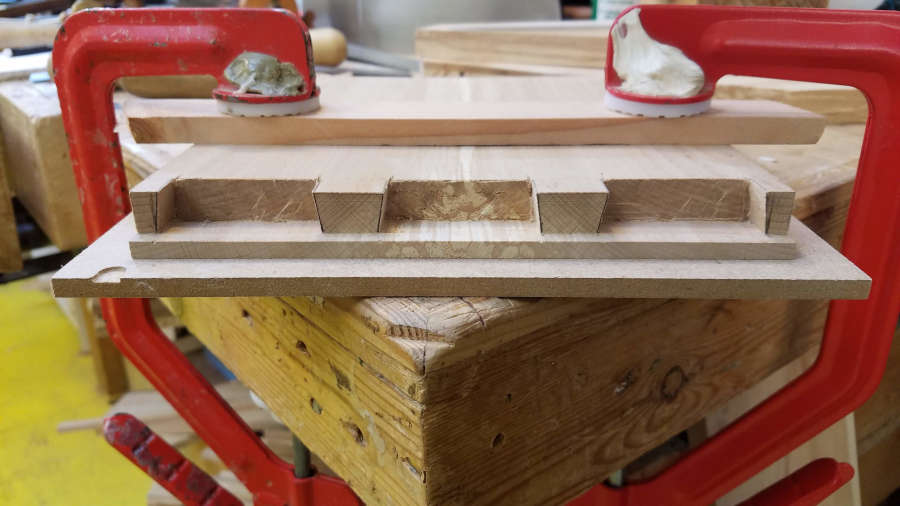
Even though my trial run on the hidden mitred dovetail went OK, I decided not to use them in the project. Instead, the two top corners are full blind dovetails (without the mitre). I didn’t take pictures of that procedure but will do so for my next Campaign piece. I did take a picture of the pins though.


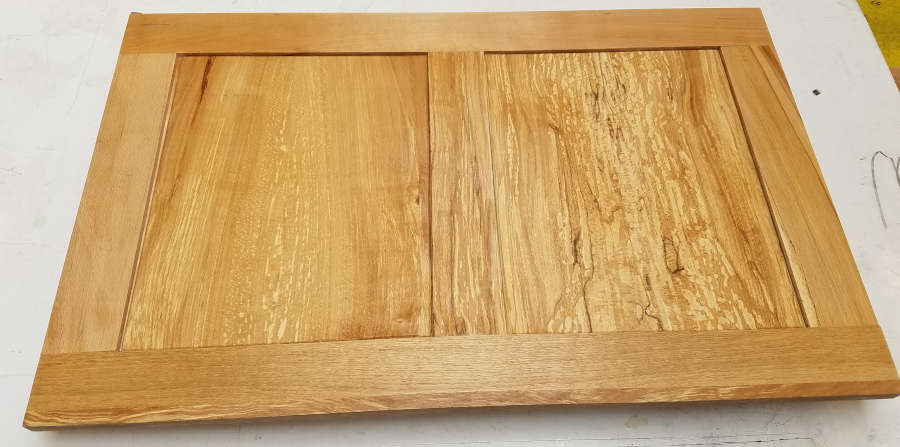
For the backs of these pieces (Chests and Secretaire) the norm was to use a simple boarded back that was screwed into the rebates in the carcass. Another method was a frame and panel. I chose a modified version of the frame and panel for mine. I used mostly offcuts for the frame and panel, but for the frame I needed non-spalted straight grain.


The back frame is 12mm thick (about 1/2 inch). I used a half lap here since I didn’t want to fiddle with mortise and tenon that small. The panel is slightly thinner and goes into a 5mm groove in the frame.

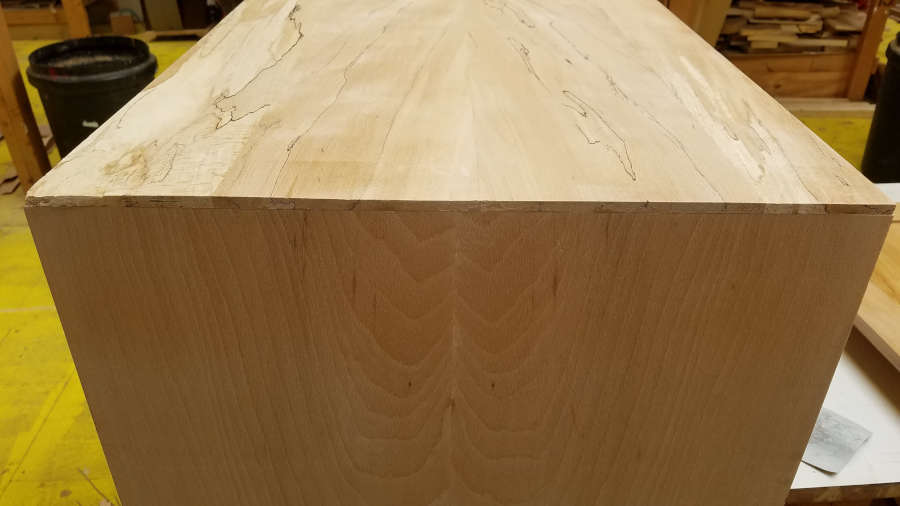
I had some leftover bookmatched flame beech but it wasn’t long enough to use for the backs, so they ended up in the webbing between the drawers. The web frame is the same thickness as the carcass or 18mm (about 3/4 inch). For this, I used mortise and tenon.
While searching for scrap beech I could use for the frames, I came across some oak that was the right length and thickness, so I laminated a piece of flame beech on the front and called it a day.
And I have a couple of boxes. Getting ready to build the drawers and gallery next.


To be continued…
