So, even with all the physical repairs that I’ve done on this piece, the portion of the restoration that has taken the most time and required the most precision is the hardware. I have replaced the slant top hinges, the slant top lock, the large drawer locks, the front door hinges, and the front door lock. The front door hinges took the longest of anything because they require the most accuracy, with the slant top hinges a close 2nd.
When I started this project, I wasn’t even sure that I’d be able to find the hardware I was looking for. I began my search on eBay and found some great hardware (for future projects), but nothing that I could use on this project. I then went to Van Dykes Restorers and found some very good possibilities for the hinges, but eventually moved on to Hardware of the Past (before they closed shop) for the escutcheons and the lock for the slant top.
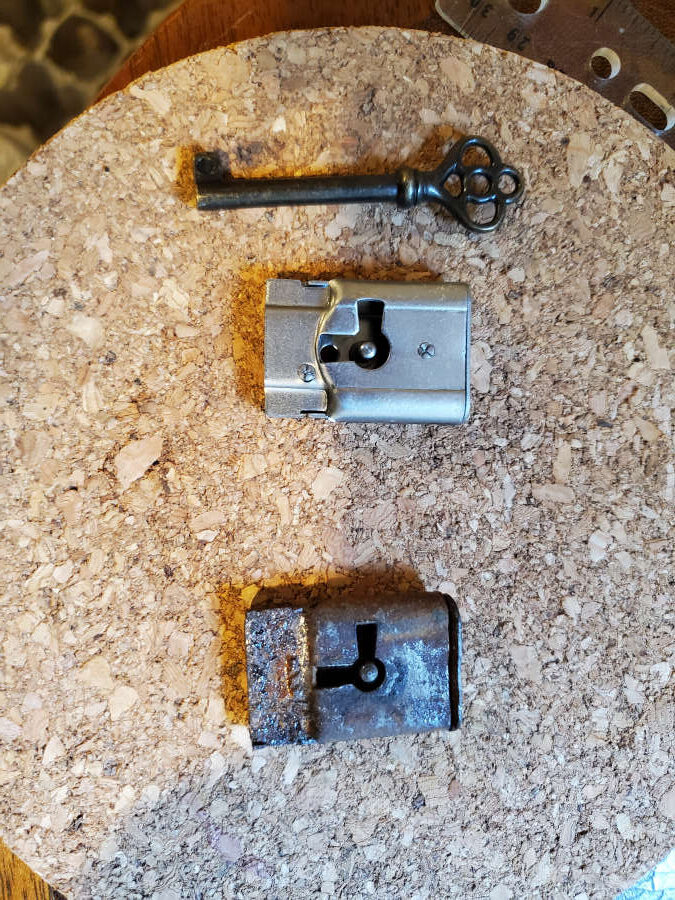

The hinges for the slant top were worrisome on many levels for me because not only was I repairing damage from previous repairs, but I then needed to fit and mount new hinges.

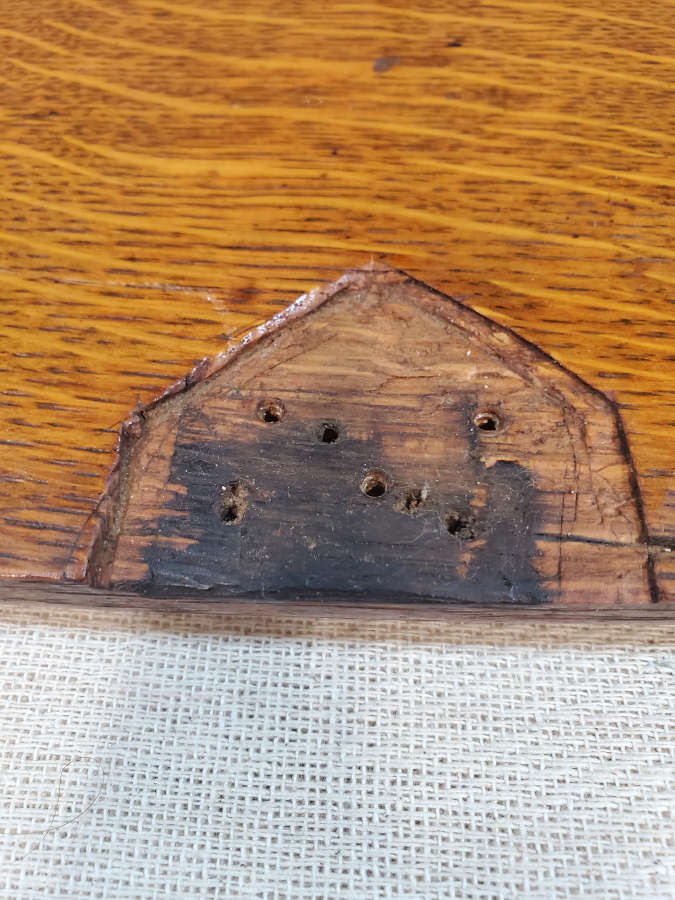
I had thought about leaving the mortises for the hinges and just trying to find a hinge the same size, but that was a no-go. There had been quite a few repairs and I wanted to make sure that my repairs were on solid ground, so I mortised out a lot of the previous repairs and then laminated in patches for the hinges as well as the damage to the edge of the lid.

I wrestled with the idea of laminating a strip all the way across the lid, but that would have been an unnecessary removal of a lot of original material.
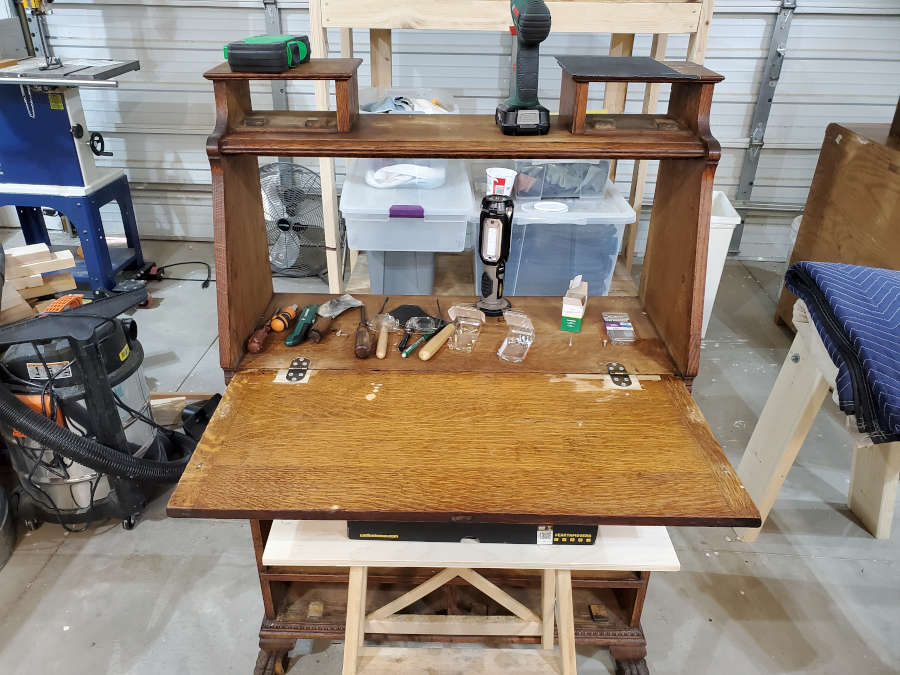
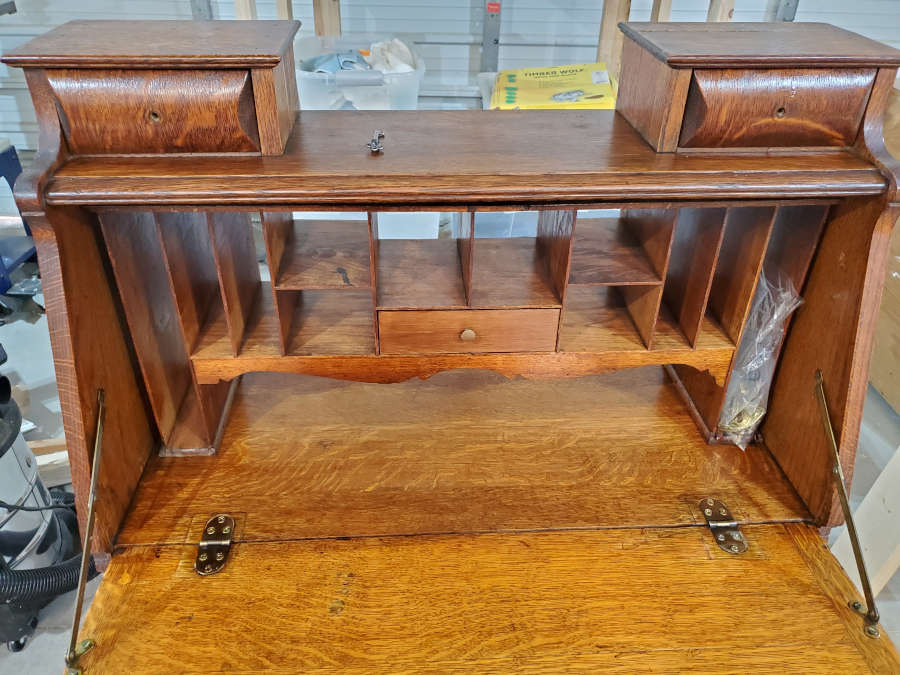
I then moved on to the locks for the large drawers. After the comedy that was me trying to remove the original lock from the lid, the drawers were very straightforward.
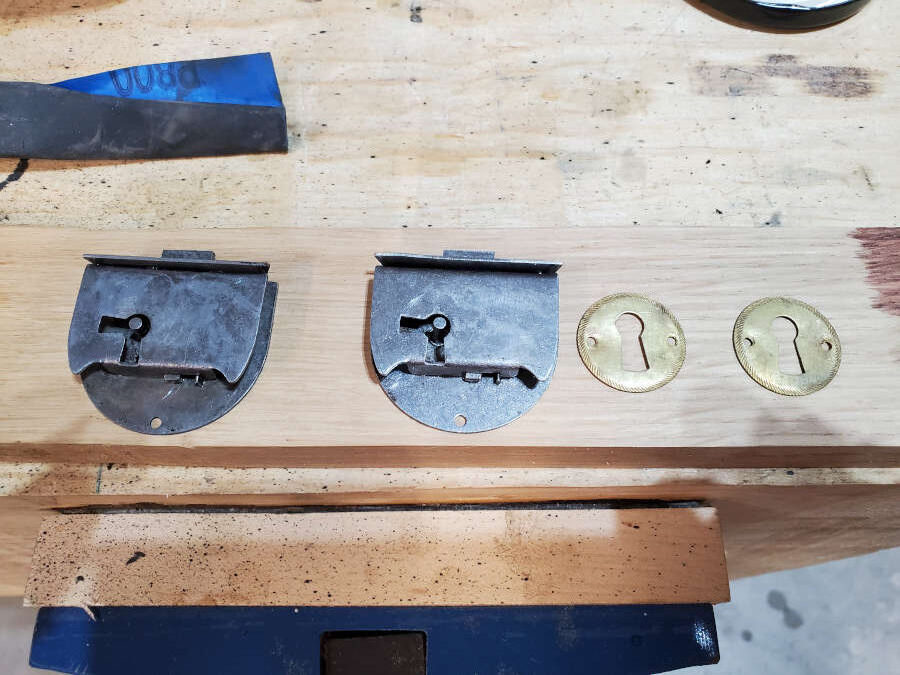

The front doors were the most fiddly of the hardware because I didn’t use the hinges that were there (they weren’t the originals), the doors hadn’t been hung correctly, and I had to repair some significant damage to one of the doors where a hinge had been torn off.


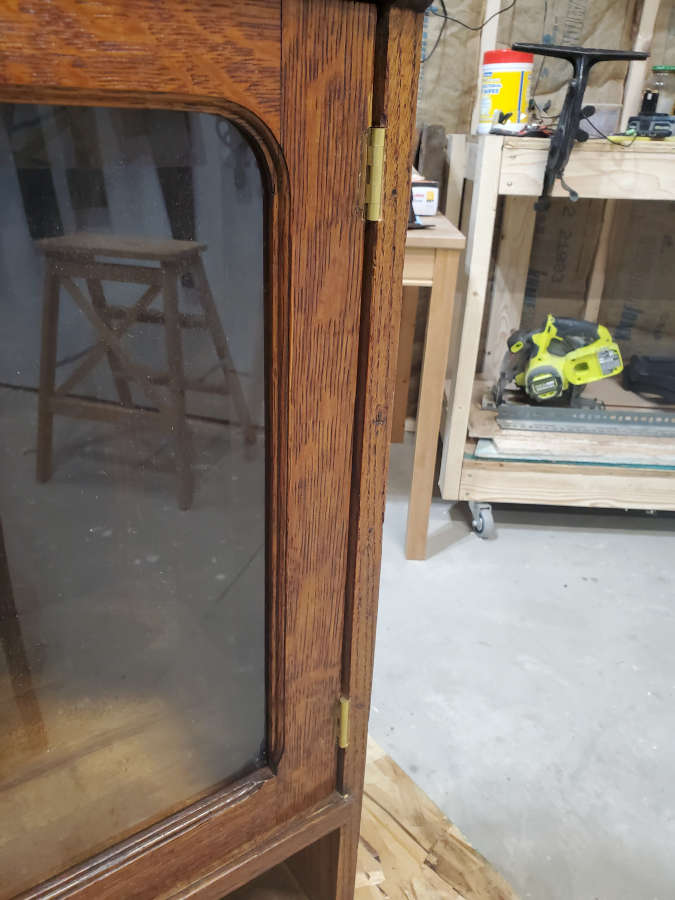


I mortised the hinges into the doors and into the sides and the doors now close with a wonderfully small and uniform gap all around and the astragal covers the gap between the doors beautifully. I don’t have a picture of that yet, but it’s coming.
After all of that fiddly stuff, the podiatrist is finally in and will fix my lady’s broken toe.

Tune in next time. Same Bat Time. Same Bat Channel.
