
You can see my previous post here.
The color matching for the pieces was pretty straightforward. The only two colors I needed were dark walnut and red mahogany, with some dark wax to blend everything. I started with a thin coat of garnet shellac before adding the color.


When I had finished this portion, I then move onto the finial, or ornament, on the top that had broken.

I wasn’t sure what the original missing piece looked like, so I did a bit of research on acanthus leaf designs and found something that I thought would work in this case. I then printed it to scale and then transferred that to a piece of oak.


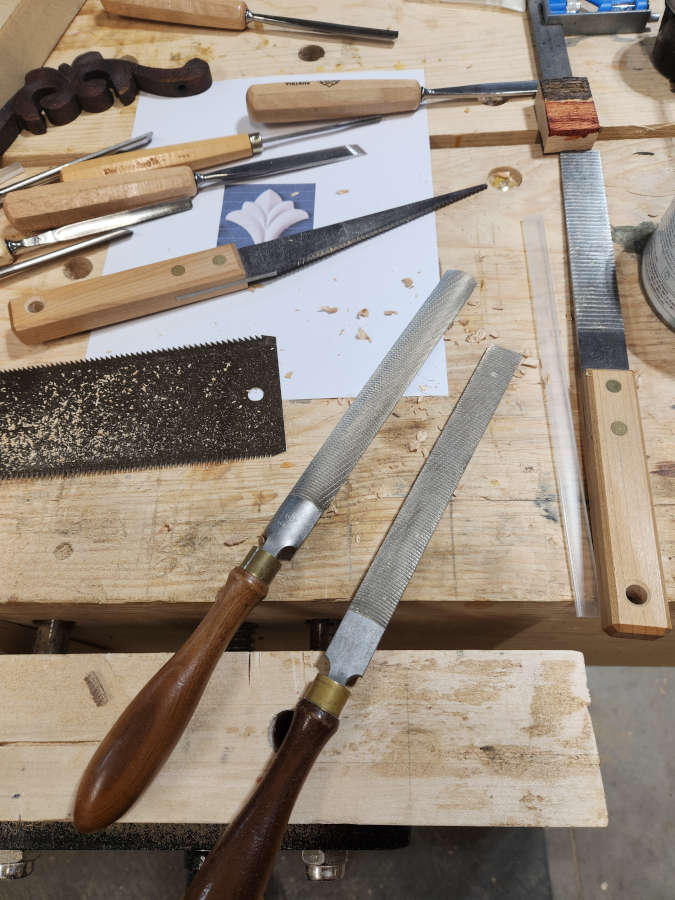
For this part of the project, I used several of my carving chisels and gouges. I also used my floats for some fast material removal and my rasps for the finer detail removal.
Once the carving was pretty much done, I colored the piece, then cut it off and glued it onto the rest of the ornament.


At this point, all that was left was to attach the ornament to the frame and put the glass back in.


This was a pretty straightforward restoration, even though it took far too long to finish.
I can’t wait to see it on the secrataire.