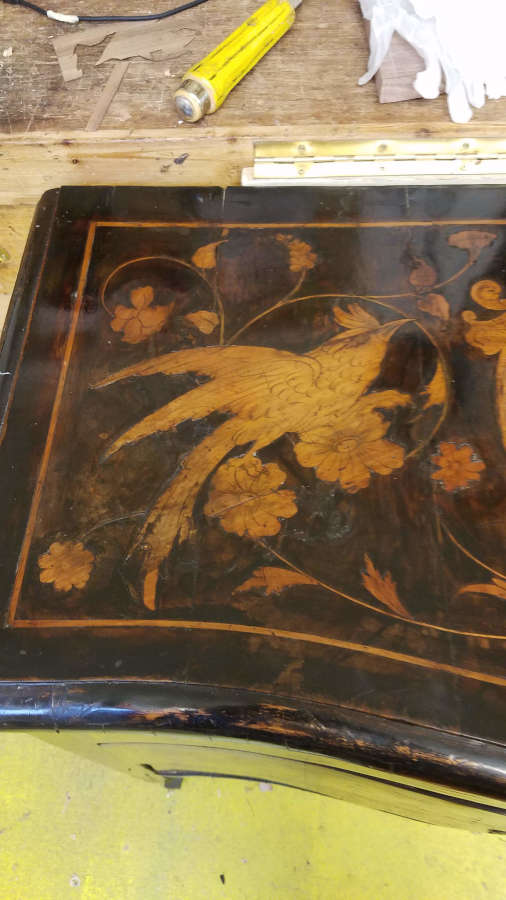
One of the most valuable (to me) skills that my furniture making course has taught me is the core fundamentals of furniture restoration and repair. Graham and Clare, who are both as great at teaching as they are at repair and restoration, have allowed me to look over their shoulders (and incessantly ask questions) as they have worked on pieces. I have also been able to work on some of them myself, which has not only been a great and challenging experience but has been extremely fun as well.
Graham and Clare have both been with the Chippendale International School of Furniture for more than 2 decades and are easy to talk to and wonderful to work with on these great pieces of furniture.
Recently, an Italian chest, much like this one I wrote about previously came into the school for some work.

The goal was to fill/replace the missing pieces and to make the repairs sympathetic to the age and blend them into the overall condition of the piece. If we decided to make the repairs perfectly flat and shiny with no gaps, then each repair would have stood out and looked out of place.

First thing was to lightly clean the areas that needed repair.

Each of these spaces was cleaned with scalpels, awls, and pretty much anything I could get my hands on that was small enough to get into the crevices and cracks. The bottoms of these spaces needed to be relatively smooth so when I fit the replacement pieces of wood in there they would sit flat and have a good stable glue surface.

The next step was to put tape over each of the empty spaces and lightly shade with a pencil to get the outline of the missing area.


After I had a good tracing of a missing piece, I put the tape on a piece of (in this case) walnut that I’d be using to patch with. I made sure to orient the grain with the existing veneer.
Anselm and Graham believe the table is from around 1760 and the veneer is several times thicker than any you can buy today, so the repair pieces were resawn on a bandsaw to be just a bit thicker than the old veneer. This way we could pare down the patches to the correct level.

Next, I cut out the pieces oversized and then fit them using small files, sandpaper, and scalpels.


The next stages were to glue the pieces into their respective spots

Once the patches were in and the glue dried, I used a combination of water dies to get the patches to blend with the background. I then used coloured wax sticks and melted a mix of colours to fill and blend the repairs. (I don’t have pictures of these steps because once I got into it I was so engrossed that I forgot). Next was a light going over with some black wax, to blend all of the repairs with the rest of the table top.


As always, the repair and restoration is just a wonderful experience.
