
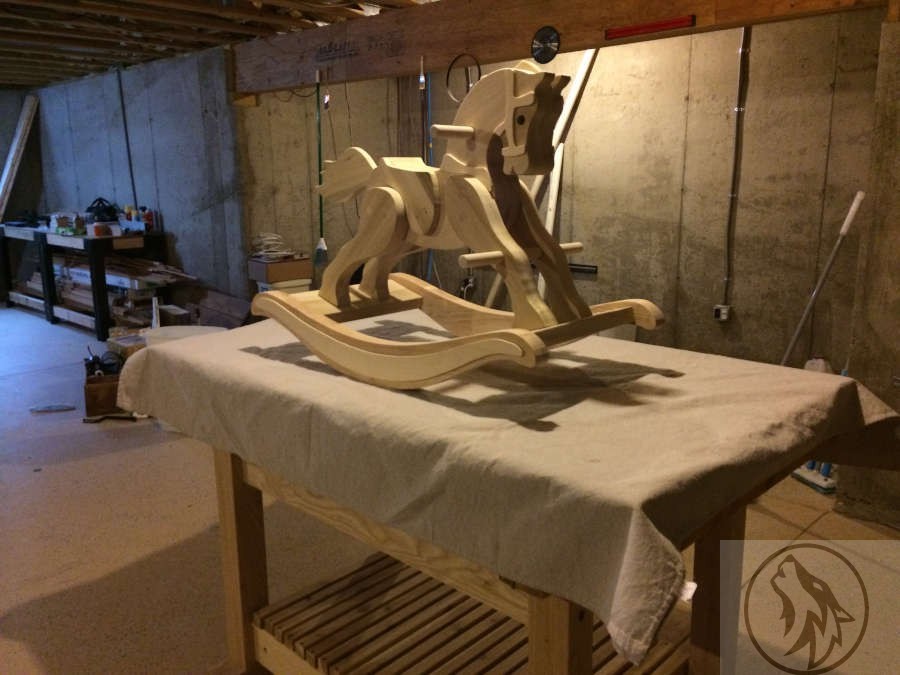
My first real woodworking project after my workbench was a rocking horse for my grandkids. I started in the fall of 2014 and finished in the spring of 2015. I bought a plan online at Toy Making Plans and can really recommend them.
The lumber is ash and poplar, ash for the rockers, saddle and smaller pieces with poplar for the body.
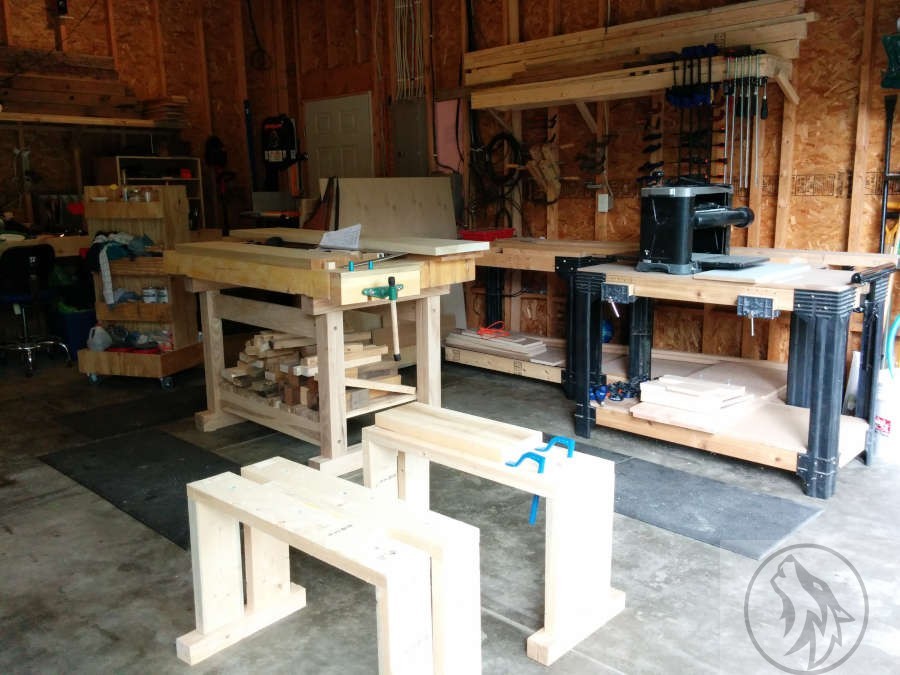
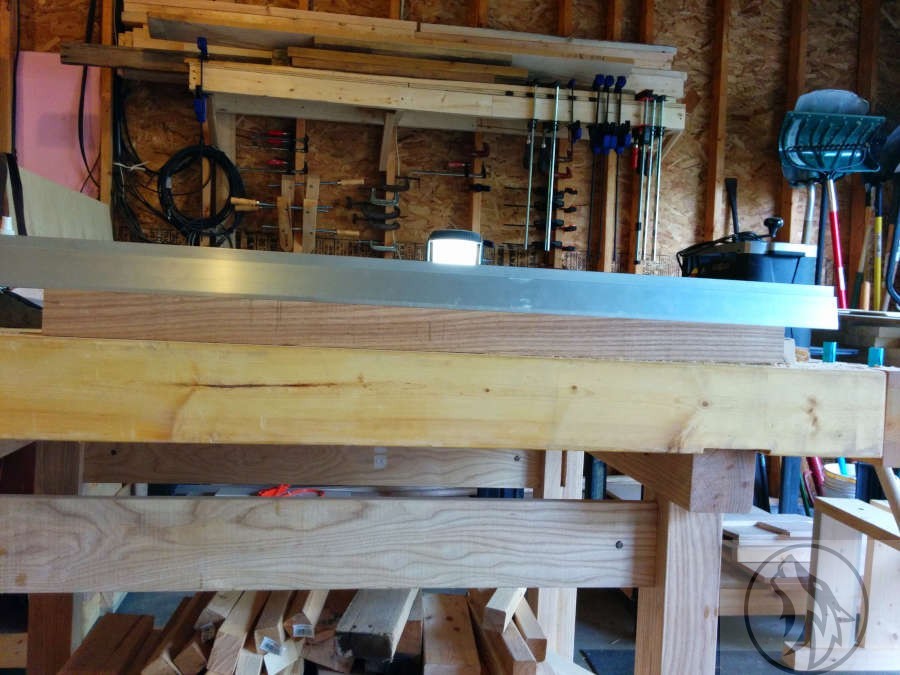
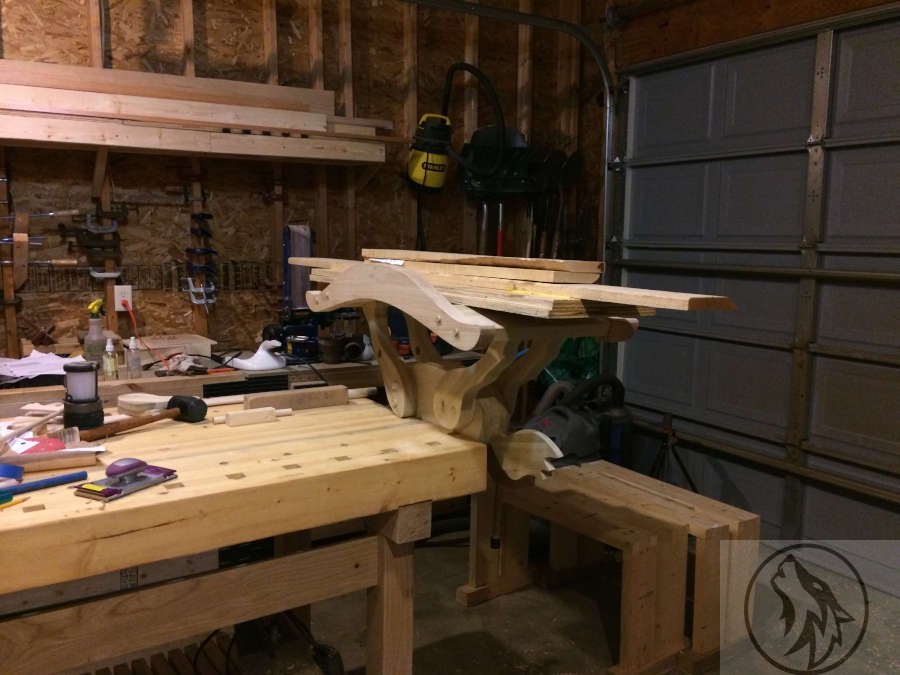
This is my power tool workshop. During the winter months
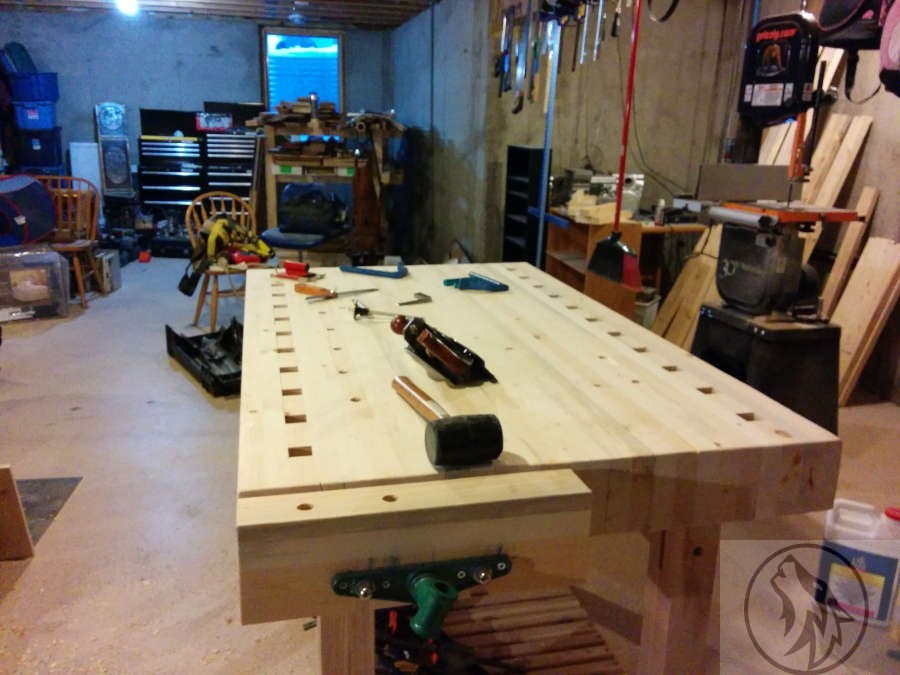
I moved my workbenches to the basement.
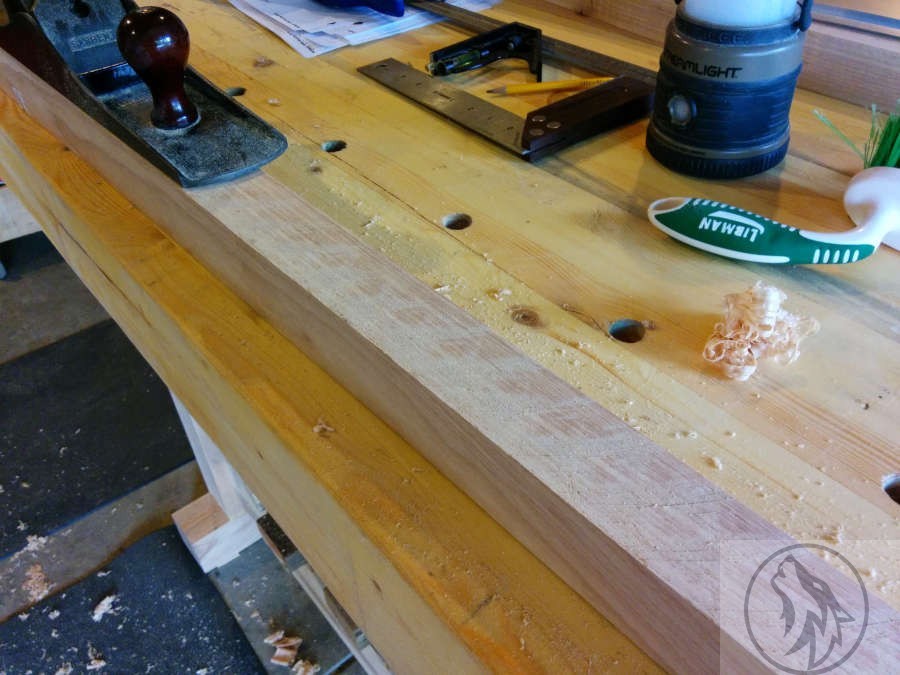
I think I got the idea for the saw benches from Stumpy Nubs, but not sure. I did get the idea for the 2X4 workbench top from one of his plans. I quickly found that dimensioning lumber by hand is the most fun, relaxing, and cathartic part of woodworking. Hand planing lumber down to size and thickness is very

Cutting some of the poplar
to rough size before tracing out the design and cutting on the bandsaw.
One thing about the blue Rockler holdfasts that I did not like was the paint had to be sanded off the pads before I used them. Otherwise the paint got all over everything.
My Sargent joiner.
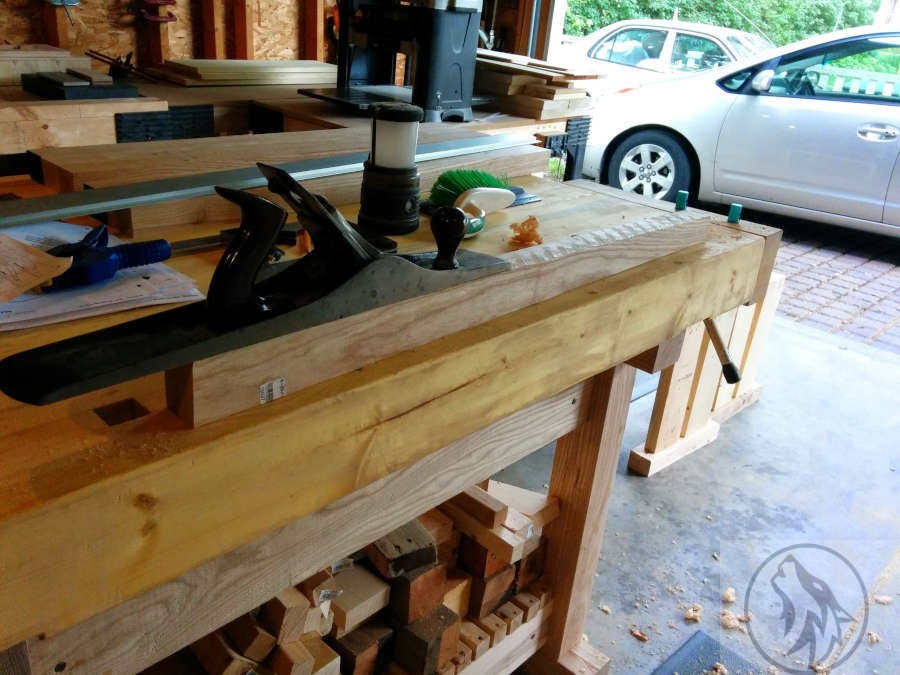
Using by LED lantern to check my progress. That lantern was one of the best purchases I’ve made for the workshop. I’ve hung it from the ceiling when the power was out, used it like
a flashlight, and used it for raking light when sanding/finishing.

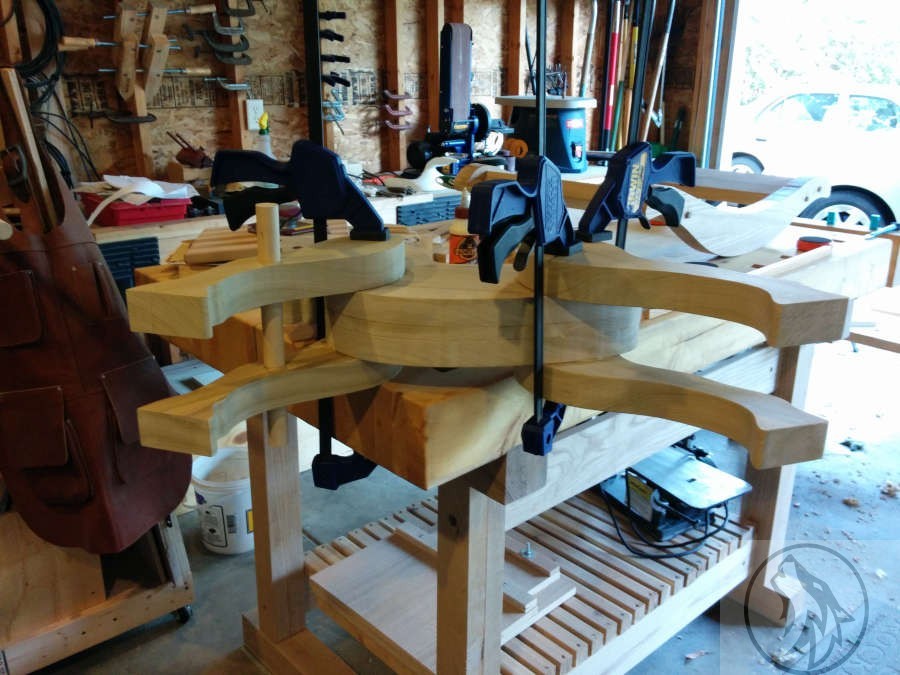
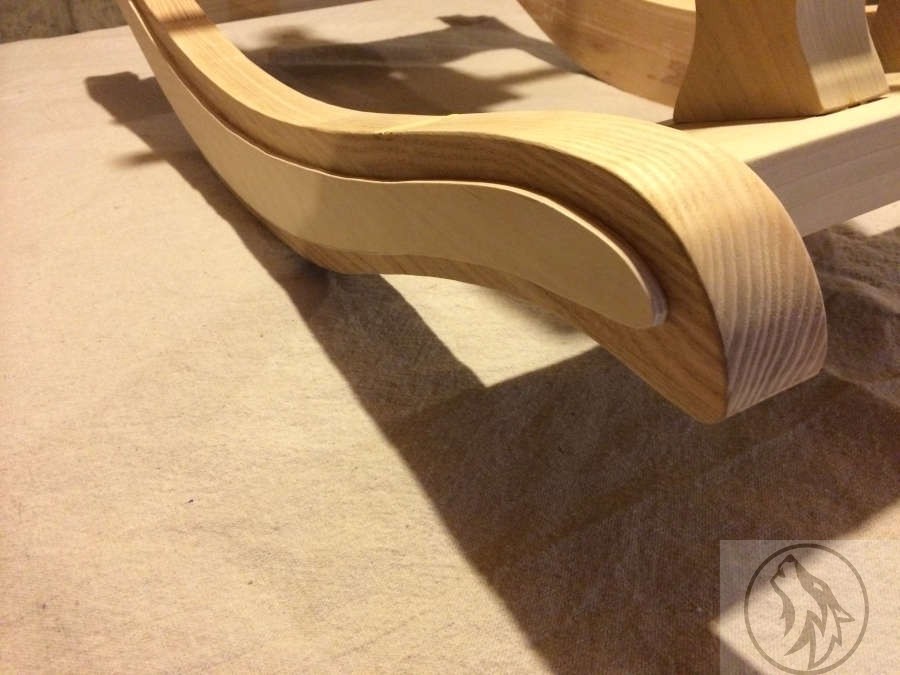
Glued up the rockers before cutting out the shape. Since the curve for the rockers is very shallow and the rockers very thick, there was no short grain to be worried about. Otherwise, I would have done my first bent lamination. This horse ended up being built like a tank.
The black and orange clamps were just some cheapos I got at Menards, but they turned out to be some excellent clamps. Really surprised me.

After the bandsaw.

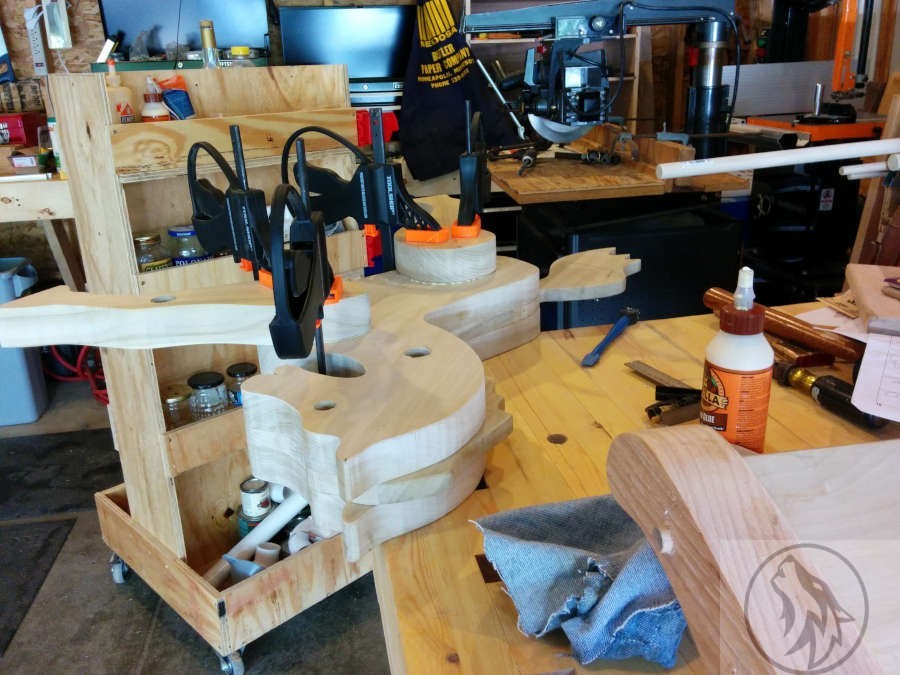
The 3 pieces of the body after the bandsaw.
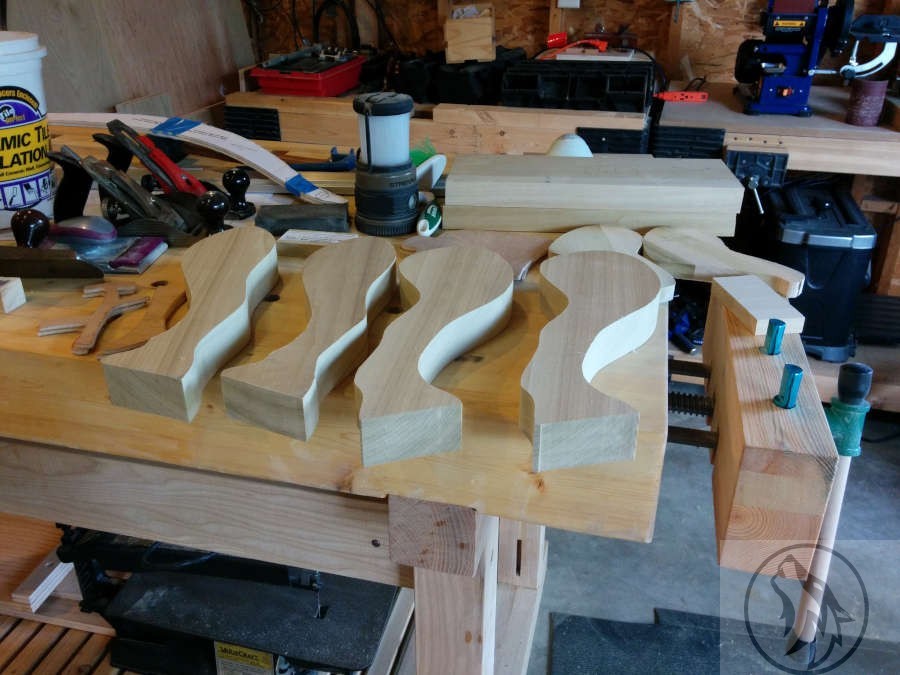

Body, rockers and all the fiddly bits ready to go.


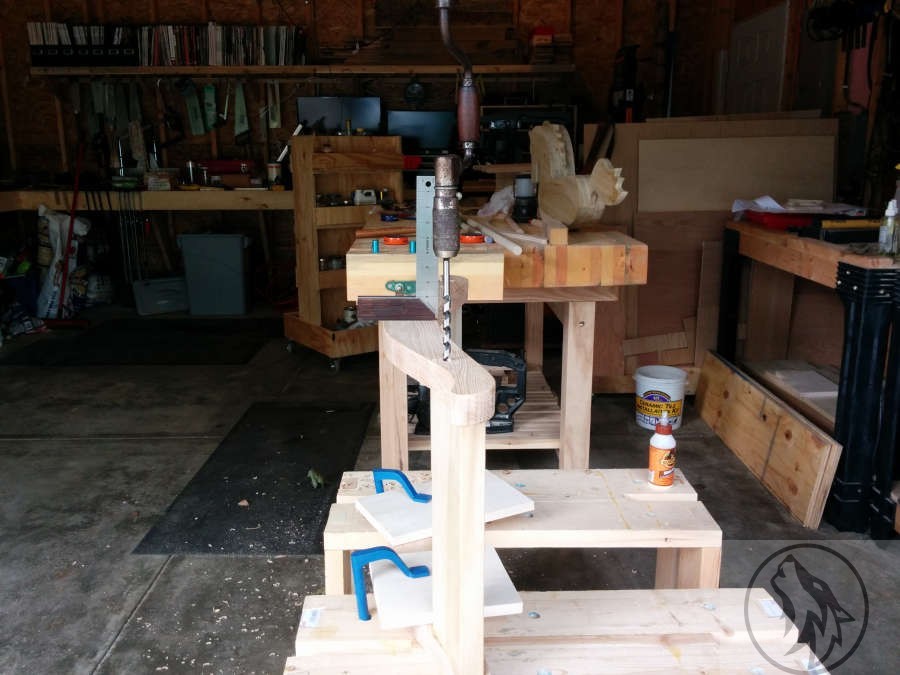
Drilling the eyes out. Not as painful as it looks. And the handle of the brace is making the bit look off, but it really is perpendicular. I did not have my beautiful apprentice helping me at this point. I think she was in her studio.

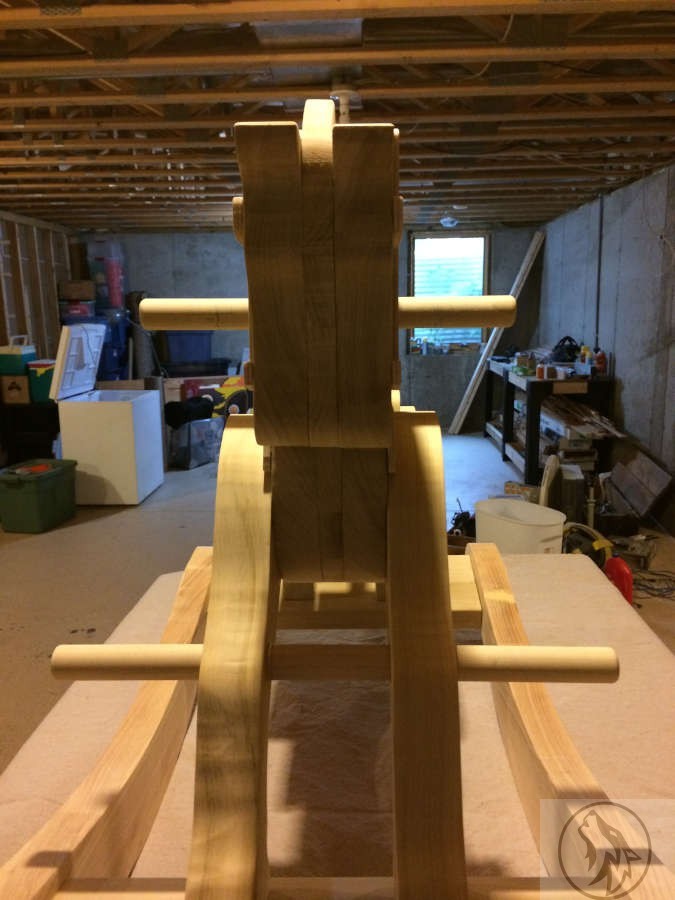
Drilling for dowels. This is the initial rocker set up.
In the back, you can see I’ve started the glue up of the legs onto the body. I really needed much more thought and planning for this portion. I relied too heavily on the plans and did not pay attention to the tiny variations in the legs, hooves and location on the body. This ended up being the most aggravating part of the build. I know exactly how I will do this next time. I’ll mount the legs on the rocker first, then set the body in and clamp.

Again, this was just a mess of a glue up. By this time I was cussing a blue streak.

I only included this picture to show off a bit of the fence I put up a year or so earlier. Hand dug the holes with a post hole digger and shovels because there was so much rock and brick. This was one
of those things you do once and swear, “never again”. But the fence turned out very nice.

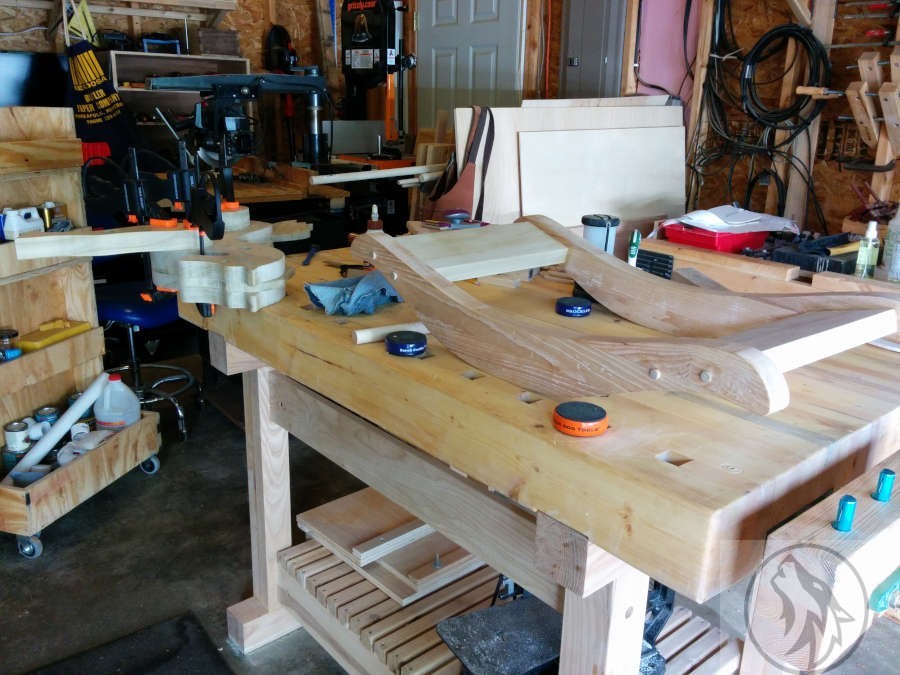
Awkward, but ultimately effective way to ‘clamp’ the rockers to the body for glue up.

Once the weather got too cold for glue
to set, I moved my workbenches and hand tools into the basement. Again, was I spoiled or what? The basement was 900 sq/ft and stayed a beautiful 64 degrees Fareinheit year round.

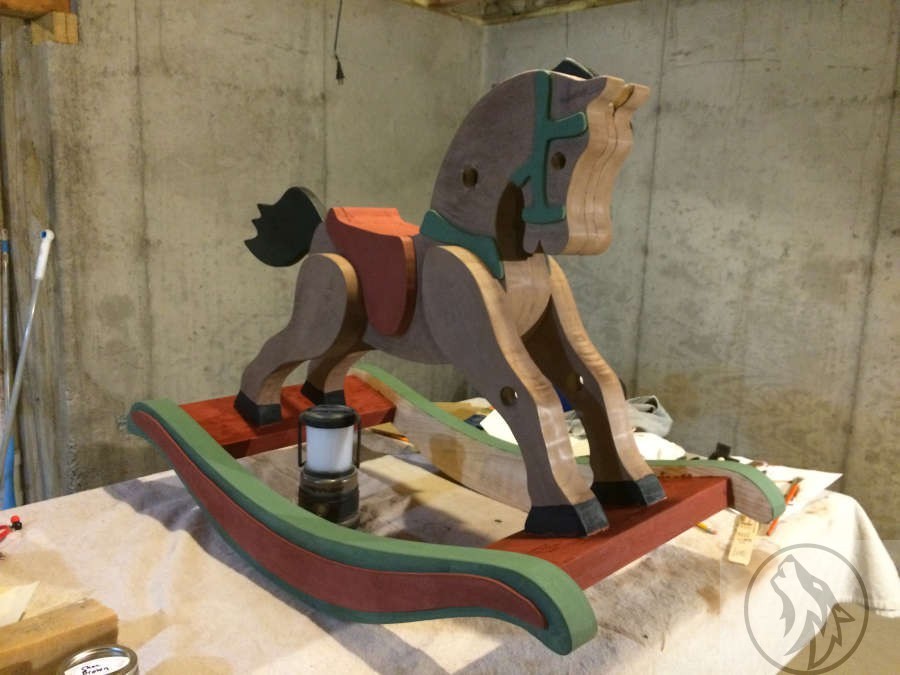
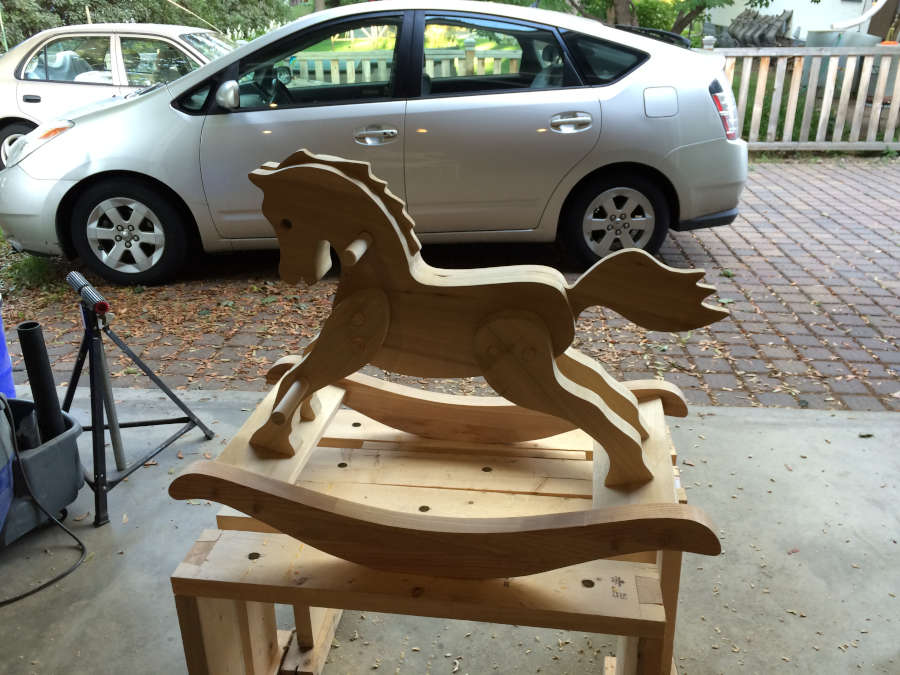
I used Real Milk Paint for this and even though I had no idea how to prepare or use milk paint, my first project did not turn out horribly. I learned quite a lot while doing this. Primarily that milk paint needs to settle before using. Also, it’s a good idea to strain your milk paint before using.
I also found that thinning it for the first coat will act as more of a stain or a wash. You can then add thicker coats. You will also want to sand between thick coats, otherwise it gets globby.
For this project I used Pitch Black, Lexington Green, Barn Red, and Medium Brown.

I used local beeswax and Citrus Solvent (from Real Milk Paint) over the paint and it worked very well.

My Little Poopers (Ruby) running up to see what she’s missing out on.
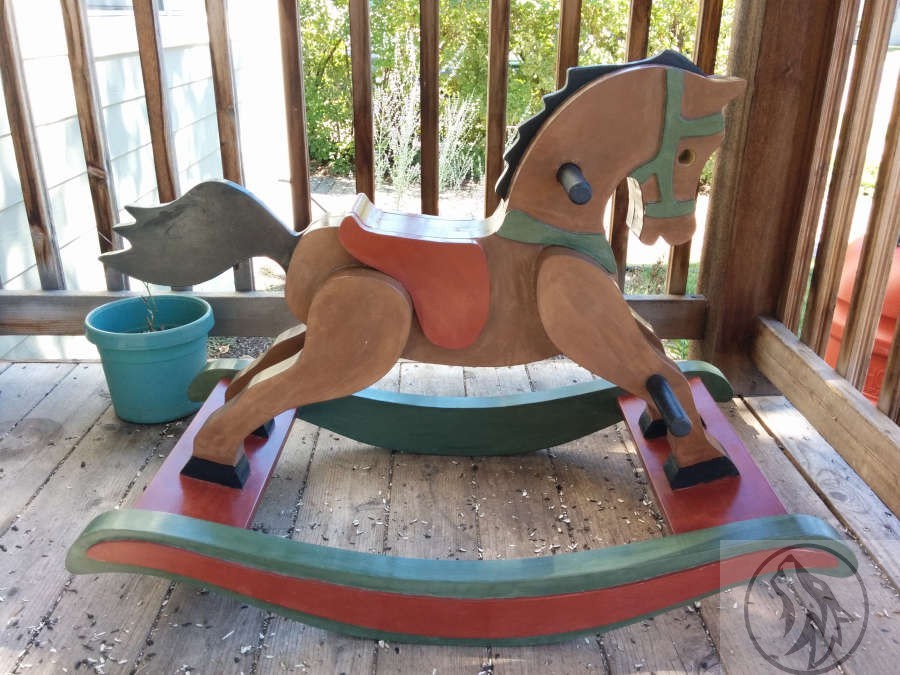
This project was such a great experience that I knew I wanted to take on something quite a bit more aggressive. As I look back on it, I see so many things that just bug the crap out of me, but it was something for the grandbabies and it serves its purpose well.
And even though UPS did their darndest to destroy it before reaching my daughter, my son-in-law was able to glue up the broken feet and the kids were able to use the horse. Apparently a box rated for 250 pounds with masses of stuffing and signs saying this end up and don’t stack, don’t mean squat to them.
One modification I’d make is to carve the rockers to be a bit more ‘rockery’. I don’t want the kids to go flying off the horse, but I also don’t want them to get bored. All in all a successful first real woodworking project, aside from the workbench.