
Part one is here.
Even though I didn’t start working on the top first, I’m going to talk about it here first because the biggest decisions I had to make about the restoration were related to the top.
First, a couple more pictures of the damage.
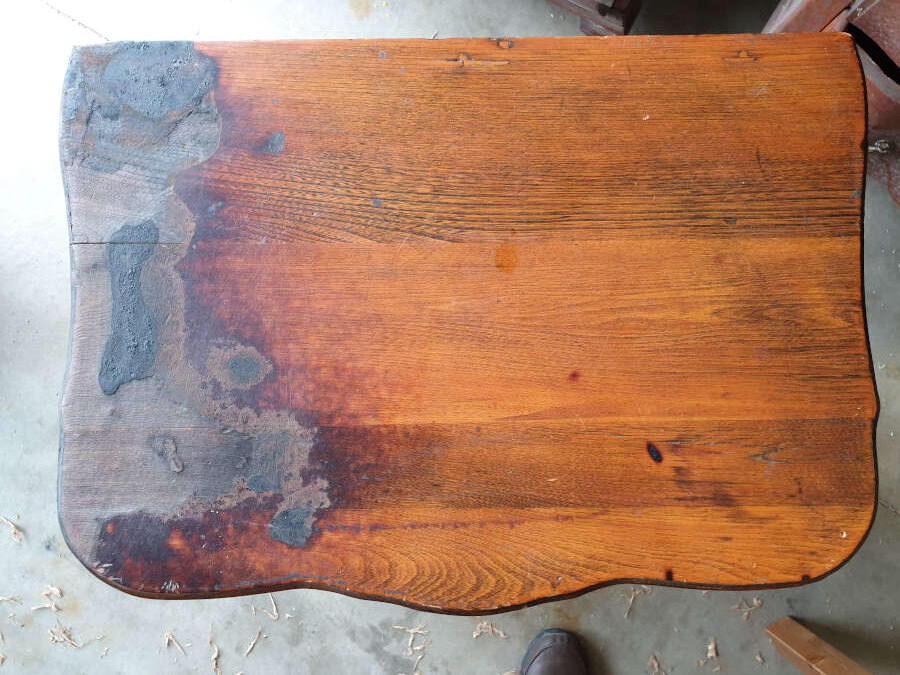

A few observations I made right away were that the damage was deep. I wasn’t sure how deep, but I would soon find out. The second was that the boards that make up the top were very different and there was no attempt to arrange them in a way that blended the grain. That is just a lost opportunity with something as beautiful as elm. The feathery grain is distinctive and makes it one of the most beautiful of all the woods.

I did also notice that the sides of the piece also showed the lost opportunity as the boards were not arranged for either side. I’m pretty sure this piece was made in an automated shop. Either that or the assembly line that the workers were on didn’t allow them the time to make these types of decisions.
As I looked at the fire damage, I had a couple of options running around in my head. If it was too deep I could take enough material off of the top to make it flat and then laminate some new elm on top. I could also take out material just from the portion of the top that was damaged (the left 1/3 of the top) and then laminate new material in. I dismissed this last one right away because that would have left a long line down the top where the new and old wood meet. I decided that I just did not want to introduce any new material to the top if I could help it, so I got out my hand plane and my scrapers and got to work.
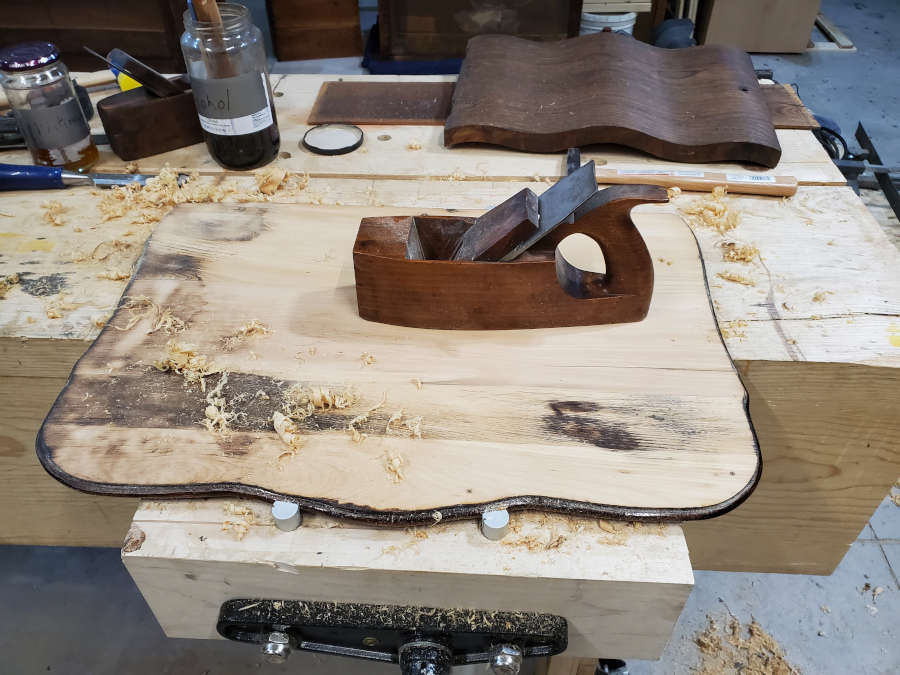

After working on the top for a while, I really started to worry that the damage had simply gone too deep and that I would have to laminate material on to the top. But I did actually reach a point where I felt that the damage was not the first thing you would see.

I don’t have a lot of pictures of the colouring process, because it was more of a matter of colour matching the different boards than it was to match the top to the rest of the piece. But eventually, I got to a point where I could leave it alone and work on the rest of the piece.


I’m happy with how it’s turned out so far, and any further tweaks I feel need to be made can be done with wax.
Now on to the rest of the carcase.