
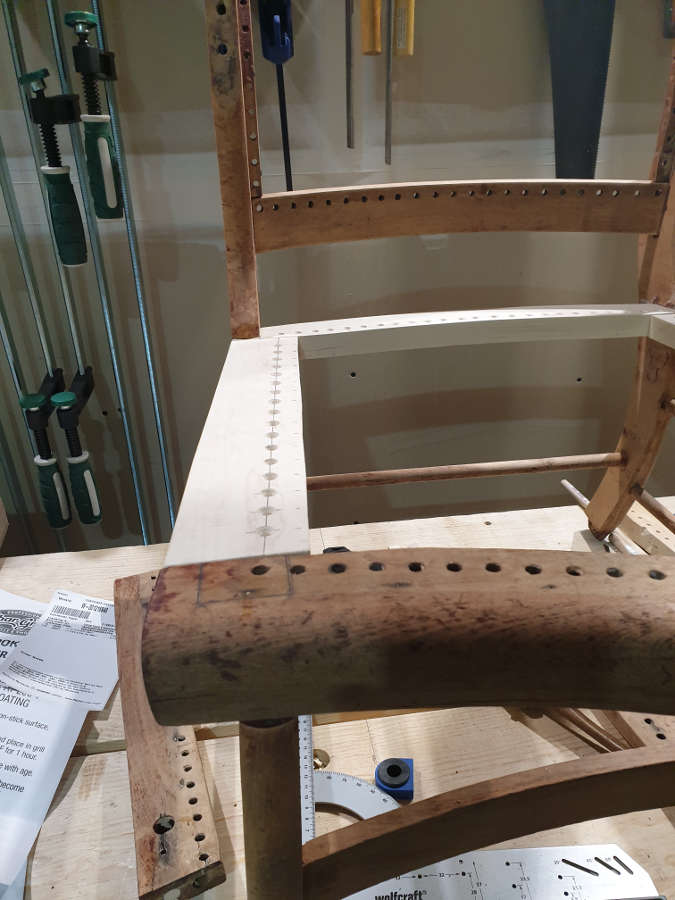
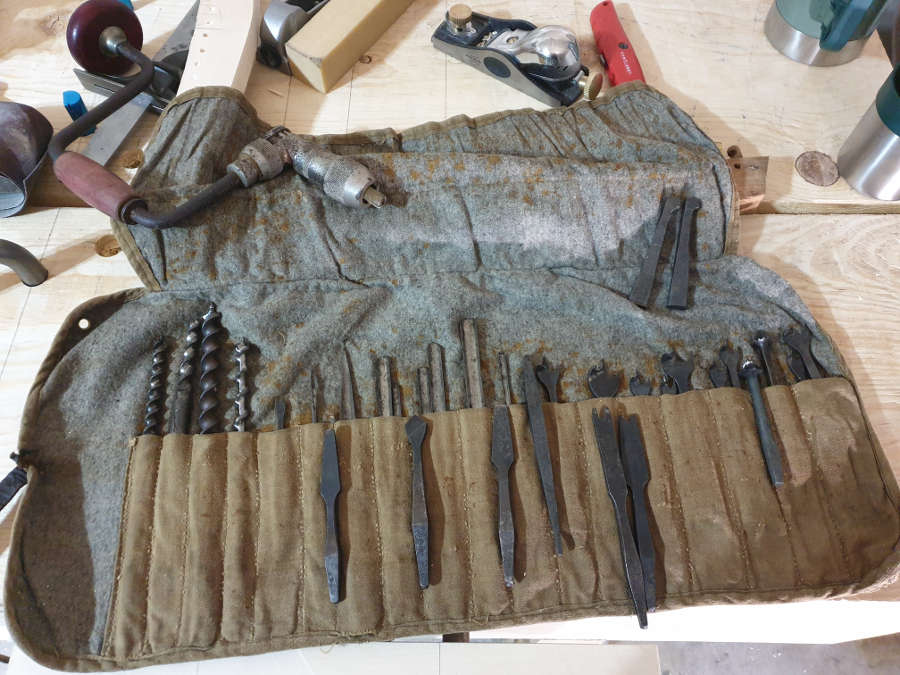
In Part 1, I had finished stripping and disassembling the rocker and had decided to replace the rockers and the side pieces of the seat. After that, I also decided to replace the back of the seat. This because the sides had been connected to the back with dowels, but the way the dowels and the joints fit, they did not make a good joint. If you look at the picture below, you’ll see that at each end, a half a hole for a dowel. So one of the dowels on each side was not even embedded in the back piece.


I then looked at the way the sides connected to the front piece and decided that instead of a couple of dowels, I’d use a loose tenon. This would create more shear strength, across the grain, at this crucial point.
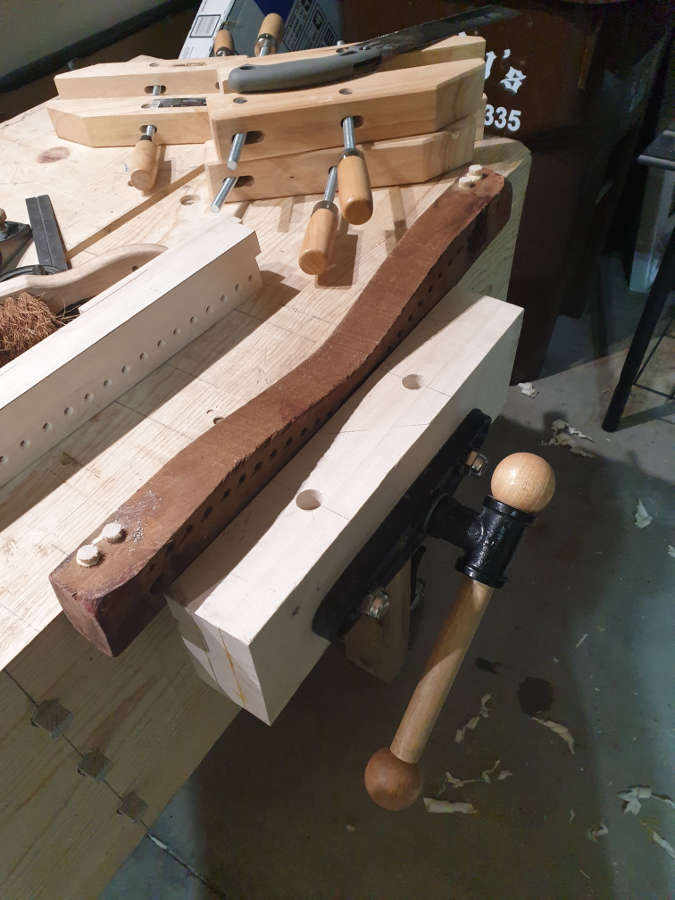
Unfortunately, I didn’t take any pictures of the loose tenon or any of the fitting process, but I do have pictures with layout lines and also where I filled in the original dowel holes.
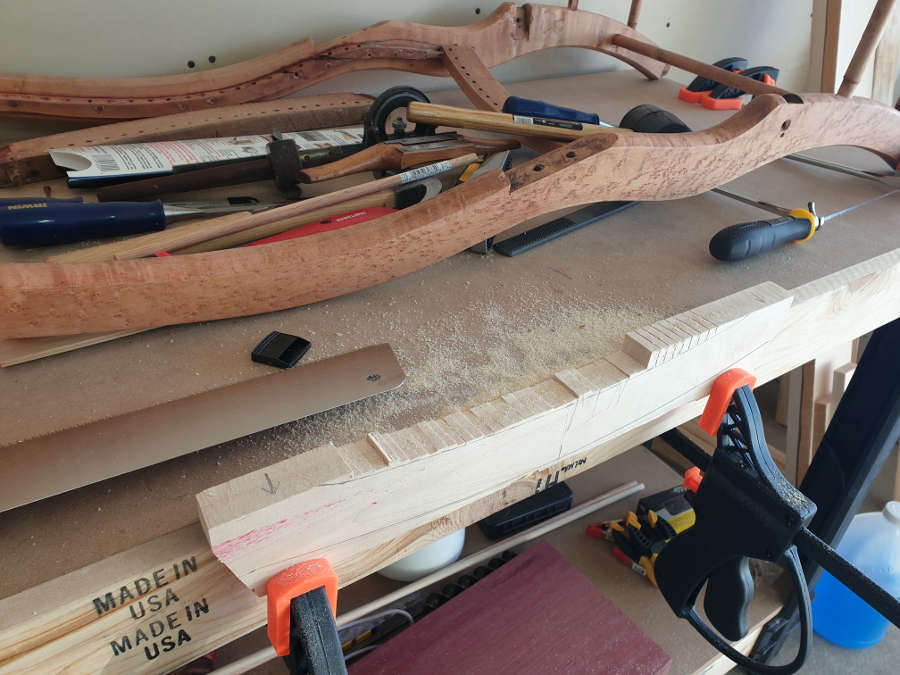
The following pictures show me cutting and shaping the back piece.

I took the number of holes from the original and spaced them a little more evenly before drilling them out.
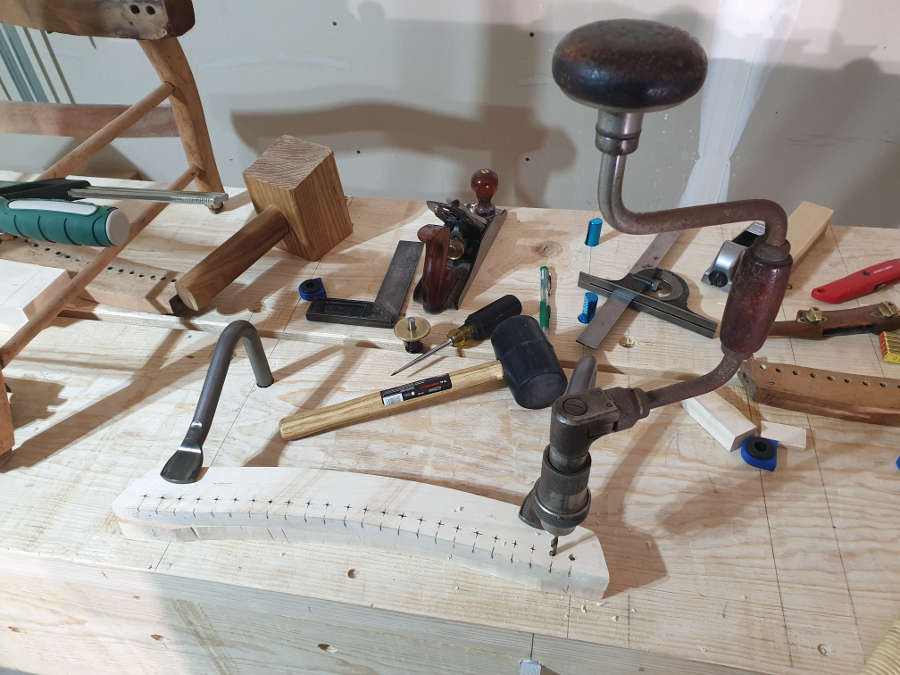
I countersunk the holes.

Using a bit from a roll that a wonderful friend and classmate from the Chippendale Furniture School gave me.

After quite a bit of dry fitting and tweaking the joints, I was ready to glue up the seat.
For most of my projects, I tend to use hide glue for the joints and PVA for the splits, cracks, and fills (like for filling the dowel holes). My thinking is that for most, if not all, repairs I can use PVA adhesives because the idea is that they should never need to be undone at all…ever. This is for repairs and restoration jobs, but not necessarily for conservation work. For the joints, I use hide glue because I want to be sympathetic to the piece and I want to make sure that the piece can be repaired / restored in the future and still be sympathetic to the piece if that future restorer wishes. If in the future, someone repairs the piece with whatever adhesive they have available, that’s fine because I won’t be around to see them muck it all up 😉

For Part 3 I’ll remake the rockers and discuss the changes I made to the dimensions. I’ll also discuss the back frame and the broken pieces I had to replace for the caning.